
The 1" Wooden Cubes were painted red, yellow, and blue, and then the Funny Mixies images were glued on. Oh, I did ink all the edges of the images before sticking them to the block since I didn't want to see the white edge of the paper. The box was papered in a similar way and I added 1/2 Round Wooden Balls as feet. (It helps to sand one spot smooth first, so they stay put.)


Here is the supply list for the blocks.
After the Mixie Mates project I moved on to some simple moving paper toys. My kids were happy about that because they finally had a turn playing with the blocks.


Here's a video to see them in action!
Aren't they awesome?! You can go HERE for the collage sheet! It is a quick and rewarding project, but I thought I'd share a really helpful tip. Well, two tips. #1. Use a small thin needle to poke the holes on the static portion of the pattern and a slightly larger needle to poke the hole for the moving part. #2. Use seed beads between the paper parts.

Alpha Stamps Run Away and Join the Circus Kit inspired me to make a tent (made from this 2" x 4" steamer trunk)

 |
| I hope Alphonse the Aerialist isn't too distracted up there... |

Here's a picture to show how the images are arranged inside the tent.

And Baby Bunting the elephant got a movable head, just for the heck of it.

Well, what's a circus without the sideshow, right? I had so much fun with the Mixie Mates blocks that I made a Sideshow Tower that rotates on a dowel. Images from the Sideshow Folk Collage Sheet and Circus Folk Collage Sheet were used, and Alpha Stamps also has a cool Tattooed Ladies Collage Sheet .

Alrighty then, let's make that Sideshow Tower.
Materials:
Circus Folk Collage Sheet
Sideshow Folk Collage Sheet
Circus Tunnel Parts Collage Sheet
1-1/2 Inch Wooden Cube Block
1/4 Inch Wooden Dowel
Small Wooden Finial
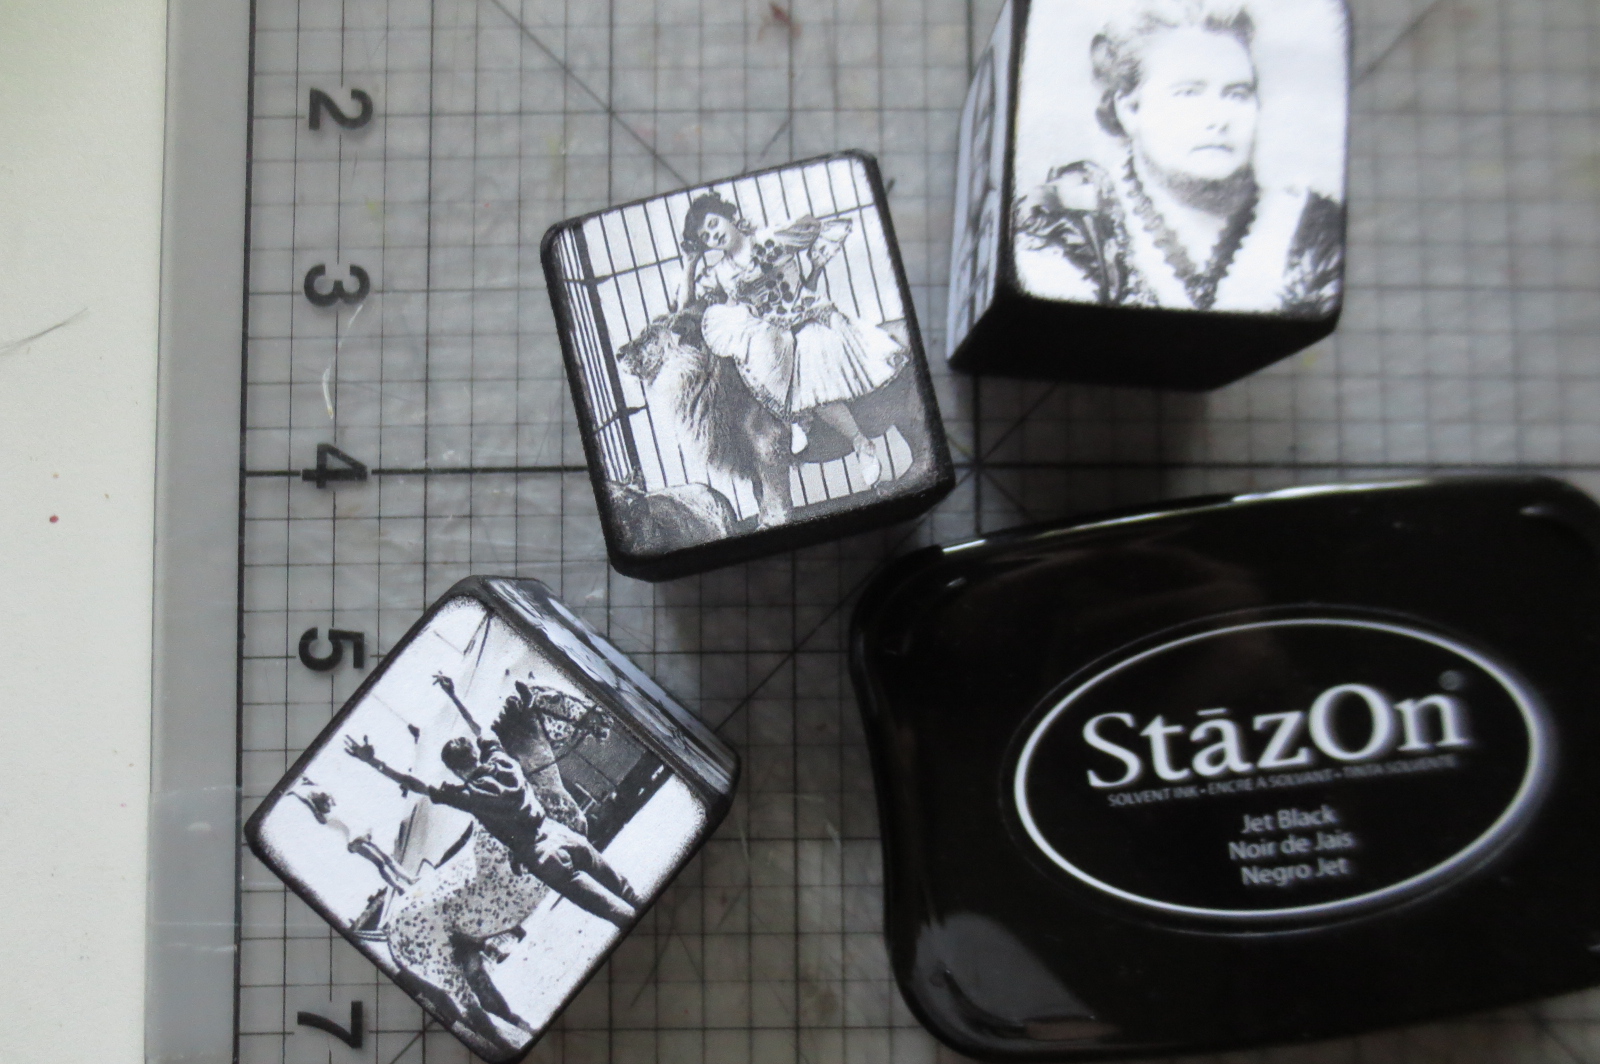
StazOn Ink Pad
Brilliance Pigment Ink Pad- Galaxy Gold
Bakers Twine- Black
4" wooden base (found at Michaels or Hobby Lobby)
Black acrylic paint
My construction method is probably backward to most people, but it made sense at the time. Excuse the dark photos. Most of my crafting happens in the wee hours after all the smallish people have gone to bed. Maybe that is why most of my construction methods are backward.
Drill a hole through the center of the blocks and the base. (No pic of that because I didn't trust myself with a camera in one hand and a drill in the other.)
I made a 1 1/2" square viewfinder out of cardstock to help choose the images for the blocks.

Cut out 12 images from the collage sheets. They are all pretty spectacular; it made it difficult to choose which ones to use.

Glue images onto your blocks and sand the edges. Ink all around, first with black ink, then with gold.


Paint the base with black acrylic, then glue dowel into hole in base.


Slide your blocks on the dowel. Add a painted small wooden finial on the top. For the base, I inked the edges with a gold ink pad, added a bit of the black bakers twine, and then glued on a tiny circus banner from the Circus Tunnel Parts Collage Sheet. The top of the Tower received a bakers twine bow and a metal doohickey I found in my stash.


Hope you have enjoyed the show! Oh, one more thing to add, and it is really just for Kristin.
 |
| My Fisher Price pull toy |
No comments:
Post a Comment