Saturday, August 26, 2017

How To: Mini Peaches in a Jar and Some Other Stuff

A few weeks ago, I shared a miniature cupboard that was full of pantry items and here's a few instructions on how to make a mini paper bag, a wee spice rack, and peaches in a jar.

First, the paper bag. You'll need a rectangle of paper, glue, and something to wrap the paper around (like the end of a sketching pencil, a length of rectangular balsa wood, or the handle of a wooden spatula). Wrap the paper around the end, fold the paper on both sides as if wrapping a present, then add a dab of glue. Pinch top together, then roll paper down. 


The spice rack is made from basswood trim. Decide what length you wish your rack to be and cut two pieces to that size. Cut a third piece that is slightly shorter for the base. Finally, cut two itty bitty ridiculously small side pieces. Don't saw off your fingertips.


Glue back piece to base and add side pieces. Let dry. 


Wrap a bit of sandpaper around a thin dowel and sand sections along one long edge. The spice jars will rest in the recess.


Glue front piece to rack. Paint as desired.


The tiny spice jars are actually dollhouse baby food jars (with removable lids!) that came from Alpha Stamps. They will hold a fairy sized amount of something and are just too cute.


And lastly, here are the peaches in a jar. You need polymer clay in orange, yellow, and translucent, a ball end stylus, chalk pastels, tiny glass jar with cork top, Ice Resin, scrap of fabric, and string.


Mix the three colors of clay together. Pinch off tiny amounts and roll into balls, then flatten one side. Make an indention with the stylus.


Brush the insides of the peaches with red-orange pastel dust. Bake at 265 degrees for a nanosecond. Seriously. My first batch was scorched beyond recognition because I fed the cat in between putting them in the oven and taking them out. At least the cat was happy.


Spend 20 minutes meticulously arranging the peaches in the jar with a toothpick and then fill the jar with the mixed ICE Resin. Realize all of that arranging was fruitless (haha) because tiny air bubbles collected in the dimples of the peaches and spend another twenty minutes poking around at all of the bubbles with a stick pin, thus ruining the arrangement. Add cork and snip off top.


Place a circle of fabric on top, wrap a string around to hold it in place, then admire your mini handiwork! Happy miniature making!

Thursday, August 17, 2017

Mattress Tutorial for Witch Bed

Yesterday I posted a little witch bed made from a neat Spider Web Wrought Iron Playing Card from Alpha Stamps and am now going to show you how to sew the mattress. It is pretty small, so if you prefer to hand sew it, it won't take too long. I used the sewing machine to make it a bit quicker to finish.

Materials:
Heavyweight cardstock, watercolor paper, any thick paper will do
Mattress Fabric
Stuffing of any variety
Needle and thread
About an hour


Here is the template for the mattress. I posted how this is made yesterday. This will be inserted inside the mattress, making it rigid. Because I wanted a tufted mattress, I poked holes in the cardstock template so I could later sew through the fabric and the template. Mine aren't even but that's okay.


For the mattress stuffing I went with wool roving, mostly because I have a huge bin of it. Polyfil would work, or thin upholstery foam, or a bunch of unrolled cotton balls; dryer lint would be fine too. A few layers of wool were stacked together, the template was placed on top, and I cut around the template.


Trace around the template onto two pieces of fabric and cut out, leaving a 1/4" seam allowance. The strip of fabric with diagonal lines will be used to make piping around the top of the mattress and the other strip will go along the middle of the mattress. I did not measure these- it was a completely eyeballed project- but the piping strip is somewhere around 5/8" wide and about 16" long. The middle strip is 1" wide by 16" long. (so I guess I did measure them, huh?)


Fold the piping strip in half and sew close to raw edge. I considered placing a length of embroidery floss inside the fold, thinking it would replicate real piping a little better, but hey. It worked out okay without it.


Match raw edge of piping with raw edge of top piece and sew around with 1/4" seam. Turn under the raw edge of one end then place it over the other end to join.

Couldn't even be bothered to change out the thread. Lime green it is!

Match raw edges of mattress side piece to raw edges of front, right sides together, clip corners, and sew around, 1/4" seam again. Don't forget to fold under the raw edge of the end!


Place back piece on top and sew around, leaving one long side open.


Insert stuffing and cardstock template inside.


Sew closed.


Now to make the tufts. Thread a needle and knot the ends together. From the back of the mattress, fish around until you find a hole in the template and poke the needle through. Pull thread almost all the way to the front, insert the needle a little below where it came out, then push it to the back. Insert needle between the threads and pull tight. It will dimple the fabric on the front.


Then move to next hole, but when you come through to the back, slide the needle under the thread next to the hole, then under the loop. Pull tight and make another knot in the same way. You could be neater about it and just make all the tufts the same way the first one is made then snipping the thread and repeating. 


Turn your mattress over and be amazed at how cute it is! 


It needed sheets, so I placed the mattress on my sheet fabric and cut around, leaving an inch on all sides. The corners were cut out then the edges were folded up (right sides together) and sewn along the straight edge. Repeat for all corners. 


Sew a little casing around the raw edge, insert thin elastic in casing, tie ends of elastic together. Place on bed. All done!


Happy mattress making! :D

Wednesday, August 16, 2017

Witch's Bed and Table

This month, the design team for Alpha Stamps was sent a few new die cut playing cards to...well, play around with! The Spider Web Wrought Iron one caught my eye and I decided to transform it into a bed for a witch. My decision to use the spider web card had nothing to do with the need to craft Hallowe'en things, I swear. The table was an afterthought, made by gluing a wood finial to a wood disk, painting it, then adding a Dresden trim along the edge. The table top has an embossed design using a stamp from the Curiosity Cling Stamp set. 


The construction is quite simple, and I'm going to show you how to do it. You will need:

Spider Web Wrought Iron Playing Card
Balsa wood approx. 3" x 4 7/8" x 1/4" (bed base. It is the same dimensions as the card)
Basswood Strip 3/16" x 2/16" cut into lengths of the following size:
                              4" long- cut two (headboard legs)
                              2 1/2" long- cut two (footboard legs)
                              3" long- cut two (supports)
Basswood Strip 3/16" wide by 4 13/16" long (side supports)
Scrapbook paper
Saw
Paint 
Glue


First, trace around the card back onto heavyweight cardstock/drawing paper/watercolor paper, then scootch the back about 3/16" down and trace around the end again. Cut along traced line. The card back will become the headboard and footboard and the cardstock will later become part of the mattress. The mattress needs to be shorter to accommodate all the bulk. You will have to adjust the length of your mattress if you plan on using thicker fabrics for bed linens. I will have the tutorial for the mattress tomorrow.


Measure 2 3/8" from top of card back and 1 1/2" from bottom of card back. Cut along lines. The larger piece will be the headboard and the smaller, the footboard. Save the middle piece, we need a strip of that for the footboard. Cut the card front using the same measurements. See those two skinny bits? They come in handy if you have to apply glue to something small. Or fold them in half and use them as paper doll stands. Or just throw them on the floor and sweep them up later. 


Next, trim off 1/4" from the headboard front. I wanted my headboard to be flush with the bed base, so I trimmed off 1/4" which is the same width (or is it depth?) as the balsa wood I used for the bed base. Because we want the footboard to be nice and tidy, we need to add a piece along the bottom to frame it out. Cut a strip from the saved bit that fits inside the footboard. I eyeballed mine, and it is crooked. Meh.


Paint all the pieces! Including the balsa wood bed base, supports, and legs.


Paper all the pieces! No, not really. Just the headboard and footboard. Ink around the paper edges and add color to the webs if you like. 


Next, glue headboard front to headboard back and footboard front to footboard back. Also glue on the extra trimmed bit. See how nice that looks? Grab the bed base and glue a 3" long support to both ends of the bed. (The photo after the next one will show you exactly where to glue the support for the headboard, whereas the footboard support is aligned with the end of the bed base.) Here you see the headboard and legs, footboard and legs, the balsa wood bed base with two support pieces glued on either end, and two additional supports pieces that don't belong in this pic and should be on the floor with the rest of the unusable pieces.


As I said, the headboard support is glued to the bottom of the bed base but with a tiny bit jutting out. The headboard will be resting on this and hopefully make the bed sturdier. The footboard support is glued flush with the other end since I did not want to see the support from the front of the bed. The purpose of that support is mainly to have additional surface area to glue on the footboard, thus making it durable. It makes sense in my head anyway! 


Headboard freshly glued flush to bed base and on lip of support.


Footboard glued to bed base.


Okay, now there are probably a thousand better ways to glue on the legs but this is the kooky way I did it.  Maybe because it's wine in my mug and not coffee. The bed is 1" from the floor, so I placed it on four 1" cubes and then weighed it down with something heavy. (EasyMold kit worked pretty well!) Glue the 4" long basswood strips to the headboard and 2 1/2" long ones to the footboard.


Lastly, glue 4 13/16" long side supports to both sides of bed. It's a bed!


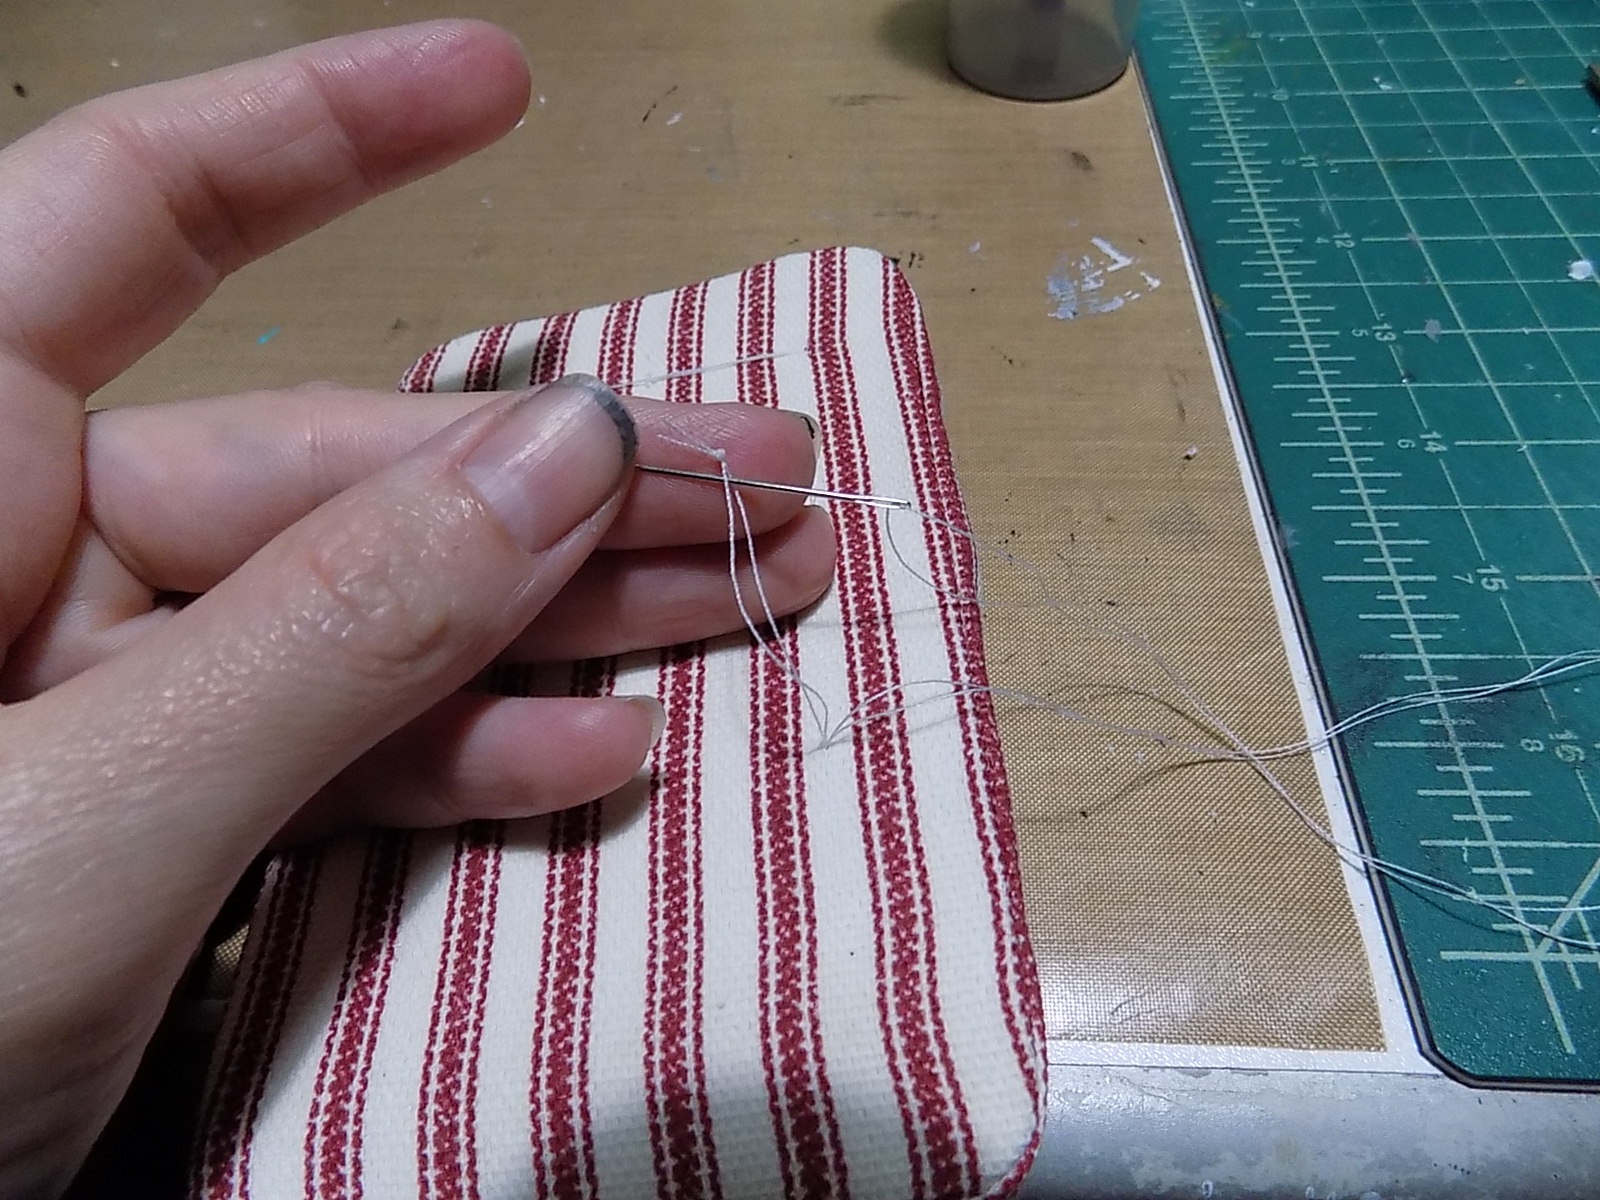
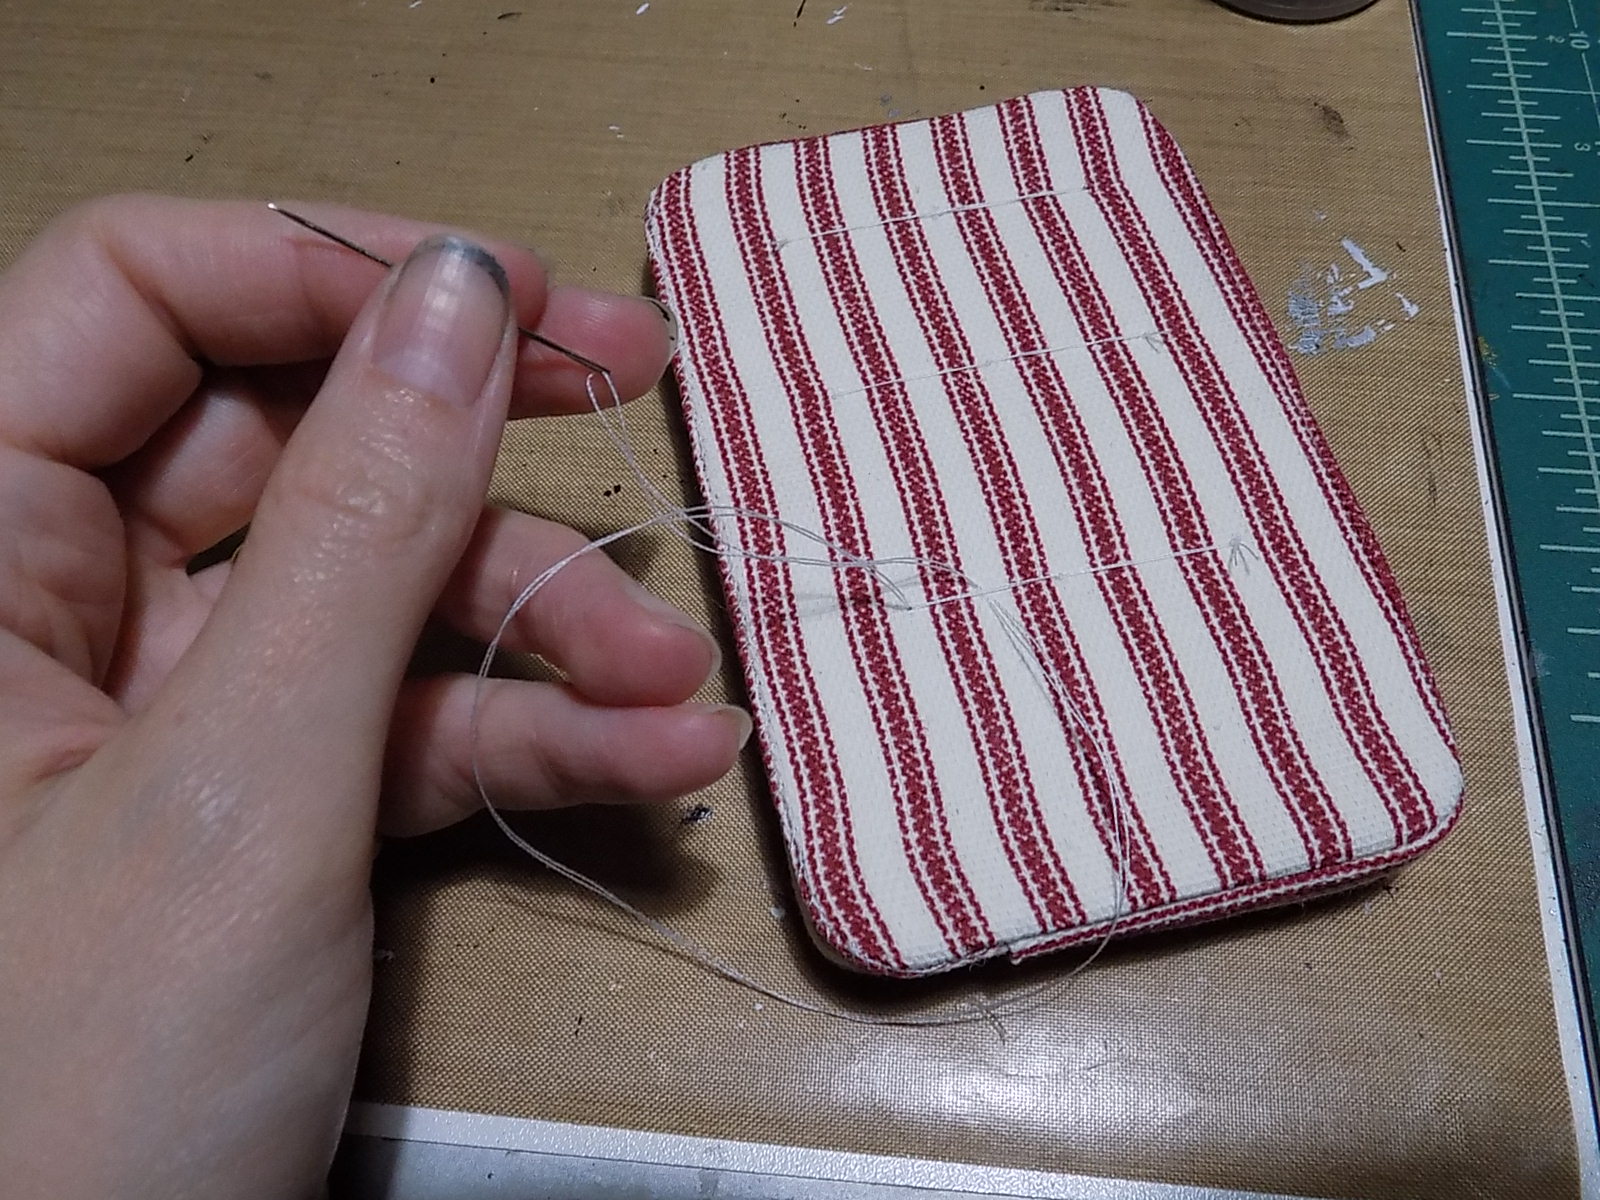
The bed needed a mattress:


Sheets and a pillow:


And finally, a blanket with a really cool design (courtesy of the All Seeing stamp in the Curiosity Cling Stamp set). I used another one of the stamps to emboss the top of the table. All of the stamps in that set are interesting and will most likely show up in a lot of my projects. Thanks, Leslie!


Supplies List:

Spider Web Wrought Iron Playing Card
Basswood Strips 3/16" 
Curiosity Cling Stamp Set
Tiny Antique Silver Crown
10mm Clear Glass Marble
Large White Turquoise Skull
Ceramic Black Cat Bead
Astrology Backgrounds collage sheet
Alchemy Collage Sheet
Tiny Divination Cards collage sheet
Tim Holtz Vignette wood Finials
Thin Looped Dresden Borders- Black

3" wooden disk, bag of balsa wood (assorted sizes), modeling wax, toothpick. Happy crafting to you!


Friday, August 11, 2017

Tilly, the Junker Jane Doll

I recently joined a Junker Jane inspired swap over on Craftster. It seemed like a fun and relatively anxiety-free swap. 

And then I attempted to make one.

Uh, no. Cute? Maybe. Junker Jane style? Nope. Nevertheless, one of my kids claimed him as her own and named him Jack.


After a few more attempts (none that I care to share here, or anywhere else for that matter, as they were utterly disastrous), I ended up with something Junker Jane-ish. Her name is Tilly and she scares the snot out of Jack's owner.