My initial plan was completely scrapped and the idea of a little book telling the story of a mermaid wishing for legs emerged. The idea actually came from Leslie asking, "maybe make up a story of a mermaid becoming human?", but her story might have been a little less...risque? But maybe not! I decided to balance out the naughty side of the book by adding a nice side, where maybe a girl is dreaming of being a mermaid. So, it is a two sided book. Both covers are sturdy chipboard Etched Mini Book Covers, with the nice side of my book showcasing the beautiful ship. More on that in a bit. Let's peek at the naughty side first.

The mermaid doll can be removed from the cover.

Inside is the story of the mermaid desperately wanting a pair of legs and all of the things she could do with them. It is more of a poem and less of a story, actually, so it makes more sense knowing that from the get-go.


Ok then! Let's talk about the book's pages for a second. They were made with bleach, stamps, and black cardstock! I used a bleach soaked paper towel as a stamp pad and stamped the entire sheet of cardstock. A few colors of ink were rubbed on the pages as well as a spritz of Lindy's Stamp Gang Starburst Spray in the Mermaid Set. That's the naughty side. The opposite side is a lot less exciting.
This is a quickie in-progress picture to show how the book is two-sided. One story is bound in the fold behind the ship cover and the second is bound in the other.

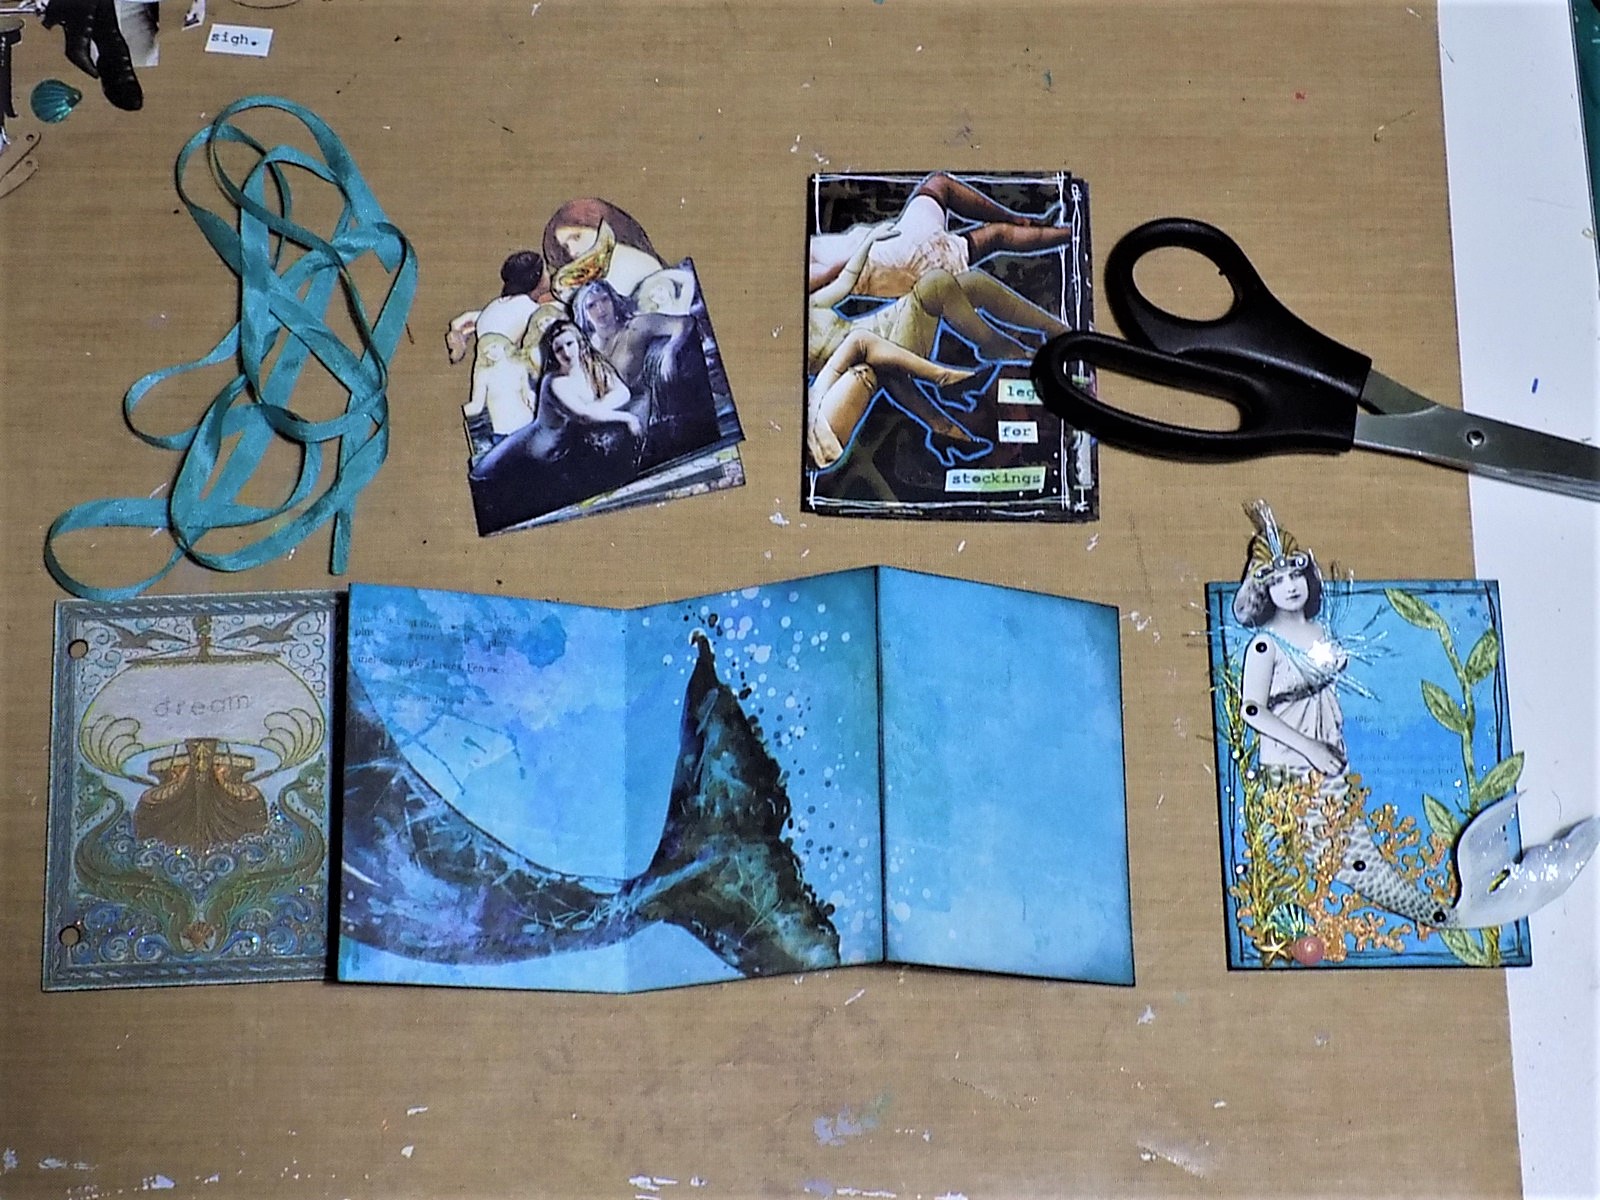
The nice side is simplistic, with no text, and filled with beautiful mermaids.

I cut out images of mermaids and glued them onto the pages I made using the Life in Color Discovery paper. Then I cut around the images a second time, so when the pages are together you can see each mermaid.


Completely different than the other side, isn't it? The construction is easy; it is exactly like a regular book with an extra flap. You need the Etched Mini Book Covers, a piece of cardstock measuring 4"W x 8 11/16" L, ribbon, and your book pages. Make two folds that are 2 14/16" from each edge of the cardstock. This is the middle part of the book. The book pages should measure 3 3/4"W x 5 1/2" L. Make a signature by stacking the pages together then folding them in half. Here are my finished pages for each side of the book, the cover with the ship, the middle accordion folded cardstock, and the other cover.
Glue ribbon on back of one cover.

Glue cardstock on top. The fold will align with the right edge of the cover.

Glue other cover face up on last flap of cardstock.

Align the pages inside the book, with the folds together, and poke spaced holes along the fold. Sew the pages in using thread or embroidery floss. It helps to cradle your book inside an opened phone book and use an awl for making the holes, but I don't have either of those things. A tapestry needle worked quite well. And there you have two stories in one!


Happy crafting!
You can see all of the supplies I used RIGHT HERE.
No comments:
Post a Comment