No?
Rats.
Halloween has been on my mind lately, more so than usual, which put me in a mood to make a few spooky things. Nothing wrong with getting a head start on holiday crafting, right?
I had two Arched Triptychs with Overlays from Alpha Stamps and thought they would make an interesting little card to give to a friend that enjoys Halloween as much as I do. She also loves miniatures, so I glued the overlay from the second arched triptych over the first to create enough depth for a "bookcase" with oodles of dark and creepy things! (More on the basic construction later.) Let's talk minis!
I rifled through my bin of Halloween charms and beads and cast metal to fill the shelves. That bin is completely full of things that would have been great, but the ones that made the cut (look at that 3D jack-o-lantern!) worked out fine. I snipped the rings off a few charms such as the Antique Copper Skull (he has kooky rhinestone eyes now) and the aforementioned 3D jack-o-lantern (with a snippet of orange vellum glued to the back).
I also found a cute polymer clay ghost that I had made using the Mini Halloween Icons Mold, a wee Grim Reaper ceramic bead, and two cast metal minis. The skeleton was spray painted and the lornette has vellum lenses and a sharpie-colored handle. There's an acrylic bat in there somewhere, and the rest are collage sheet images.
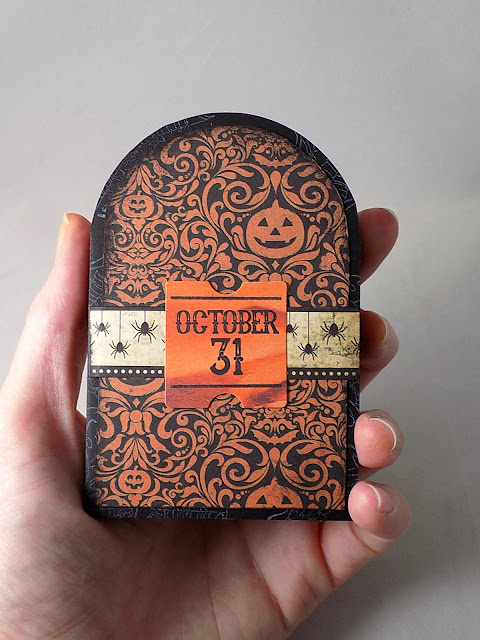
On the back of the bookcase is the card. Weird, huh? But there's a reason for that, which I'll tell you after a few pictures. I left the card flat and simple so it would fit nicely into a pocket envelope.
Here's the reason the card is attached to the mini bookcase:
And finally, here is a quickie on how to make the mini card.
1. Paint and paper the back and overlay from one kit and just the overlay from the second kit. I used Grand Bazaar Folklore Scrapbook paper for the back of the bookcase. Glue the overlays onto the papered back. I was too eager to get to the miniatures, so after I resized some books from the Antique Leather Book Spines collage sheet and glued them in place, I added all of the selected minis at this stage.
2. If you too were excited about the minis part and glued all the bits to the front like I did, place the back piece of the second Arched Triptych on the paper you are using for the card and trace around the curved edge, like so:
3. Flip the chipboard piece over and trace around the curved top and side:
4. Cut out.
5. Fold. Decorate the card and glue it to the back of your mini bookcase. Done!
And one last shot of that adorable cast metal skellie in the corner...I love that guy. Happy Halloween crafting to you (I know I'm not the only one)!
HERE are the supplies used including names of all the collage sheets.
Oh, and the other thing I finished - knitted pumpkin orange socks!


I love your card. My favorites are the old books, the owl, and the skeleton.
ReplyDeleteActually, I like it all together as a special handmade card. Nice!
The socks are a great punkin color! *~*
This comment has been removed by a blog administrator.
ReplyDelete