Saturday, March 26, 2016

Miniature Flower Box


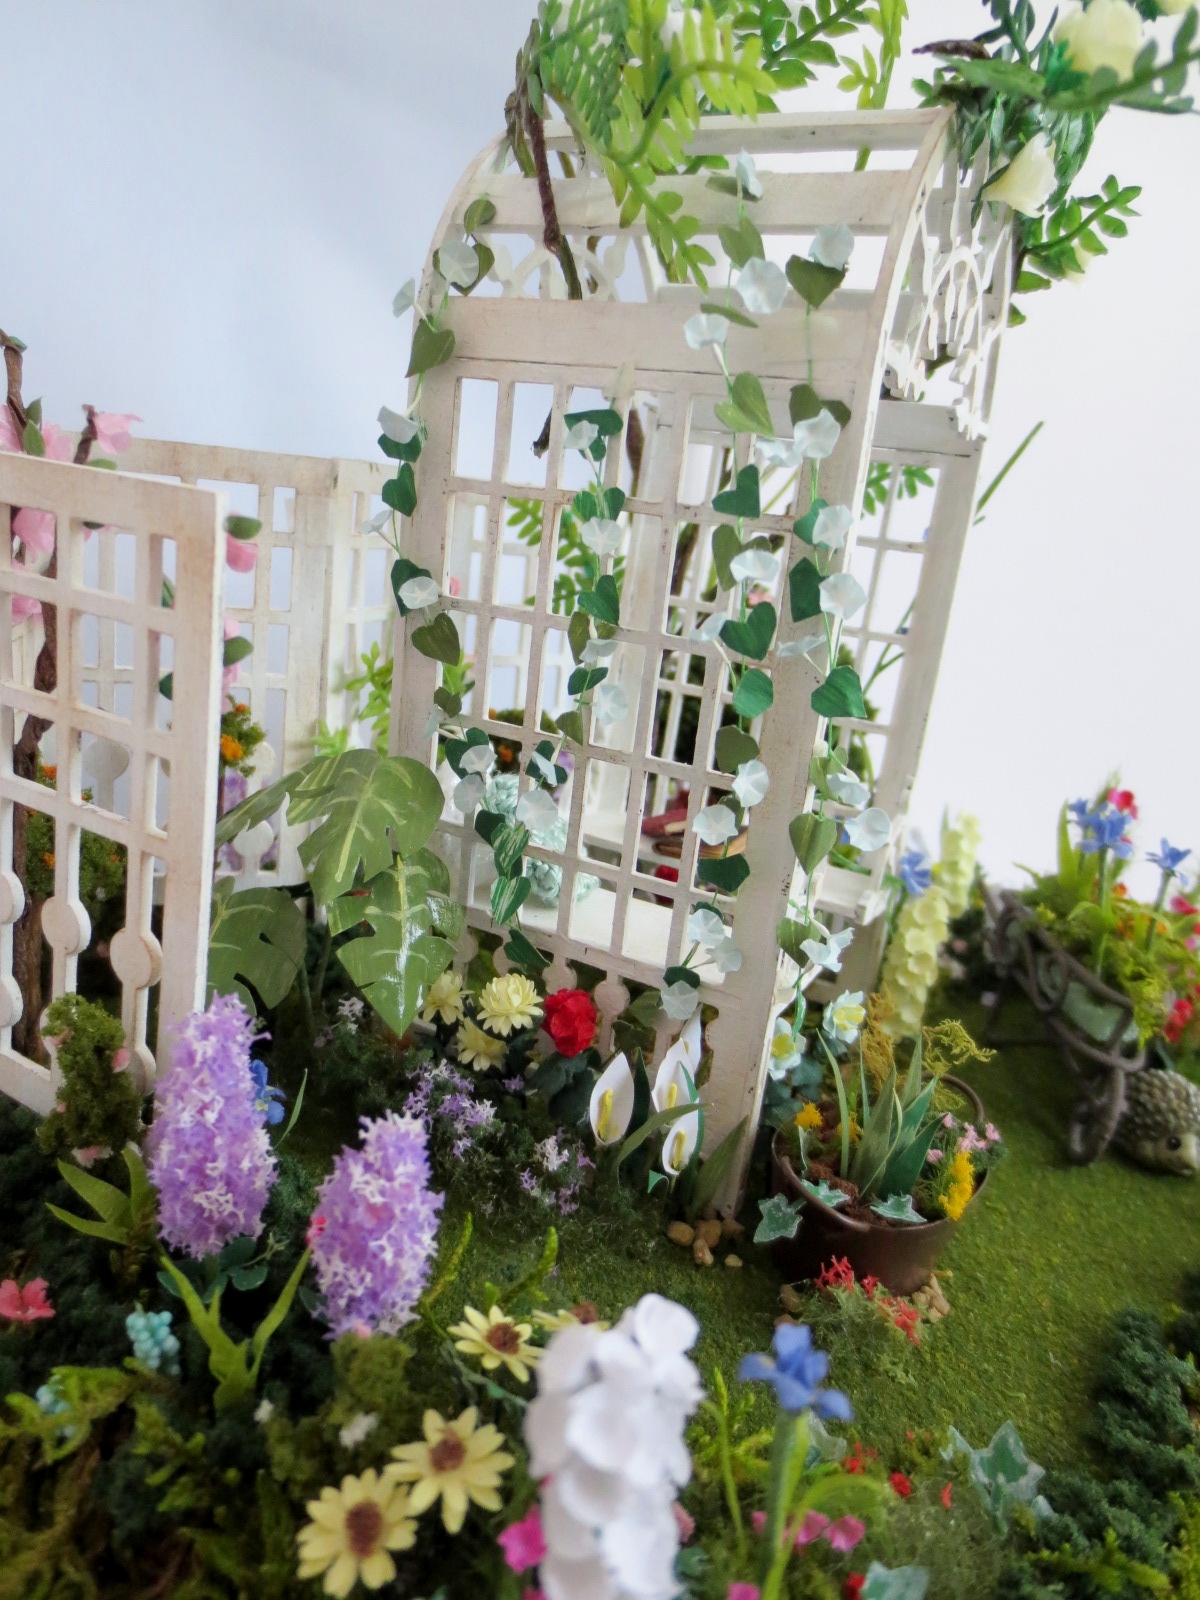
Spring is upon us! What better way to celebrate the season than with a dollhouse sized planter box and trellis that's in full bloom. A bundle of flowers fit inside the 1 1/2" x 5/8" box, like darling daffodils, blue hydrangeas, pink geraniums, lovely lavender gypso, climbing red roses, AND english ivy. There is even a wee fairy taking a rest amongst the flowers. His mother better not catch him, he's supposed to be polishing the beetles' shells! 


This was such a rewarding project for many reasons. The first being how incredibly easy the assembly of the mini flower box and trellis was. I had it glued together, painted, and aged in about 20 minutes (with the help of a heat gun). The flat back brass studs were added to the corners and I freehanded some scroll work to the front with a gold pen. It was also gratifying to be able to have a completed project in under an hour. All I had to do after the flower box dried was tuck a bit of floral foam in the box and arrange all of the beauties inside. And I still have a handful- tons in miniature terms- of leftover flowers for another project. Now all I need is a dollhouse garden to go around it! 

Need more springtime? Check out all of the new garden themed projects the design team at Alpha Stamps has created and then go make your own!

Happy Spring to you!

GO HERE for the list of supplies.

Wednesday, March 9, 2016

A Spring Escape

This winter was terribly disappointing. We had two, TWO! cold days where I had to wear a long sleeved shirt under a hoodie and that was it. No need for mittens or toques or scarves. Sigh. I know a lot of people that have had the opposite kind of weather and are ready to trade in their snow shovels for some sun and blooming flowers. I'm in no rush (azaleas have been in bloom since January. Sigh again) but if you need a little springtime right now, Alpha Stamps March Kit is Gardens! Fairy gardens, secret gardens, veggie gardens, butterfly gardens, flower gardens; whatever sort of garden you want to make, they have the miniature stuff to do it.


My little garden started with a 4 1/2" H chipboard arbor and a micro mini book. I wanted to create a cozy little reading spot that was nestled among a few flowers. What began as a small project blossomed into an entire flower garden. It was easy to keep making miniature flowers and leaves with these paper punches, so I kept on until I ran out of room on the 6 x 7 x 2 inch platform. Then the sides got loaded down with sheet moss and flowers, too, because sometimes I don't know when to stop. 


I got to cheat a little and used a sheet of Diorama ReadyGrass. So easy. No mowing necessary. Doesn't the hedgehog know he's supposed to be in the hedges?


I made the tree with 18 gauge floral wire that was wrapped in brown florist tape. I separated the two lengths of greenery from some fern garland and wrapped the ferny part around the tree and then glued on some roses (see below for rose tutorial). The other bit of greenery had the leaves cut off and I attached little blue flowers made from a Mini Hydrangea punch to the climbing vine.


Isn't this the cutest rusted metal tub? I still managed to cram a ton of flowers in there. The ivy leaves were punched with this. The miniature arbor is darling and quick to assemble. I trellis panels allowed me to go vertical with some flowers (there's still room for more!)


The stick base of the orange shrub comes from a disassembled miniature broom. Use everything!

The pink flowers are made from three of these punched shapes that have been shaped and stacked together. The purple flowers have tissue paper cones glued onto stem wire. I covered the tissue cone with glue and rolled it in Flower Soft- crocus


Eeeee! SO SMALL

The mini arbor isn't so big either

Making miniature paper flowers required a few essential tools. A small ball stylus is crucial, as is a pair of bent nose tweezers. The bent end made it simpler to glue the tiny pieces where they needed to go. Small sharp scissors are important for cutting out delicate shapes, and various gauges of floral wire, both covered and uncovered, are needed. I primarily used 30 gauge green papered wire and 28 gauge stem wire. What type of paper you use for petals and leaves is up to you- I used everything from tissue paper to coffee filters! Tiny paper punches made short work of flower making, and I found I could have a handful of flowers and leaves done in about an hour. 

Many of the flowers are made with tutorials I found online, like this one for morning glories. It suggests using green quilting thread for the vines and calyxes, which I didn't have, so I cut a long length of the white quilting thread I did have and colored it with a green Copic marker. I sandwiched the thread between a piece of paper and the chiseled tip of the marker and pulled the thread until I got to the other end. Green quilting thread. Missing also was the 1/8" heart punch so I just cut them out of printer paper that was painted with acrylics. Geraniums were the next flowers I wanted to try. There are several tutorials for making geraniums, and after looking at a bazillion of them I decided to make them however I wanted. Here is what I did.

Materials:

1/8" circle punch
Mini Flower punch
26 gauge stem wire
tissue paper in flower colour
green cardstock that has been separated into thinner sheets
small, sharp scissors
paint
foam sheets or mouse pad
tacky glue
small ball ended stylus

Fold your tissue paper over a few times and punch out several 1/8" circles. Punch out lots, just in case you sneeze. For the leaves, peel apart your thick green cardstock, then punch out some Mini Flower shapes. Cut off one of the petals from the flower shape; this is where you'll attach it to the stem.


The little green leaves were punched out and I cut off a part.


Glue a ball of torn off bit of tissue paper onto the end of the wire. Mine are more like blobs, less like balls.


Smash the centers of all the tissue paper circles, cupping them into bitty petals. 


Using tweezers, cover the ball with these microscopic petals. 


Cup the leaves a bit by placing one on the foam sheet and pressing around the edges with the stylus. It is more like swirling around the edges and it is fun to see a petal take shape. Glue petals on stem. I also added acrylic paint to the leaves for a "realistic" look. Or something like that.


I found an amazing iris tutorial by Jan Simpson Gilham in an old Dolls' House magazine that my mom gave me. What luck! 

Materials:

blue tissue paper
green covered wire
green floral tape
1/8" circle punch
green paper or painted printer paper
yellow acrylic paint
small sharp scissors
tacky glue
small ball stylus
bent nose tweezers

Punch a few 1/8" circles from the green paper. Cut wire to desired length and then make a 90 degree angle in the very tip of the stem with wire cutters. Dip this end in glue then place a 1/8" green circle on top.  While the stems are drying, fold over a strip of blue tissue paper and cut out several small hearts. Paint a thin stripe from the point of the heart to the center. You need three hearts with a yellow stripe and three unpainted hearts to make one flower.


When the petals are dry, place three of them facedown on the foam sheet and cup the lobes of the hearts with a stylus. Place a dab of glue on top of the 1/8" circle. Grab a petal with the tweezers and place its point in the glue. Glue two more painted petals in this fashion, making a Y shape with the petals. Here I have glued on two petals:


Cup the remaining three hearts in the same way, and glue the point of each one in between the painted petals. Use tweezers to help keep the petals upright until dry. For the leaves, fold over a small length of florist tape, then pull both ends to make it stick together. From the folded end, make six cuts to form three long leaves. It will look like a tapered W. Wrap the bottom end of the leaf around the stem and twist it. 


Roses!

Materials:


Short lengths of covered wire
Small hearts punched from crepe paper/tissue paper/A4 paper
Mini Star punch
green crepe paper/tissue paper
Bent nose tweezers
tacky glue

A little tip if you have trouble punching clean shapes from your tissue or crepe paper- layer a few sheets together and add a sheet of printer paper before punching, and you'll get nice shapes. I've also found it much easier to squeeze a glob of glue onto my work surface and use a toothpick to apply the glue. Stick the end of your wire into the glue and then place it in the center of a heart shape.


Fold the heart in half and roll it between your fingers, forming the center of the rose. Place a dab of glue on the wire and attach another heart, and curve it around the center. Continue like this until you have the shape you like.


To form the calyx, punch a hole in the center of the star shape. Slather a bit of glue on the underside of the rose, slide the wire through the hole in the star and glue in place.


Random Made-Up Flower!


Materials:

Tissue paper
Mini Bellflower punch
Stylus- small ended
Bent Nose tweezers
White Gelli pen
Foam sheets

Punch out several flowers. Dot the centers with gelli pen. Place the flower face-down on foam sheet and cup petals with the stylus. Turn the flower over and press down in the center to complete!


You can also take two of that same shaped punch, the Mini Bellflower, and stack them on top of each other, then add yellow stamen punched from a Mini Flower 3. Add punched leaves and you're all done! They'd look really sweet in a rusted metal pail

A complete list of all the supplies can be found HERE, including the adorable 1/2 scale arbor and trellis panels. Happy Spring!