Showing posts with label mushrooms. Show all posts

Saturday, March 27, 2021

Pixie Palace

 Normally, I like to create small things: half-scale miniatures, knitted socks, three inch embroideries, that sort of thing. But sometimes you gotta shake things up to keep it exciting, right? I guess that's what I was thinking when I made a 1:12 scale Pixie Palace for any wee folk living in the backyard. 


The Pixie Palace was constructed from many great things from Alpha Stamps, including two Octagon Room Boxes stacked on top one another for two floors of living space. It is about 17.5" tall and 15" wide - I'm pretty sure my last three projects could fit inside!


There's a cute rustic door (it does open!) and a planter box with trellis on the outside, and a few windows with mica tile panes sandwiched between. The outside is covered in lichen, climbing vines, foliage, and plants


On the first floor is a stone fireplace and dry sink. Upstairs is the bedroom with a cute bed and a bookshelf with drawers.


I covered a Narrow Victorian Fireplace with paperclay and tiny pebbles to make it look like a stone fireplace. The flooring is jumbo craft sticks cut to resemble tree rings. The color was nice, so I left them bare. More on that later.


There's a black metal pot hanging over the firewood, plus a bunch of tiny things on the mantel like a green jar, a half-scale crate of mushrooms, plants, a different bitty metal pot, and a bowl. I also see a wooden chair, dutch oven, wooden spoon, and...is that a cocktail umbrella in the background?


Here is the kitchen area, all ready for a quick bite to eat! There's a dry sink, hand pump, pail, and soap dish. Next to the sink is a fern stand used as a table, cheeses, a basket for fruit and sweets, wooden bucket, thimble planter for pink flowers, pumpkin pods, a metal dish of apples, and a barrel planter of grass.


Above the fern stand is a spice rack with a towel bar that's perfect for hanging plants, herbs, or even a sickle! An assortment of jars sit on the shelf: red jam, a mason jar, baby food jar, metal apothecary jar, and a fun creamer with flowers tucked inside. I crocheted a window valance and added a candle to a pop top "candleholder". 


I love the wee bed on the second floor! It's actually part of a bunk bed, so if a second pixie decides to move in, all I will need to do is add the top bunk and knit another blanket. 


In the corner is a pretty pitcher and basin set sitting on a spool, a square planter, a paper label, and a snippet of an advertisement. 


I used the Bookshelf with Drawers for storage but altered it a little with paperclay. Adding paperclay to a chipboard kit can totally transform a piece. Before covering the bookshelf with the clay, I painted it with gesso to make sure the clay would not warp the chipboard. I have done this with multiple chipboard pieces and have never had any issue, even when I wet the clay to shape it. Sometimes I also add a light layer of glue before slathering the piece with paperclay, but mostly on heavy things like the stone fireplace. The final layer is acrylic paint:


The flooring in the bedroom is the same as the first, jumbo craft sticks, and I've added thin strips of basswood along the floor and walls, just as before. There's a matching crocheted valance (I was going for a spiderweb-type curtain), another thimble planter with roses, a few wooden buckets, and bits and bobs crammed on the shelves. I also made a frame from some sticks, then hung the squirrel picture from a thumbtack. 


Minicus Moo is Chief Operating Officer and oversees all projects, especially ones involving itty bitty fragile miniatures or yarn. She has told me the doorway needs to be taller :/


The beginnings of Pixie Palace. I cut a window and doorway from the panels before gluing them in place. And you can see in that blurry photo above how I drew lines radiating from the center front of the room to the corners of the walls, then cut the jumbo craft sticks to size. They were glued down with regular Tacky Glue. 


Under all of that paint, moss, vines, lichen, and plants is the base of the Pixie Palace. Aluminum foil and 5 pounds of paperclay! I smooshed the foil together before hot gluing it to the stacked room boxes, then proceeded to cover the entire thing with clay. It took a few days to cover and a few to let it dry. You can see the windows and door were installed beforehand. I added a mica sheet to the back of the window frame, glued the window in place, and added a second window frame on the inside. If you do this, make sure you paint both sides of the frame since it is visible between the glass.


Oh look! Pixie Palace is let at last!

Thanks to all of you who have made it this far; you've come to the best part. The supply list! Instead of linking every bit of detail in the blog post (that would be silly), you can view all of it in one go by clicking RIGHT HERE. Cat not included.

Happy mini making!!!

Wednesday, September 16, 2020

A Home Fit for Several Gnomes

I know it is September (aka Spooktember, when all the Halloween crafting happens) but an exception was made after receiving a Mushroom Niche Shrine with Arched Door and collage sheets filled with tiny gnomes from Alpha Stamps. I might have squealed a tiny bit. 


I say this every time a new Niche Shrine is announced, and it is always true, that this one is my absolute favorite. Mushrooms, gnomes, and shrines? Yes, please!


Shall we give a knock and see who's in? (I love that bitty door handle.)


What is going on in there?! Is this the party mushroom? 


Looks like Kerfoot is only interested in prepping potatoes for future batches of whatever's gotten the rest of them so happy.

Now, how exactly did eleventy-thousand gnomes cram into one mushroom house?


Oh-ho! The mushroom is a tunnel book! (A tiny one, but one nonetheless.) I have had an idea for a gnomish tunnel book for a while, so when the Mushroom Niche Shrine arrived it just seemed like the perfect opportunity to create it. 

Let's make a gnome home! 

What you see here are the front and back parts of the Mushroom Niche Shrine and the tunnel panels of the 4x4 Arch Tunnel Book. I placed the first tunnel panel on top of the mushroom front and traced around the opening to create a new doorway:


The top right is the mushroom front with the new door cut out. The mushroom front was placed on top of each of the tunnel panels, and I traced the curves of the stem along the top corners. Those got chopped off:


Next, paint the backs of the tunnel panels black (optional) then paper the fronts. I used the paper in the Mushroom House Kit; it's very gnome-y.


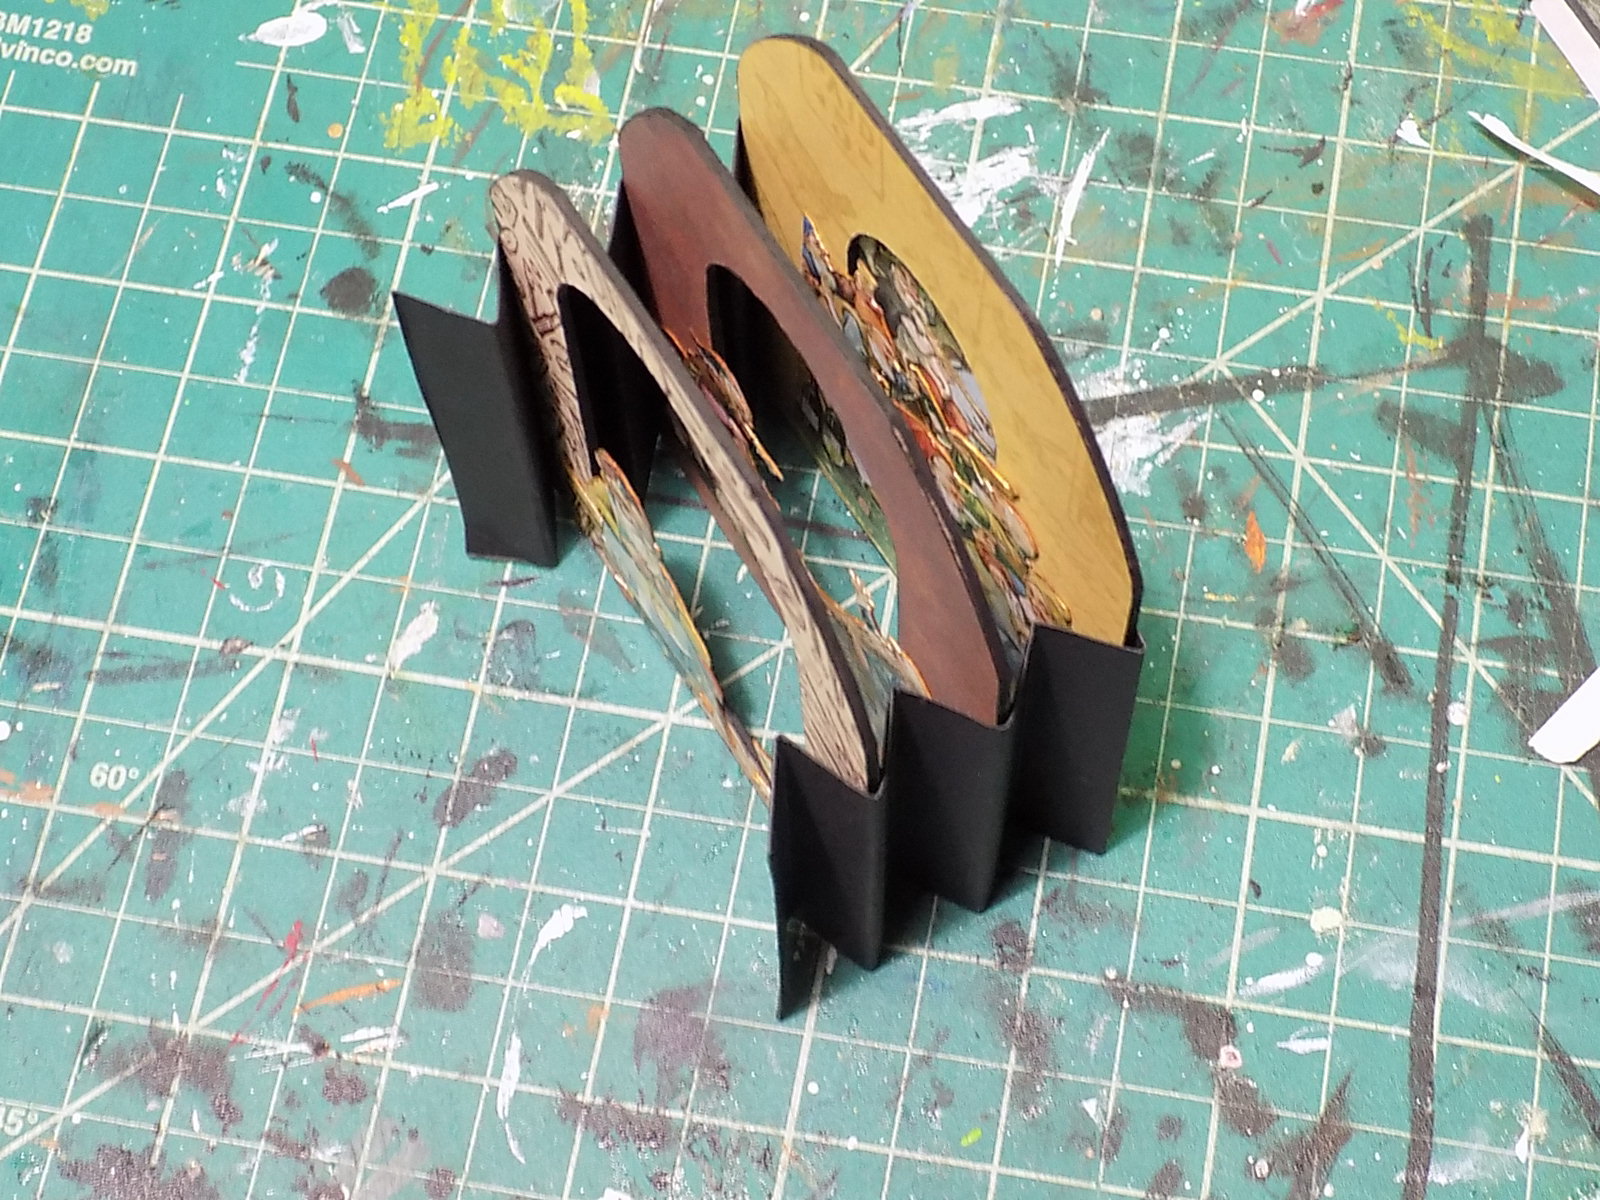
Next, cut two strips of paper  2 1/2" x 5 1/2". Make marks at 1" intervals on the long side. Flip paper over and make marks 1" apart beginning at 1/2". Using a bone folder, crease the paper at each mark, then flip the paper over again and crease those marks, too. Accordion fold the paper strip. Repeat for the other strip of paper. (Or use a scoreboard if you have one of those.) Cut the accordion piece at 3 1/2" then cut the remaining 2" section in half. Repeat with the other accordion piece. You will have two 3 1/2" accordion sections and four 1" pieces with folds. We'll call those shorter pieces "flaps".

In the above photo, I have added strips of double sided tape to the 1" flaps and attached them to the backs of the first and second tunnel panel. Ignore the other 1" flaps in that photo- those were spares.


Time to attach the two tunnel panels to the accordion folds - exciting! Remove the backing from the tape and attach the flap to the 3rd fold of the accordion. Here's another delightfully fuzzy photo for you so you can see exactly where those flaps go...


This photo is a bit better. Sort of. Well, the idea is the very first fold of the accordion will be glued to the back of the Mushroom front, the next fold has the first tunnel panel, followed by the second tunnel panel. The last fold will be attached to the third tunnel panel before the entire panel is glued to the Mushroom Shrine back. Since the third tunnel panel is glued to the mushroom back, no flaps were used on it.


Using the flaps to attach the panels makes tunnel book making so much easier in my opinion. The book can easily fold together if you choose to create a book that closes.


Moving on to the mushroom front! This part is super duper easy. I wanted a 3D effect and chose to use Creative Paperclay. To make certain the clay would stay put and not separate from the chipboard, I covered the mushroom with gesso followed by two coats of tacky glue. There was a slight amount of warping as the clay dried, but it was minimal. 


And we're shaping, la, la, la...


Done! It dried for two days before I painted it with acrylic paints. I also painted the back mushroom piece. 

For the door, I traced around the opening of the mushroom onto the brown paper. An additional 1/8" was added around the perimeter, the paper template was cut out, then traced onto a thin sheet of basswood. Cut out the shape and there's your door! Paint and decorate as desired.


To attach the door, first glue the hinges on the door. Place the door over the opening and apply more more paperclay around the sides and over the part of the hinge that's touching the mushroom. Let dry. Touch up the paint. 


And there you have it, a wee mushroom house fit for (at least) 10 gnomes.


Don't forget to make a tiny lawn for your new gnome home, complete with autumnal shrubs and a teensy planter! Oh, and see the light wood planters on both sides of the lawn? They're beads!


Cute!


Now it's time for more Hallowe'en crafting...yay! GO HERE to see a list of supplies used. Have fun!

Saturday, January 11, 2020

Forest Gnomes Pop Up Book

When I first saw these Etched Wooden Arched Fairy Doors from Alpha Stamps, I thought about using them as book covers and attaching pages inside to make a little book of fairy recipes. But then I saw all of the new gnome themed collage sheets, like the Happy New Year and Gnome Home sheets,  and immediately changed my mind. Gnomes! Yay!


The pages inside were made using a Matchbox Ticket Journal. I distressed the front and back of the ticket journal and the backs of the fairy doors with brown inks for a uniform color.


On each of the pages is a rectangle of rice paper that was also aged, and I used various stamps on the pages using the same brown ink. 


Most of the pages also have a simple pop up image on them, made the same way as the ones in the Pop Up Alice in a Matchbox book. 


This little guy here; he's just too cute riding on a snail from the English Fairy Garden collage sheet


Instead of painting the doors, I decided to color them with watercolor pencils, mostly because the pencils were already on the craft table. They worked out well enough!

You can go HERE to see the list of supplies used. 

Happy New Year to you!