Showing posts with label miniature. Show all posts

Saturday, April 22, 2023

How Does Your Garden Grow? Altered Tin

 It seems like a lifetime ago when I last made anything other than bento. I hadn't made actual art in some time and was in desperate need of creating something other than lunch. Thankfully, Leslie saw this and graciously sent a box chock full of miniatures, blank altoids tins, tin inserts, mini metal garden items, model landscape material, mini building supplies...it was a giant box!

I eventually decided to create a mini garden cottage inside a Blank Altoids Tin using the Altoids Shelf Insert - 2-1/4 Inch Wide and a super cute (and very tiny) Half Scale Georgian Pediment. The outside of the tin is simple - a lovely gate and some roses:


After papering the entire tin, I added the gate to the front, then glued on a few sprigs of this fantastic Dark Green Camouflage Foliage. The roses are teensy bits of Mini Blossoms Mix - Fuchsia Pink. 


And here's the inside of the tin with the garden cottage and the smallest wheelbarrow you've ever seen! It's a hefty metal miniature painted with acrylic craft paints. It got a quick scrub with some dish soap to remove any mold-release residue before painting. Next to the wheelbarrow on the right is a Quarter Scale Antiqued Window Box under a Tiny Trellis. So small, so cute!


The roof of the cottage is the Half Scale Georgian Pediment mentioned earlier. I altered it a tad and have a basic tutorial for that below. You can see lots more of the Dark Green Camouflage Foliage inside the tin as well as a few Green Foliage Bushes and Variegated Green Vines. The Green Foliage Bushes are the grassy tufts with little leaves in the corners of the tin. I cut the tufts to fit and they are perfect! The small tree was made with a twig from the Dark Green Camouflage Foliage, a rolled ball of Variegated Green Vines, and some yellow flowers (or maybe lemons?) from the Mini Flower Border - Yellow


The cottage rests on Altoids Shelf Insert - 2-1/4 Inch Wide. It is three chipboard pieces with slots that fit snugly in the bottom of the tin. I painted the insert pieces, glued them inside the tin, then added air dry clay cobblestones to the front. The cobblestones were painted and some Green Turf Grass was sprinkled here and there. The front piece of the shelf insert attaches to the top piece slightly behind the tin lip, creating a recess wide enough for the cobblestones, but it's also a great place for a label holder from the Fairy Tale Frames Altoid Inserts set. Or filigree!


And here is how it came together:

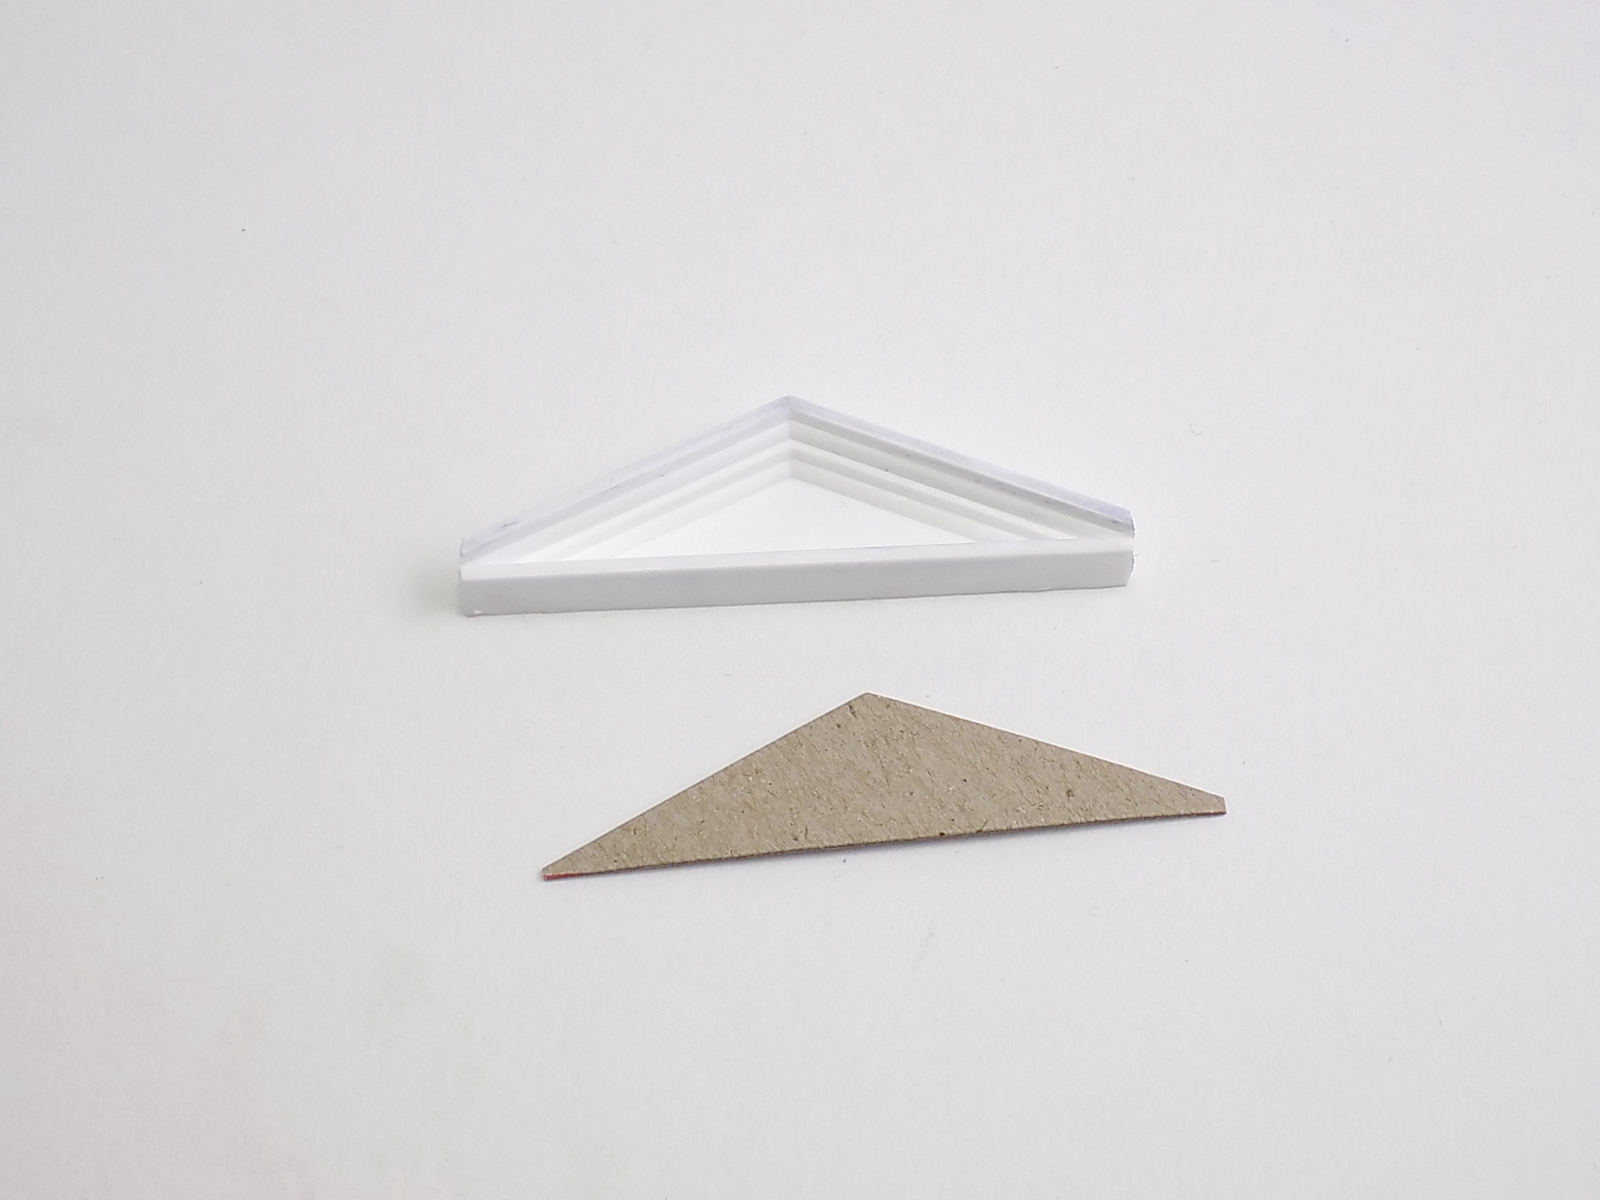
The Half Scale Georgian Pediment was slightly too wide to fit inside the tin so I sanded the ends before painting it. I cut a triangle of cardboard to fit over the front, then painted strips of black paper to look like shingles. The strips were glued to the triangle, trimmed, then it was glued to the pediment. I also added shingle strips to the rooftop.


The rest of the cottage is a square of cardboard with a brickwork collage sheet image glued to it along with a window and another collage image. The two 1/8 Inch Square Wooden Dowels push out the cottage front so it aligns with the roof. 


In this last pic you can see the insert in place and the drying clay cobblestones. This was taken after the cat stepped on it. I might have freaked out and scared the cat with my screaming which made the situation worse because then everything went flying as he tried to get away, but the tin survived. Mostly.


And so did Tim. 💕


All of these goodies - except for Tim - can be found at Alpha Stamps or you can go RIGHT HERE to see the supply list for this project.

Happy creating!

Saturday, August 27, 2022

Sit A Spell Mini Room Box

 I'm in love with the Charmed 8x8 Paper Pad from Alpha Stamps! Not only are there several really cute patterns, but also most can be used for 1:12 projects. I used a few sheets in a 7x7 Corner Room Box along with a 1:12 Corner Cabinet, Shallow 3D Fireplace, a Tall 4-Panel Art Nouveau Screen, and a Chaise Lounge Kit that I made many moons ago. It finally has a proper place to live in a cozy sitting room.


I started by painting all of the furniture and the edges of the room box black, then assembled the pieces before adding the paper. The walls and borders are from the Charmed 8x8 Paper Pad and the floor is covered with Crescent Moon Scrapbook Paper. I used 3 panels of the Tall 4-Panel Art Nouveau Screen, decorated it with the Charmed 8x8 Paper Pad, a tiny resin skull, and then hinged it together. The Shallow 3D Fireplace is super easy because all of the detail work is already done on the Victorian Fireplace Collage Sheet. Just cut out the parts and glue in place. The mantel is a rectangle of basswood painted black. Easy peasy. The tutorial for assembling and upholstering the chaise lounge can be found HERE


One of my favorite parts is the 1:12 Corner Cabinet, probably because there's room to stuff loads of minis on the shelves. After painting the cabinet black, I lightly sanded parts of the front, added a painted Wide Brass Filigree Header, and another one of the black Tiny Resin Skulls to the top. The inside of the cabinet was lined with Charmed paper before being filled with all the spooky stuff. There are books, a 1 Inch Detailed Resin Skull, lots of bottles, a 1:12 Resin Brandy Bottle, a 1:12 Brass Picture Frame painted black, a few cats, and a Mini Gargoyle right in the center. 


Above the fireplace is a Gold Victorian Mirror (painted black) that's been adorned with a 12mm Round Glass Cabochon and an eyeball from the Eyeballs Collage Sheet. I like to sneak an eyeball or two in Halloween projects. Lots of them come from this collage sheet. I didn't do anything to the plant other than paint the pot to match the chaise lounge. It's pretty cute, too. 


There was enough room left over for a carpet and a dainty Candlestick Table (also a miniature cat or two if you have them!) 


Thanks for taking a peek at my little Halloween sitting room -  don't forget to hop over HERE to see all the goodies used! 

Happy creating!

Monday, January 17, 2022

A Different Kind of Miniature

Some quick pics of 1:6 scale Re-Ment and MegaHouse miniatures for any enthusiasts out there.


You can go to my Etsy shop to see more cute sets!

Tuesday, December 28, 2021

A Moment of Magic

Sometimes you just have to stop whatever you're doing and make art. It is that simple. 

Which is exactly what I did, right in the middle of the hectic holiday goings-on. 

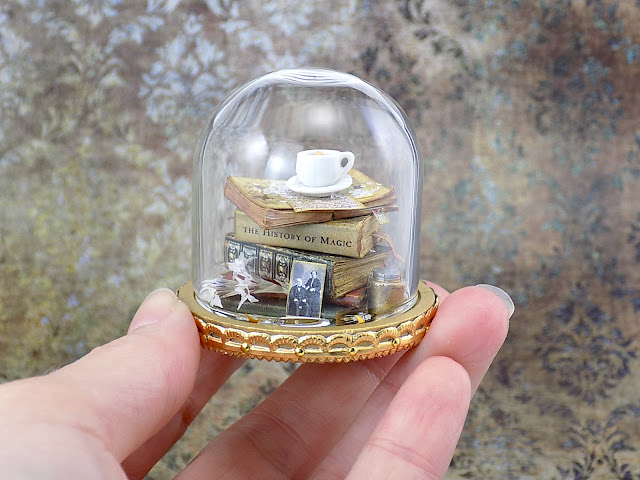
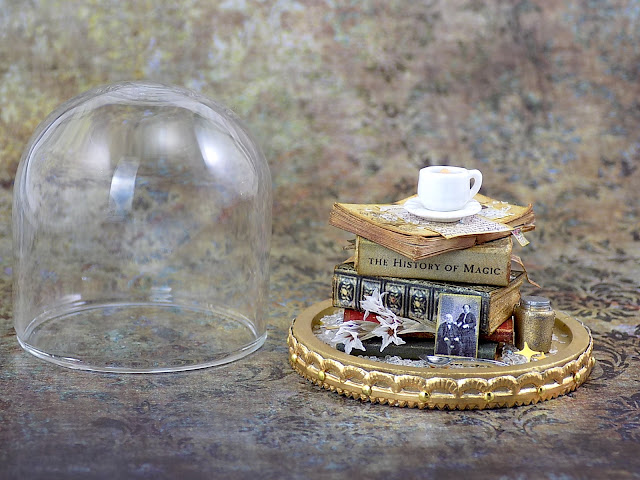
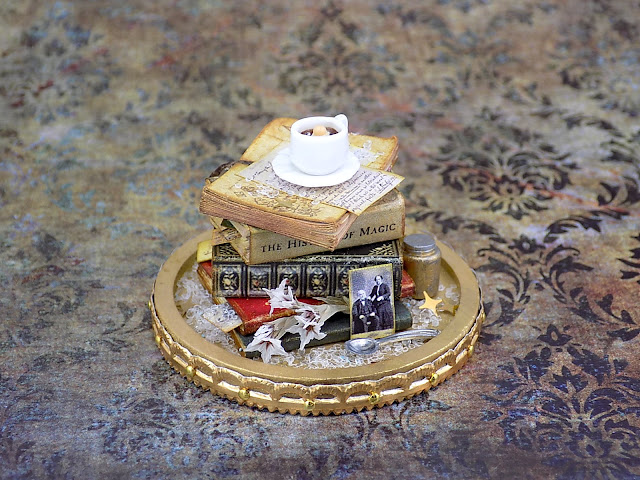
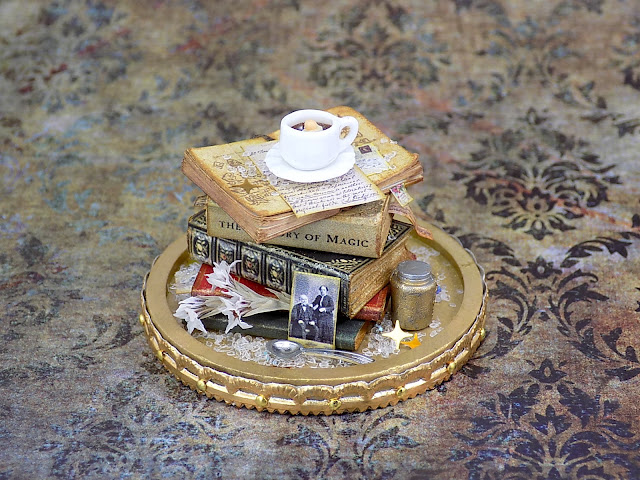
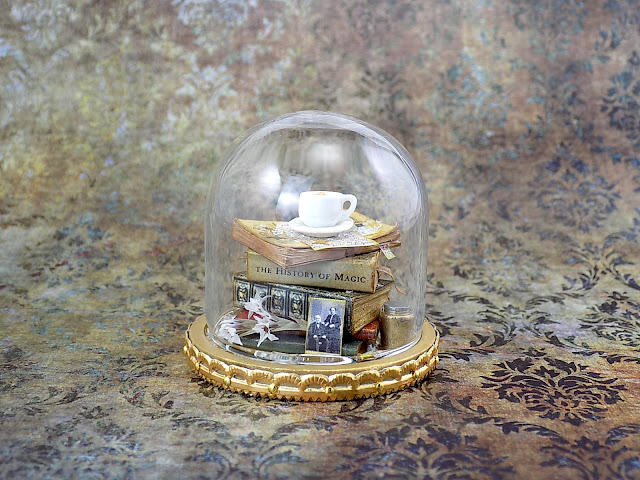
I made a few teensy books to stack inside a 4 cm Tall Glass Dome with Wood Base from Alpha Stamps because, why not? 


There's a bit of Dried German Statice, a metal jar, a spoon, a micro cabinet card, and a cup of hot cocoa all tucked under the glass dome with room to spare. Little snippets of paper are stuck in the books and shimmery stars are scattered around. Forgetting about the list of things to do and focusing on being creative was exactly what I needed to rejuvenate myself. There's something about miniature book making that is very rewarding. (Especially when you have oodles of collage sheets with loads of book covers to choose from!)

Ah. Tiny things are magical. Don't you agree?


Don't forget to create your own magic every day.

Supply List can be found HERE!


Friday, November 26, 2021

Holiday Cheer Miniature Room Box

 The weather outside isn't frightful, but I have chosen to stay inside to create a mini holiday scene. It's also Black Friday, so there is no way I'm leaving my house. I wore yoga pants all day and had noodles delivered from six blocks away. It was great. 

My newest project is a cheery miniature gift wrapping scene with rolls of paper, ribbon, scissors, and gifts!


There's a 1:12 Wardrobe - Shelves, an Unfinished Wooden Trestle Table, and a White Wall Shelf with Hooks inside the 7x7 Corner Room Box, plus a bunch of new boxes in all sorts of sizes - Tiny Rectangular Gift Boxes, Mini Bakery Boxes with Windows, and Chunky Gift Boxes. Boxes for days!


There's a few Mini Gift Wrap Boxes next to the wardrobe along with a Shiny Bright box of ornaments. I love that the gift wrap boxes are both white and tan. So easy to stamp or paint! The gift wrap rolls are bits of paper wound around a skinny dowel.


Look at this pretty wardrobe! I covered it with paper from the cheery Merry & Bright Custom 12x12 Paper Set. The door has been left off to show the bits and bobs inside. 


I've hung a festive garland along the top, used the lid to a 1-5/8 Inch Suitcase as a tray, and then proceeded to fill the shelves with teensy cute things like the Ceramic Snowman Tea Set.


The bottom shelf has an ornament box and a few white gift boxes waiting to be filled and wrapped. 


My favorite part of the project is the Mini Train Locomotive with Train Cars (it's The Gingerbread Express). The larger Mini Recipe Box makes a perfect card holder.


Creating this little room box was a delight even though I had to reassemble it after Tim the Enchanter knocked the entire thing over while I was taking pictures. He wonders why I don't use glue like a normal person. Then again, he probably wonders about a lot of things...


Happy holidays to you! And don't forget to GO HERE for the supplies from Alpha Stamps that were used in the Holiday Cheer room box!


Wednesday, November 17, 2021

Petite Paper Village Ornaments

 Here's a quick and easy project you can finish while also managing the holiday hustle. It involves simple cutting, folding, and gluing. That's it! The best part is you can make as many parts as you want and they can be hung on a tree, used as gift tags, or, for those adventurous crafters, cut out a bunch for an Advent calendar. So, what in the North Pole am I talking about? 

Tiny glassine envelopes with a surprise inside! 


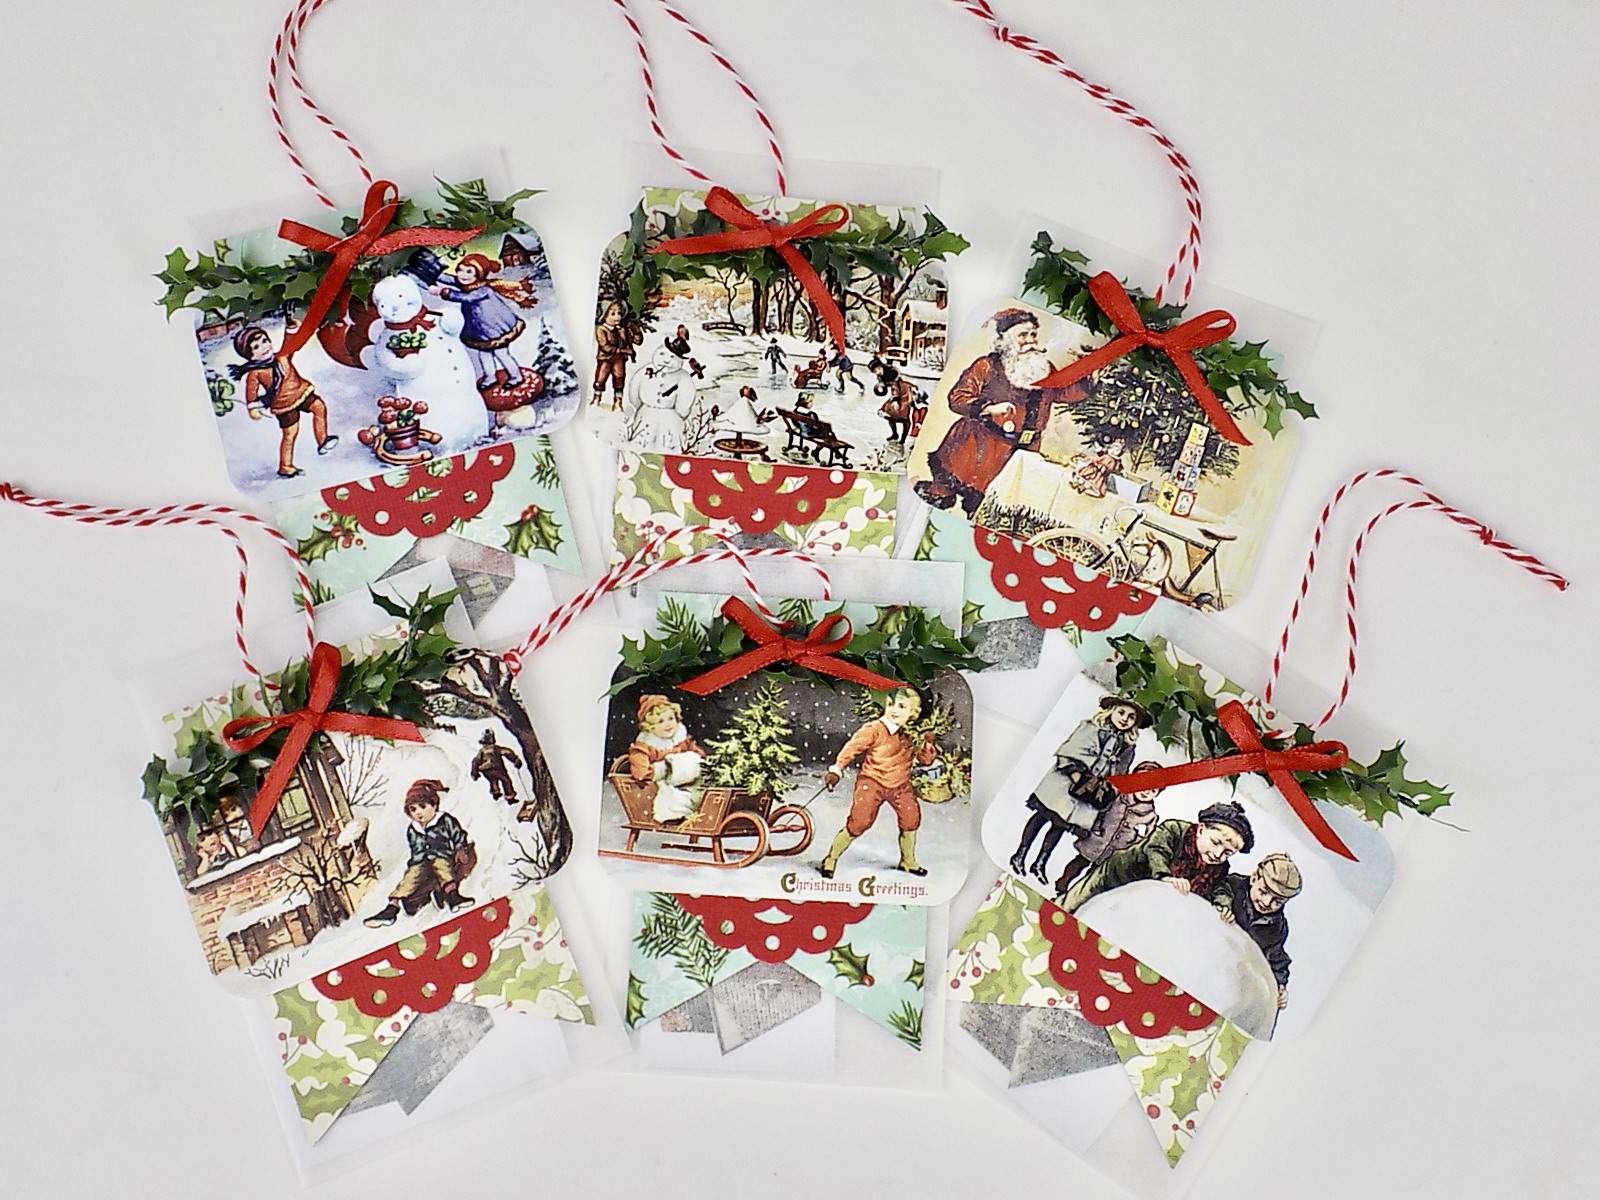
See? Super easy! The ornament is nothing more than an envelope with a tag-shaped rectangle of scrapbook paper adhered to the front, followed by a red punched doily, then a holiday collage sheet image. There's a sprig of holly garland and a tiny red ribbon hot-glued on the top. I punched a little hole in the scrapbook tag before sticking it to the envelope so a length of baker's twine could be strung through. I had six finished in two shakes of a reindeer's tail.


Now for the fun part: what to put inside the envelope? I'm a sucker for paper toys of all kinds, I just love them. When Leslie asked if I would like a Miniature Paper Model Christmas Village, my reply was SEND THEM ALL! followed by a shocked cat emoji. She's probably used to that by now.


The tiny village would be especially festive surrounded by artificial snow and fairy lights. One ornament could be removed each evening, the building assembled, then placed in the snow. There are also people, animals, trees, and fences included on the model sheets, which are plenty of additions for a countdown calendar. 


Oh my, so cute!!


Oh my, so small!


I think I want to cut out all of the villagers and kitties now...hope you enjoyed the petite paper village ornaments!

Supplies Used: