Saturday, July 28, 2018

Dear Mrs. Darcy...An ATC Mailer

Alpha Stamps' theme for August, called Anthology ATC Mailer, includes an elegant chipboard mailer that, when folded, creates a pretty envelope for an ATC. If you're like me and enjoy making a series of cards, the mailer will also hold an ATC Ticket Journal. The paper in the kit has a "natural history collector" theme going and is quite lovely. It made me think of the fictional character Georgiana, the sister of the pretentious Mr. Fitzwilliam Darcy, from Jane Austen's Pride and Prejudice. (But I'd bet you already knew that!) Georgiana was an avid reader and with Pemberley's vast library at her fingertips, I imagined her leafing through volumes with delicate pages of birds and butterflies. That led me to believe she, being the accomplished young lady that she was, also learned the art of decoupage and may have used this talent to fashion a gift for her new sister-in-law. (Thankfully it turned out to be Elizabeth Bennett and not that snooty Caroline Bingley! I just can't even.) And because corresponding via post was a normalcy way back when, and because this is getting terribly long-winded (Leslie, for the sake of your readers, please edit), I jumbled that imagination with the new Anthology ATC Mailer Kit and created something I believe Georgiana would approve.


The mailer has a flap that tucks neatly into a slot on the back, safely enclosing its contents. I added a pretty Dresden Butterfly to the flap at the very last moment:


 The inside of the mailer has three curved slots to hold an ATC (or ATC Ticket Journal) and a blank side that easily accommodated a tiny envelope fit for a note. The kraft envelope I used happened to be ATC sized, so I painted a bird on a heavy Water Media ATC card to tuck inside the envelope.


I chose to cut off two of the five pages of the ATC Ticket Journal and decorated six "individual" cards. I traced around the edge of one ticket and cut out six smaller cards to fit a journal page. The Ticket Journal was painted gold, then I glued on the smaller cards, outlined them with a gold gel pen, and finally added fussy cut images to the cards.


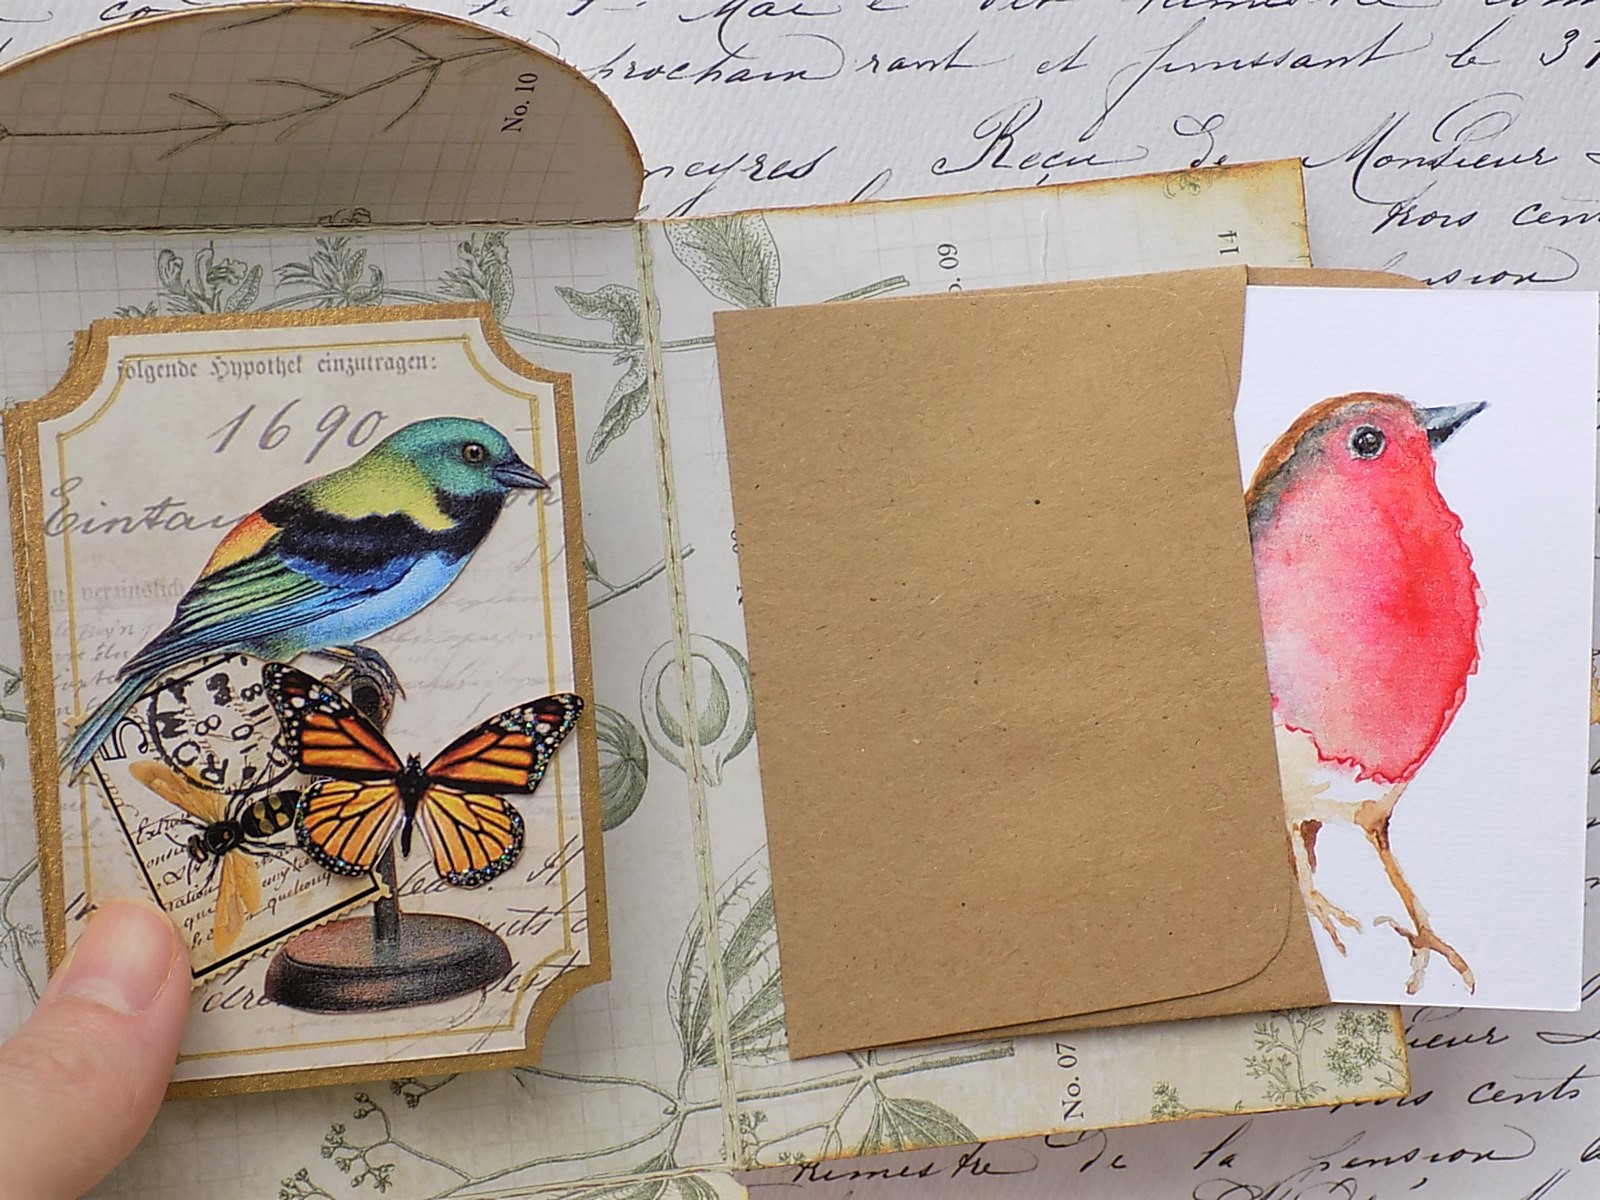
Here you can see the slots that hold the cards in place:


I have a few tips for papering your ATC Mailer, the most important having to do with the slots! First, trace around the entire mailer onto a 12 x 12 sheet of paper. Then cut out the separate sections (left, center, right, top, and bottom). Trim these sections slightly smaller than the mailer. Paint the edges and all bendy bits of the mailer like so:


The slots look like a disgruntled Japanese robot to me.
Ink the edges of the paper sections if you'd like, then glue them to their respective places on the mailer. Turn the mailer over and trace the slots with an Xacto knife or scalpel blade, ensuring you cut through the paper on the other side. That part is important! Repeat for the other side of the mailer. 


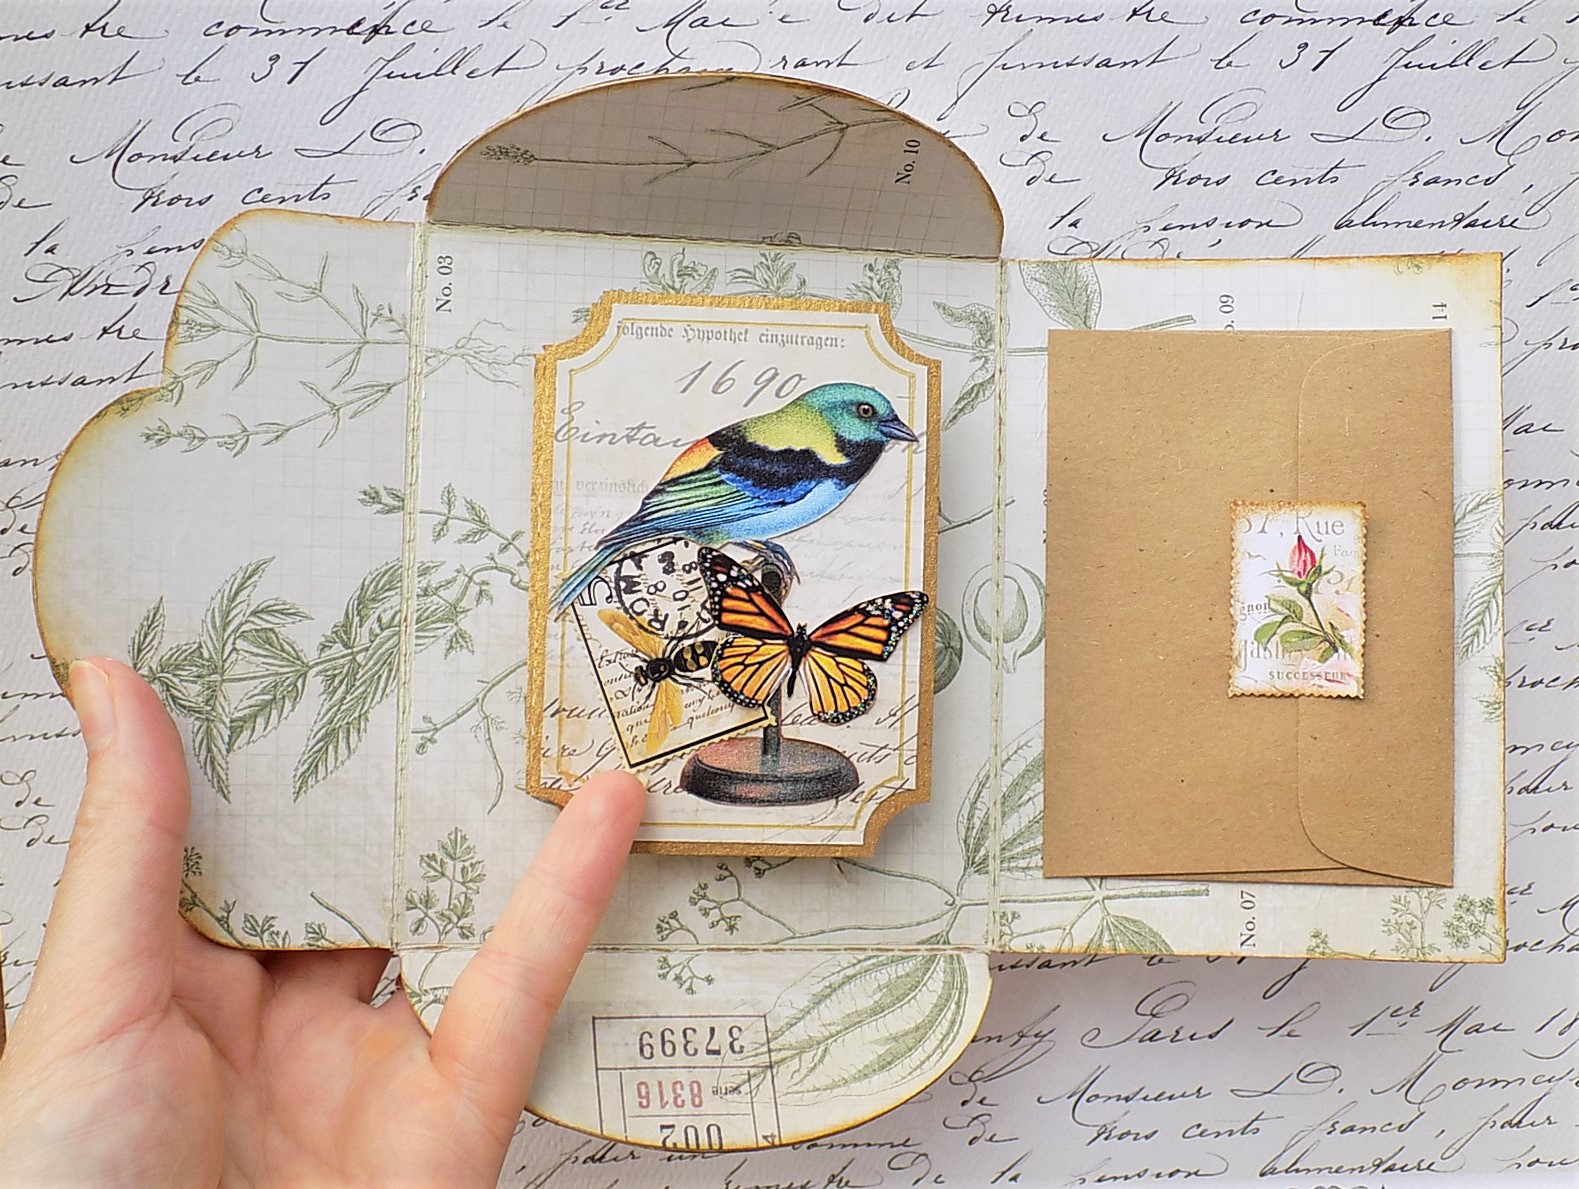
The kraft envelope I added to the inside covered the flap's straight slot (be sure to only glue or tape the edges of the envelope so the flap will still tuck inside) and the curved slots on the outside of the mailer were covered with Mrs. E. Darcy's address (also adhered only by the edges) but of course any rectangle of paper could easily cover the slots. All done!

This particular kit has been one of my favorites maybe because I ardently love and admire ATCs, but I can also imagine a collection of family pictures tucked neatly inside and sent to a loved one. I have a second ATC Mailer that will most likely be filled with photos of the cat because that seems right. Ms. Austen surely was a cat lady!


List of supplies can be found right HERE, and if you don't already have dog-eared paper versions, the digital downloads of Jane Austen's collection can be found here.

Thursday, July 26, 2018

Crocheted Skull Shawl

Sometimes I pick up a crochet hook and make stuff. Usually that "stuff" means hats for our ever patient cat, Chair. She has quite the collection, actually.


But one can only crochet so many cat hats and also expect only so much tolerance from the cat. I settled on a really cool skull shawl on Ravelry called the KOPF-TUCH by molli woodtagger. It was a well-written pattern that is easy to follow. I worked on it off and on in the evenings and had it finished in about 10 days.


This one has gone to its new home and maybe after a few more cat hats I will be wanting to make a second.


Wednesday, July 18, 2018

Florida Memories Exploding Box

After five years of being a Floridian, my daughter packed up to attend grad school in another state. She left behind scores of friends, colleagues, a few family members, and loads of memories. So, when presented with a Double Explosion Box from Alpha Stamps, I didn't have to think twice about how it was to be decorated. It was fortunate for me to also have gotten two collage sheets of vintage Florida postcards and souvenirs...it couldn't have been more timely! I covered the exterior of the box with a few choice images and on the top went a miniature white beach chair, Cocktail Umbrella, and an over-sized Cosmo. It's hot in Florida. You gotta stay hydrated, people.


To make the topper for the box, I first traced the around the bottom of the chair onto a wooden disk, slathered glue over the disk (avoiding the traced area), then dumped a profane amount of glitter atop the glue. It wasn't purposeful, just one of those inevitable crafty mishaps that always end with either a hot glue blister or being covered in glitter. The chair, umbrella, and shells were glued in place and I added a baker's twine edging. Technically, I added the twine first but I'm too lazy to go back and edit the instructions. 

The box itself is 3" x 3"- an excellent size for a small gift- and the "exploding" interior offers eight surfaces to embellish. I used these areas for photos of my daughter and her friends, and found the mini box portion of the Framed Matchbox Book to be cute picture frames. 


To keep with the overall theme, I figured a souvenir snow globe was a must because nothing says memories like a cute figurine in a dome of water! Mine isn't quite as complicated though. I glued a Micro Mini Flamingo to the base of a Miniature Glass Snow Globe, added a wee Bushy Plant, and once dry, dumped a bit of glass microbeads in the globe before attaching the base with Glossy Accents glue. The snow globe is stuck on the wooden disk with a glue dot and can be removed easily.


And finally, a little tip if you want to cover the bendy parts of chipboard or cardboard. Use linen book tape. It is flexible, paintable, and durable. Sometimes, however, you find yourself out of linen tape and have to make do with Duck Brand Fabric Tape (which works nearly as well, btw). 


I'm off to mail this exploding box in hopes of it being a nice surprise to my daughter. I'm also sending along a photo of our cat which she will most assuredly love!


Supply List for can be found HERE. Keep on making!

Saturday, July 7, 2018

Half Scale Fairy House

Have you seen the new Half Scale Tall Corner Room Box from Alpha Stamps? It is a wee thing measuring just 6" tall x 6" wide x 4" deep. A perfect size that doesn't take up too much space. Will it become a pint-sized Christmas scene with a decorated tree? A minute library that fits in your hand? I almost want to upholster another chaise lounge and make an elegant sitting room (and then fill it with cats). So many tiny possibilities! If that doesn't have you grinning ear to ear, there's a second Square Half Scale Corner Room Box that's even smaller! I know, right? Deep breaths!

After my excitement ebbed a little, I decided to turn the room box into a house fit for a fairy. It seemed appropriate.


The construction was pretty easy since a chipboard Rectangular Bay Window took up most of the footprint of the room box; I just covered the window with bark and moss and added two narrow bark walls. The bark was collected from a fallen oak tree, which made it a bit flimsy, so I cut out the two walls from heavy cardboard first, glued the bark to the cardboard walls, then glued the walls in place. (After all the interior decorating, of course!)


Looks like this fairy is doing some baking. There's acorn flour everywhere!


The fairy needed storage, so she got hanging acorn cap baskets (it is three lengths of embroidery floss tied together with a knot at the bottom, the middle, and the end, then two filled acorn caps were glued between the knots).


On the armoire is an impossibly small and ever-so-sweet Tiny Picnic Basket filled with fresh picked fairy berries. I just love that basket. 


Inside is a button collection on the armoire and a sink made from a shell.


Simple fairy furniture can be made from sticks and cardboard and it doesn't even have to be perfect. Fairies don't trouble themselves over such things.


I hope you enjoyed the pocket-sized Fairy House and it gives you some ideas on how to transform a half scale room box into something to smile at. Now...what to do with the Square Half Scale Room Box...

A list of supplies can be found HERE. The rest of the materials were gathered outside!