Showing posts with label tutorial. Show all posts

Saturday, January 8, 2022

Field Notes Mini Folio

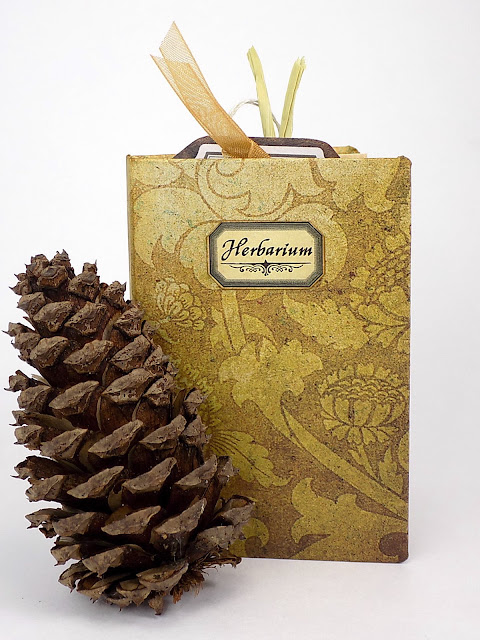
 Have you seen the new Botanical Journal Kit from Alpha Stamps? It's a beauty! What better way is there to begin a new year than with a mini journal or folio chock full of nature? 
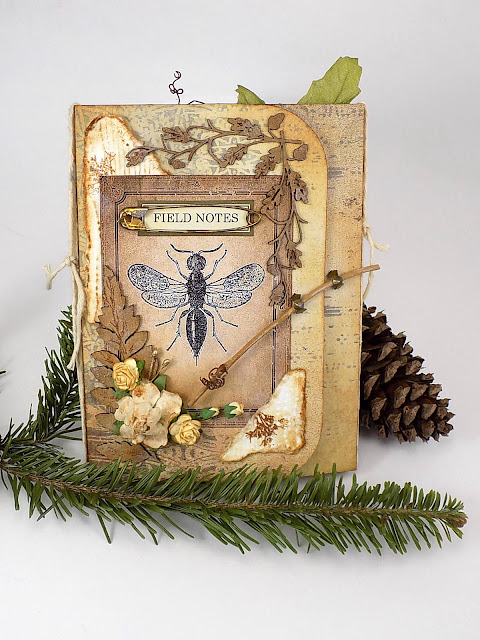


The kit has oodles of botanical images to add to the journal as well as three different styles of envelopes for holding all of the lovelies you decide to tuck inside. 


I made a few simple pockets for the journal and was able to stuff them full of all sorts of things.
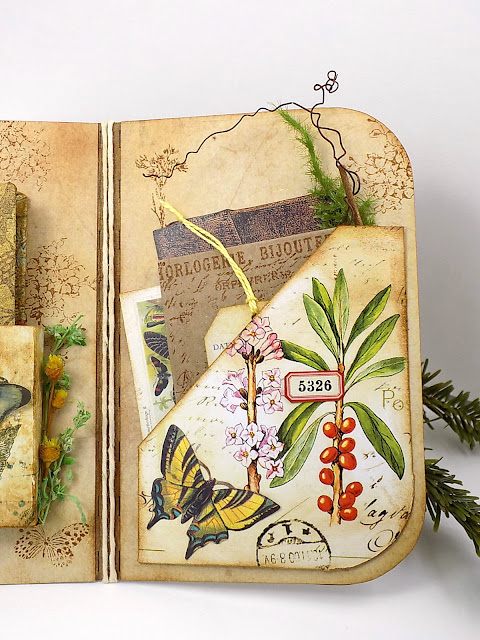


In the center is another pocket that holds a little book for drawings, pressed flowers, and for jotting down notes. 


It's surprising just how much fits inside the envelopes:


And here are what the journal pockets hold:


Want to make a mini book? It's an easy thing. The book pages are made from envelopes in the kit, and the cover is cardboard. Here's a quick run-down of the assembly.

Cut 2 pieces of heavy cardboard 2 1/2" x 3 3/4" for the front and back covers. The spine is a thin strip approximately 1/4" x 3 3/4". I didn't really measure that bit.


Attach the covers and spine to a rectangle of scrapbook paper that's about 1/2" larger all around, leaving space between the pieces.
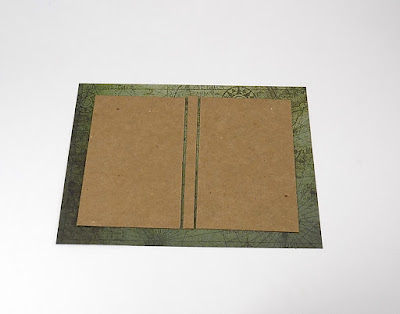


Score around all of the pieces and between the covers with a bone folder (or knitting needle) to create fold lines. Snip the corners of the paper, fold the paper around, and glue in place. Score the paper between the covers once more after it's dry.


Now make the part that holds all of the pages (whatever it's called). Cut a strip of paper 2 3/4" x 5". Score fold lines every 1/2" along the long side. Accordion fold the piece starting with a valley fold. The piece of paper on the top is the book pocket.


Attach double-sided tape on both ends and every other strip in between. Glue works, too, just don't add it to the end strips since those will be used later on to hold it in place inside the book. :)


Remove the tape backing, leaving the two end strips alone, and fold the strips together, like so. Now there are two strips and four flaps. The two strips (shown at the bottom) will be glued/taped to the book covers, and one page will be glued to each of the four flaps.


Tape or glue the first flap to the back of the first page. Ignore all of the extra folds of paper in the next two photos. I really wanted a book with more than four pages but it would've been an inch thick!


Repeat with the remaining pages.


Glue the first strip to the front cover and the last strip to the back cover. Lastly, use an appropriately sized image or piece of paper to cover the strips and exposed cardboard. Done!


Oh, I also chopped off the flaps on the kraft envelopes and punched a notch in the top. Guess I should've mentioned that earlier...


Thanks for taking a peek at my first project of 2022. Hope your new year is a creative one!

GO RIGHT HERE to see the supply list!


Saturday, October 16, 2021

Eat, Drink, and Be Scary! - A Miniature Trick-or-Treat Delight

 I'm just going to cut to the chase. The Porch & Courtyard Scene Box from Alpha Stamps is a scream!!! It's a hefty 11 1/2" long x 11 1/2" wide by 13 1/2" tall kit with a raised porch, steps, and a courtyard! Did I mention the arbor covering the porch?? Wow. I love this thing.


There's tons of possibilities with the kit, but with it being October and all, there was no way I was going to do anything but a Hallowe'en project! My trick-or-treat porch looks like any old house you might come across in a neighborhood - silly decorations, tombstones in the yard, and a spooky skeleton a kid would warily creep up to to if they wanted any candy - but this scene box could be turned into an amazing haunted house. It would also be pretty cute decked out with Christmas decorations and lights...oh my, how long until Christmas??!

Speaking of lights, I used a few adorable Tiny Halloween Luminaries and a Mini String of Fairy Lights to illuminate the steps:


The rest of the string of fairy lights are tucked behind the silhouetted images under the porch. I had made similar kinds of window silhouettes many moons ago when we went all out with decorations for the house. The life-sized versions were spooky images cut from black plastic that were glued to white fabric, then hung in the windows. The mini versions in the windows are stamped images on Heavy Translucent Vellum. The bottom silhouettes are the Black Creepy Critters Set or Translucent Vellum - Alchemy Icons - Skull, Owl & Raven that have been taped to a frame made from Heavy Translucent Vellum and strips of wood.


I wanted the silhouettes to be interchangeable, so I made a frame that fits behind the bottom porch supports. It's made from coffee stirrers with Heavy Vellum glued to the back. 


The images are attached with tiny bits of double sided tape so they're easily removed.


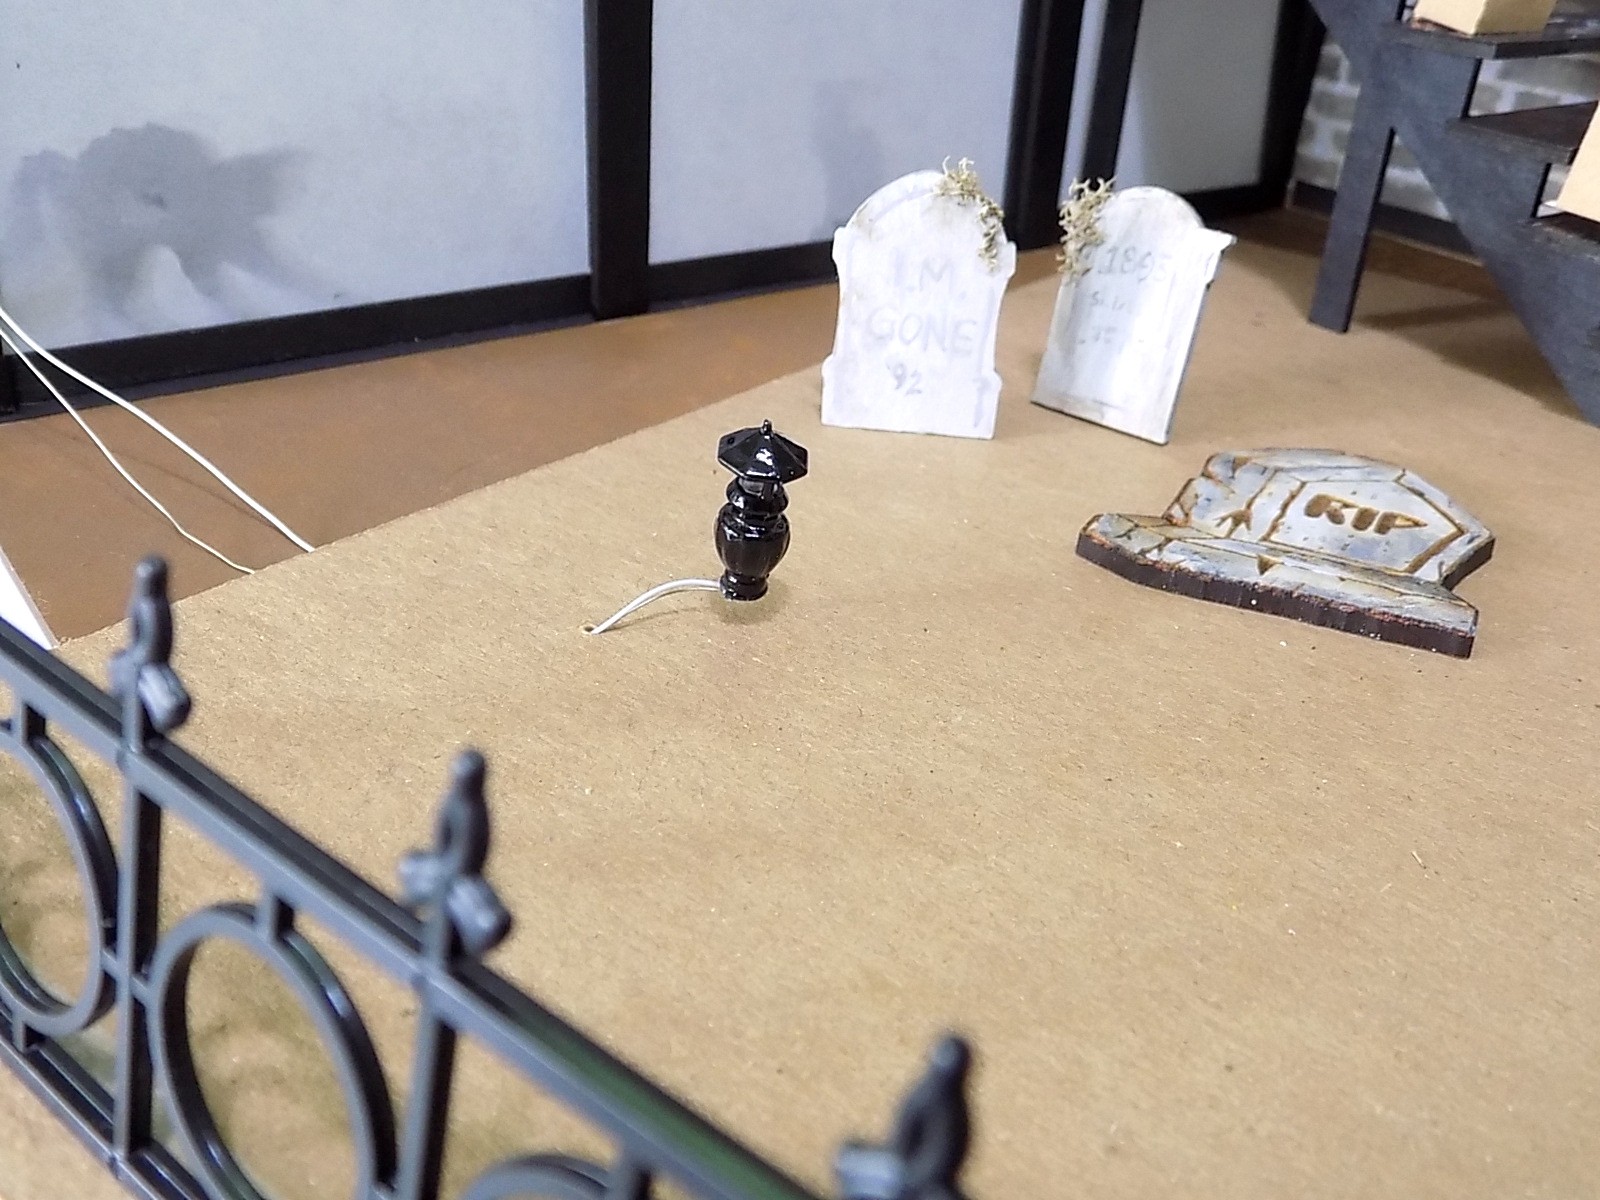
There's a Miniature Foot Path LED Light in the yard that lights up too. I cut a rectangle of cardboard the same size as the front yard so the wires for the foot light could be threaded through to the battery pack that's hidden under the porch. The cardboard makes it easy to change out the light (and there's no wire running under the project!). 


There's the battery pack under the porch with all of the lights on:


and here you can see how I bent the fairy lights to follow the steps, leaving the lights bent upward for the luminaries:


The luminaries themselves are easy peasy. Punch a tiny hole in the bottom of the luminary. Cut one tiny rectangle from heavy vellum and two from orange cellophane. Glue the vellum to the back of the luminary, followed by the two cello pieces. The extra cello really helps to hide the bulb inside. Push the bulb through the hole in the bottom of the luminary.


Another little tip; chipboard pieces make great impromptu stands:


How about a few more photos of the project?


A Little Gable Box made the perfect place to hide candy from trick-or-treaters. Do they dare reach in to grab a few?


If the kids are brave enough to get passed Johnny Rotten, there's a table of goodies waiting to be eaten! Lots of candies, cookies, cupcakes, caramel apples, and ghoulish grog to wash it all down!


Miniature Flying Bats were hung from the arbor above the porch and some thin mossy twigs were tucked in here and there.


The yard went through several iterations before I decided a very simple cemetery scene would work out just fine. The Etched RIP Tombstone - Bat, Etched RIP Tombstone - 3D Angle, and Etched Cemetery Sign are easy enough to paint and plop in a project. I also chopped off the arm of a Plastic Skeleton for one of the graves. It's a classic Hallowe'en decoration. 


Finally, one last shot of those adorable luminaries! I kinda wish there had been more steps to the porch so I could've used all six luminary designs. Another day!


I hope your Hallowe'en night is full of frightfully delightful tricks and treats!

Don't forget to GO HERE to see all the fangtastic things used in the scene!