Showing posts with label gift. Show all posts

Saturday, January 8, 2022

Field Notes Mini Folio

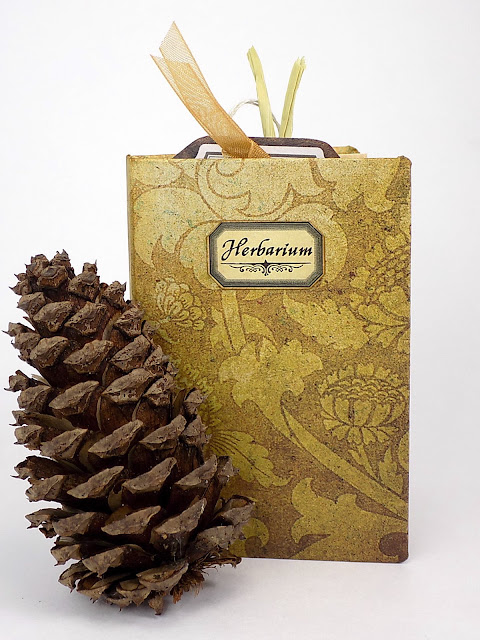
 Have you seen the new Botanical Journal Kit from Alpha Stamps? It's a beauty! What better way is there to begin a new year than with a mini journal or folio chock full of nature? 
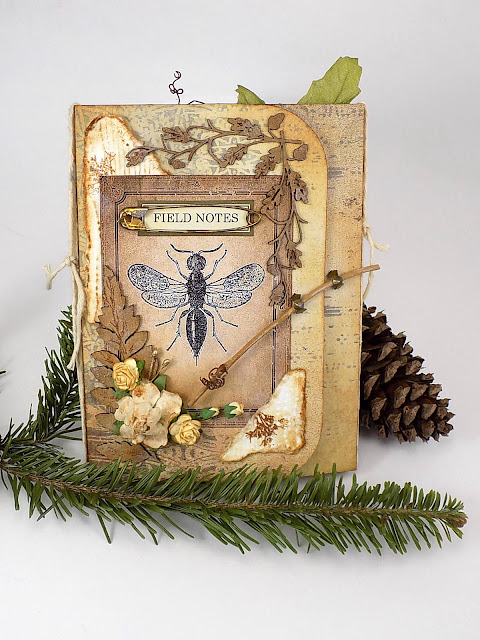


The kit has oodles of botanical images to add to the journal as well as three different styles of envelopes for holding all of the lovelies you decide to tuck inside. 


I made a few simple pockets for the journal and was able to stuff them full of all sorts of things.
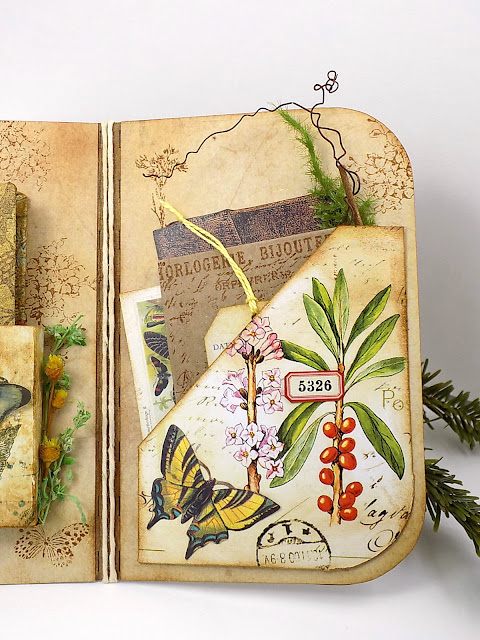


In the center is another pocket that holds a little book for drawings, pressed flowers, and for jotting down notes. 


It's surprising just how much fits inside the envelopes:


And here are what the journal pockets hold:


Want to make a mini book? It's an easy thing. The book pages are made from envelopes in the kit, and the cover is cardboard. Here's a quick run-down of the assembly.

Cut 2 pieces of heavy cardboard 2 1/2" x 3 3/4" for the front and back covers. The spine is a thin strip approximately 1/4" x 3 3/4". I didn't really measure that bit.


Attach the covers and spine to a rectangle of scrapbook paper that's about 1/2" larger all around, leaving space between the pieces.
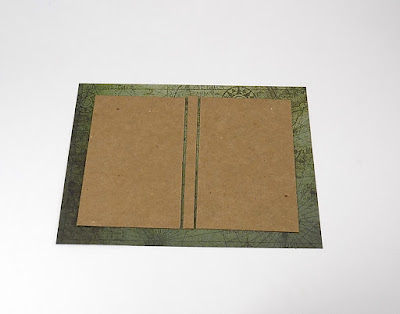


Score around all of the pieces and between the covers with a bone folder (or knitting needle) to create fold lines. Snip the corners of the paper, fold the paper around, and glue in place. Score the paper between the covers once more after it's dry.


Now make the part that holds all of the pages (whatever it's called). Cut a strip of paper 2 3/4" x 5". Score fold lines every 1/2" along the long side. Accordion fold the piece starting with a valley fold. The piece of paper on the top is the book pocket.


Attach double-sided tape on both ends and every other strip in between. Glue works, too, just don't add it to the end strips since those will be used later on to hold it in place inside the book. :)


Remove the tape backing, leaving the two end strips alone, and fold the strips together, like so. Now there are two strips and four flaps. The two strips (shown at the bottom) will be glued/taped to the book covers, and one page will be glued to each of the four flaps.


Tape or glue the first flap to the back of the first page. Ignore all of the extra folds of paper in the next two photos. I really wanted a book with more than four pages but it would've been an inch thick!


Repeat with the remaining pages.


Glue the first strip to the front cover and the last strip to the back cover. Lastly, use an appropriately sized image or piece of paper to cover the strips and exposed cardboard. Done!


Oh, I also chopped off the flaps on the kraft envelopes and punched a notch in the top. Guess I should've mentioned that earlier...


Thanks for taking a peek at my first project of 2022. Hope your new year is a creative one!

GO RIGHT HERE to see the supply list!


Wednesday, November 17, 2021

Petite Paper Village Ornaments

 Here's a quick and easy project you can finish while also managing the holiday hustle. It involves simple cutting, folding, and gluing. That's it! The best part is you can make as many parts as you want and they can be hung on a tree, used as gift tags, or, for those adventurous crafters, cut out a bunch for an Advent calendar. So, what in the North Pole am I talking about? 

Tiny glassine envelopes with a surprise inside! 


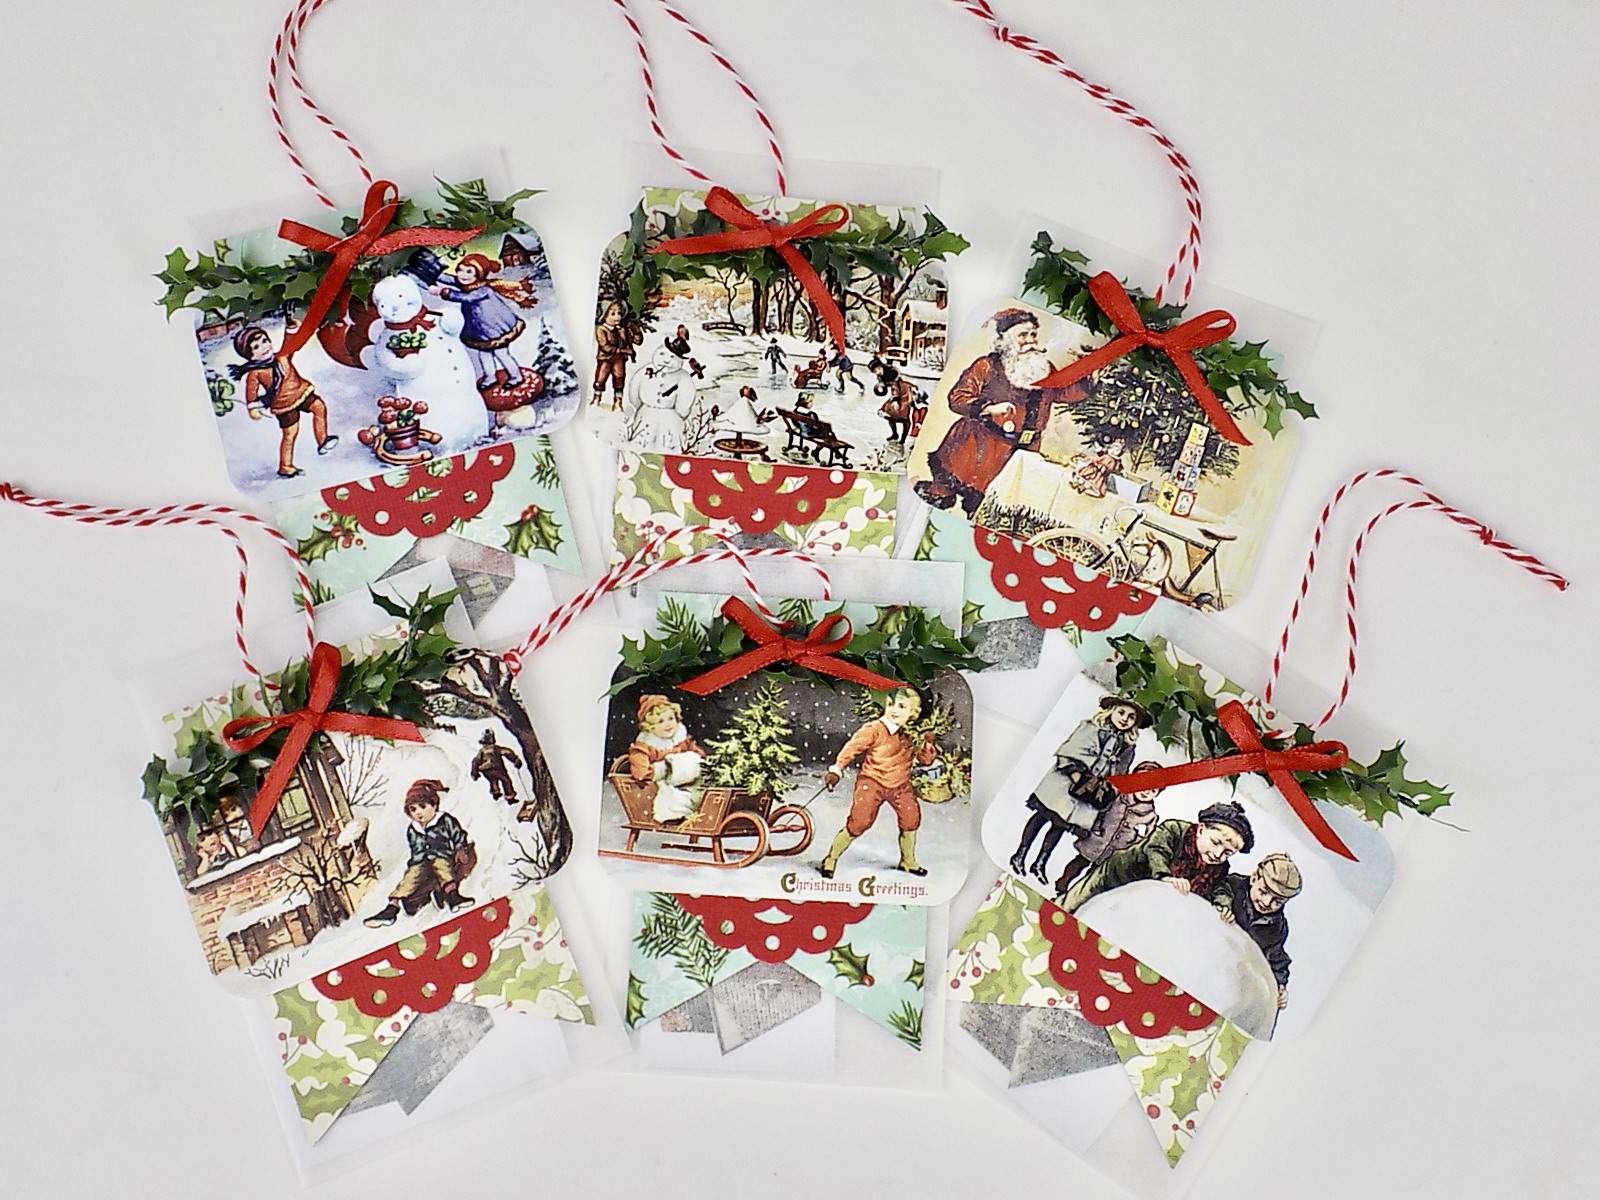
See? Super easy! The ornament is nothing more than an envelope with a tag-shaped rectangle of scrapbook paper adhered to the front, followed by a red punched doily, then a holiday collage sheet image. There's a sprig of holly garland and a tiny red ribbon hot-glued on the top. I punched a little hole in the scrapbook tag before sticking it to the envelope so a length of baker's twine could be strung through. I had six finished in two shakes of a reindeer's tail.


Now for the fun part: what to put inside the envelope? I'm a sucker for paper toys of all kinds, I just love them. When Leslie asked if I would like a Miniature Paper Model Christmas Village, my reply was SEND THEM ALL! followed by a shocked cat emoji. She's probably used to that by now.


The tiny village would be especially festive surrounded by artificial snow and fairy lights. One ornament could be removed each evening, the building assembled, then placed in the snow. There are also people, animals, trees, and fences included on the model sheets, which are plenty of additions for a countdown calendar. 


Oh my, so cute!!


Oh my, so small!


I think I want to cut out all of the villagers and kitties now...hope you enjoyed the petite paper village ornaments!

Supplies Used:


Wednesday, January 27, 2021

You've Got Mail

 "In transit". Those are the words you like to read when you are tracking a package. They bring a bit of excitement to the day. A little while later you check again, because you are anxiously awaiting those Great British Baking Show oven mitts, only to see the same message. Days later, still no change. Sigh. I'm almost expecting random photos of my mitts in different locales to show up in my mailbox. This does not deserve a Paul Hollywood handshake folks.

That being said, I can tell you that I spend a great deal of time in my local post offices and have gotten to know a few employees fairly well. They (well, one postal clerk in particular) have told me of the employee shortages, the influx of holiday mail they are still delivering, plus some crazy weather that's happened in certain areas, which explained my perpetual "in transit" message. I have seen the teetering stacks of packages behind the counter. It makes me wish I had left my mail carrier a better Christmas gift tied to the mailbox. 

So instead of refreshing the USPS Tracking page over and over like a madwoman, I decided to make some art. 


Guess those GBBS mitts are still on the mind. Hm.


I used one of the kraft boxes from Alpha Stamps for a tiny project. This one is the 3x3 Kraft Folding Box with Sliding Lid with a cellophane window. I cut out a bunch of mail-themed collage images then glued them all over the box. A few words were printed, inked, and glued on. I added a header made from an oval in the Bakery Box Banners chipboard set and a Symmetrical Bronze Flourish.


The inside is pretty plain; I made four envelopes from black cardstock, added a stamp from the 4 Heart Icons Rubber Stamp Set, and called it a day. In case you're wondering, any envelope smaller than 2 1/2" square would fit. 


And here's a tutorial on how to fold the box:


fold along all the creases toward the inside except for the notched bits (those are folded the opposite way)

roll each side with the notched bits to the inside

and then join them

like so

tuck in the short tabs


and finally, roll the last two sides over to the middle. you can either use double sided tape or glue to hold the flaps in place.


Well that didn't take too long. Maybe the mitts are Out for Delivery now...

Thanks for checking out this little project, and I hope whatever you might be waiting on arrives soon!

Don't forget to GO HERE to see the supply list!


Wednesday, June 17, 2020

A Tiny Tub of Whimsy!

A few days ago I got my hands on some adorable ceramic beads and a wee metal tub from Alpha Stamps - just what I needed for a super quick project. My kids and I have spent the last week tie dyeing everything, so I squeaked this in while their masterpieces were washing. 


How fun is that? A tiny tub of whimsy would brighten anyone's day, maybe even a Monday! The metal tub happened to be the perfect size for the beads I wanted to use, and the rest was filled in with loads of flowers and a petite path. 


What's up, squirrel?

Can you believe the squirrel, birdhouse, falcon, and gnome are ceramic beads?! Adorable! I think I said that already, but they truly are. The holes in the beads were really convenient; I pushed trimmed toothpicks in the holes before sticking them in the grass. 


I gathered some stuff that worked with what I was going for, like mini leaf punches, Bright Flowers Polymer Clay slice mix, green turf grass, florist foam (which I cut to fit inside the tub), and a handful of those cute ceramic beads. You can see where I stuck a toothpick through the bottom and then out the top of the birdhouse bead before placing the falcon on the bit of toothpick sticking out the top. A tiny fence along the front of the tub would be cute. Or painting the tub red with white polka dots. Or maybe line the inside rim of the tub with the plastic grass that comes with your grocery store sushi before adding the foam. I have lots of sushi grass...


I didn't do any of those things. What I did do (after cutting out a disk of floral foam for the inside of the tub) was cut several stems of florist wire, bent over the very end, then glued the polymer clay flowers on the stems. Leaves from the Ash Leaf Mini Punch were added to the stem, too. The floral foam was covered in glue and grass turf was sprinkled over the top. When it was dry, I stuffed the grassy foam inside the tub before adding the birdhouse, squirrel, and gnome beads. Then the flowers were stuck in here and there. Finally, the teeny rock path was added. And done! 


The supply list for this tiny 2" tub is RIGHT HERE.

Hope you are finding time to create as well! Tie dyeing is super fun...