Saturday, May 16, 2020

3D Halloween Mini Card

Is it October yet? 

No?

Rats.

Halloween has been on my mind lately, more so than usual, which put me in a mood to make a few spooky things. Nothing wrong with getting a head start on holiday crafting, right?

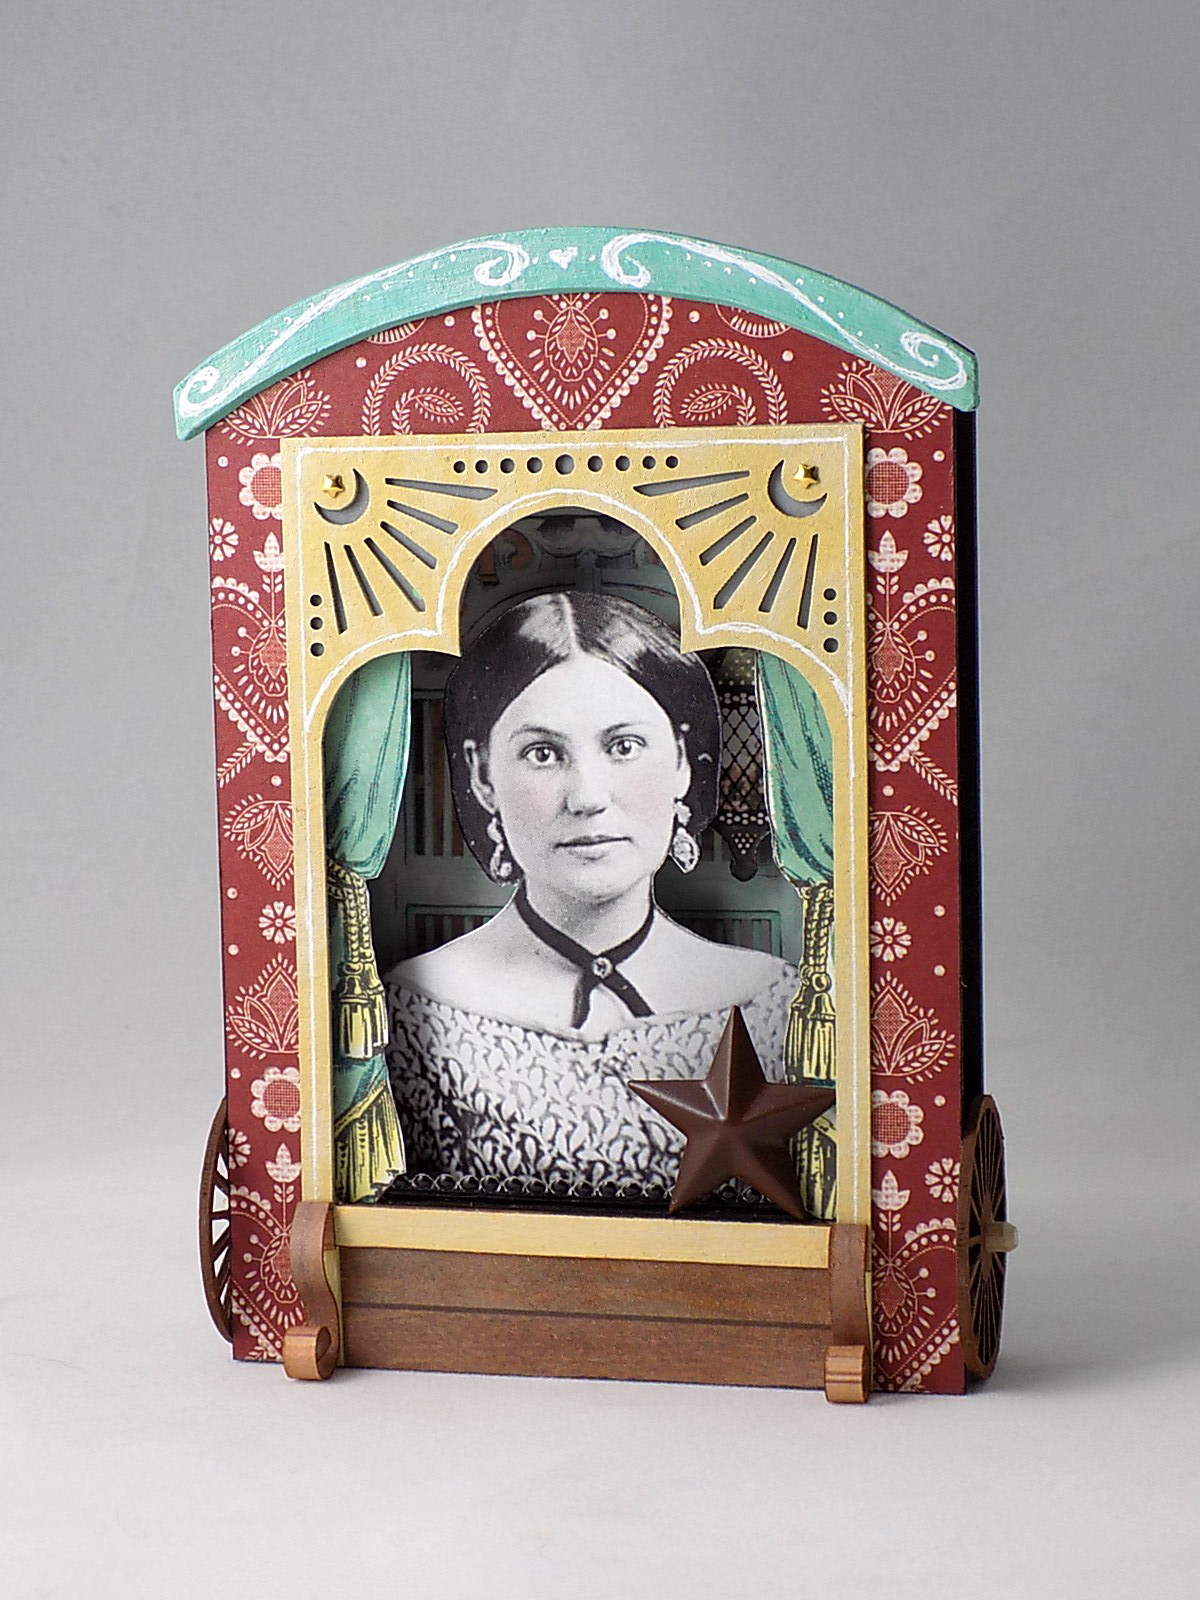
I had two Arched Triptychs with Overlays from Alpha Stamps and thought they would make an interesting little card to give to a friend that enjoys Halloween as much as I do. She also loves miniatures, so I glued the overlay from the second arched triptych over the first to create enough depth for a "bookcase" with oodles of dark and creepy things! (More on the basic construction later.) Let's talk minis!


I rifled through my bin of Halloween charms and beads and cast metal to fill the shelves. That bin is completely full of things that would have been great, but the ones that made the cut (look at that 3D jack-o-lantern!) worked out fine. I snipped the rings off a few charms such as the Antique Copper Skull (he has kooky rhinestone eyes now) and the aforementioned 3D jack-o-lantern (with a snippet of orange vellum glued to the back). 


I also found a cute polymer clay ghost that I had made using the Mini Halloween Icons Mold, a wee Grim Reaper ceramic bead, and two cast metal minis. The skeleton was spray painted and the lornette has vellum lenses and a sharpie-colored handle. There's an acrylic bat in there somewhere, and the rest are collage sheet images. 


On the back of the bookcase is the card. Weird, huh? But there's a reason for that, which I'll tell you after a few pictures. I left the card flat and simple so it would fit nicely into a pocket envelope.


Here's the reason the card is attached to the mini bookcase:


The card flap supports the bookcase so it can be displayed without toppling over. Hooray for not toppling over!

And finally, here is a quickie on how to make the mini card.

1. Paint and paper the back and overlay from one kit and just the overlay from the second kit. I used Grand Bazaar Folklore Scrapbook paper for the back of the bookcase. Glue the overlays onto the papered back. I was too eager to get to the miniatures, so after I resized some books from the Antique Leather Book Spines collage sheet and glued them in place, I added all of the selected minis at this stage.


2. If you too were excited about the minis part and glued all the bits to the front like I did, place the back piece of the second Arched Triptych on the paper you are using for the card and trace around the curved edge, like so:


3. Flip the chipboard piece over and trace around the curved top and side:
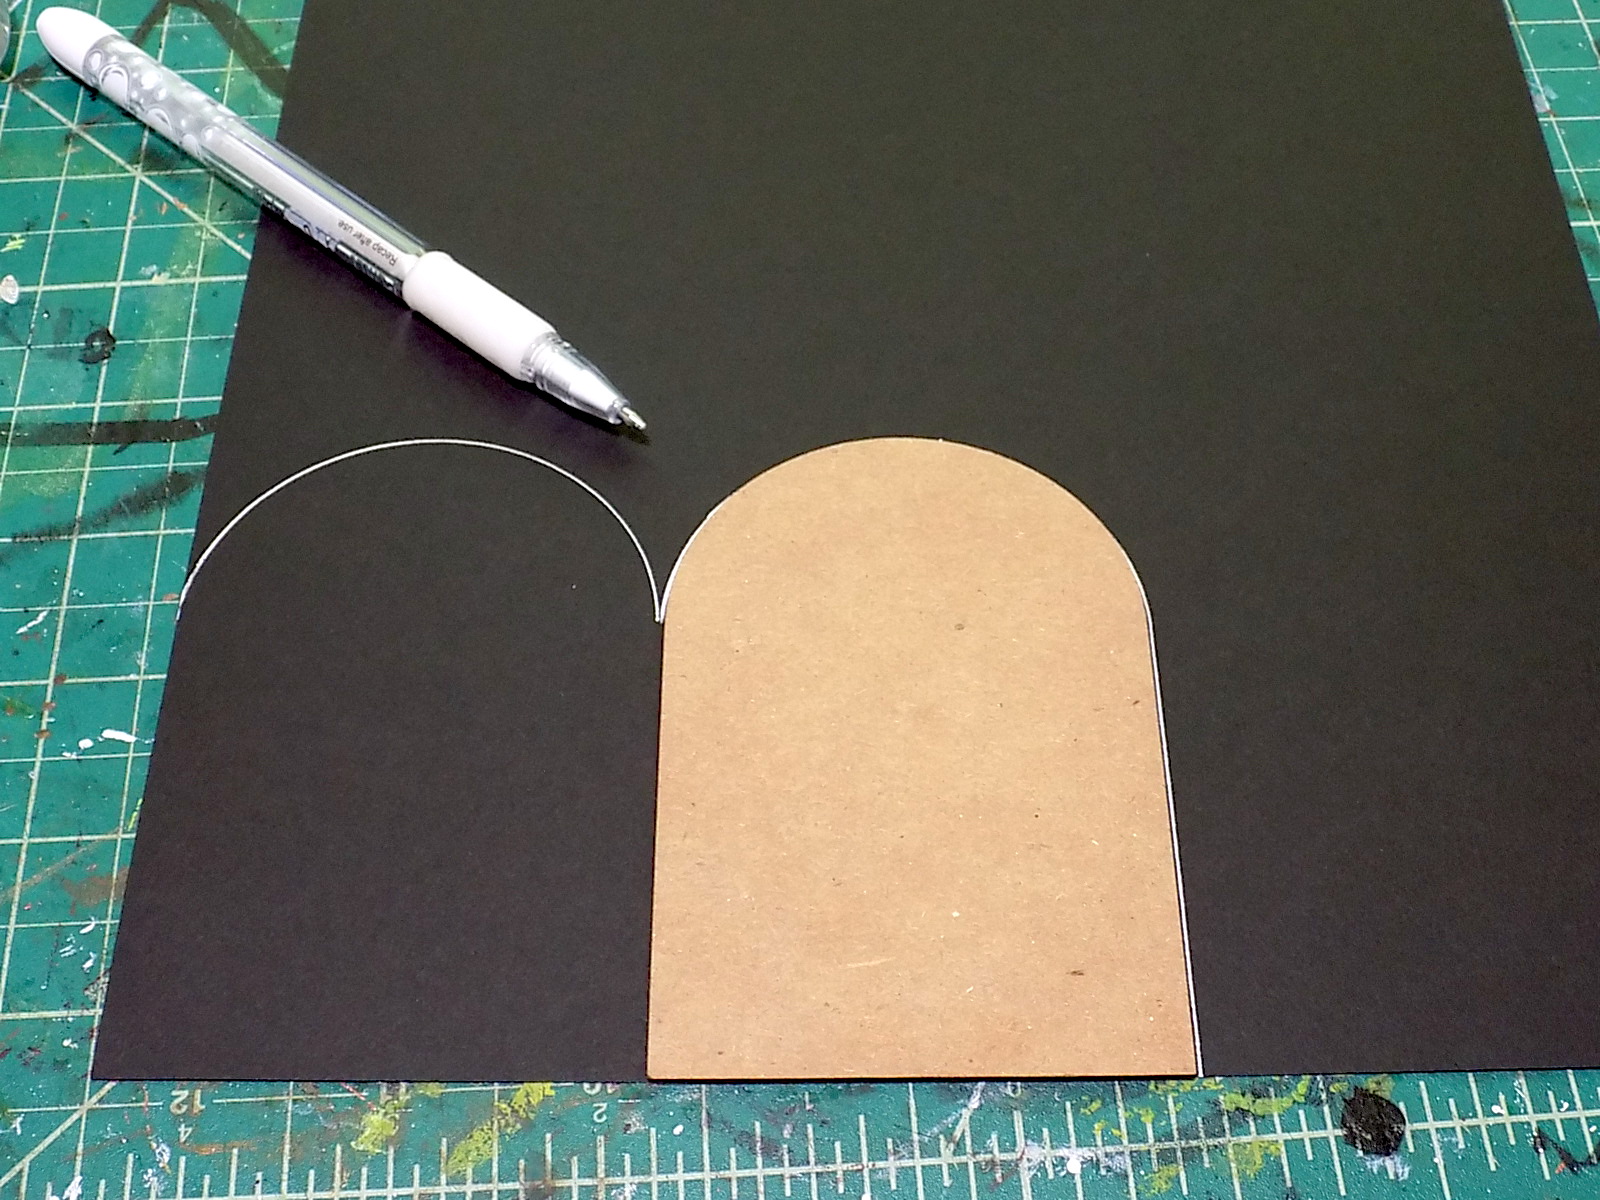

4. Cut out.

5. Fold. Decorate the card and glue it to the back of your mini bookcase. Done!


And one last shot of that adorable cast metal skellie in the corner...I love that guy. Happy Halloween crafting to you (I know I'm not the only one)!

HERE are the supplies used including names of all the collage sheets.

Oh, and the other thing I finished - knitted pumpkin orange socks!


Wednesday, May 6, 2020

Gypsy Caravan Niche Shrine

I've been on a niche shrine kick for a bit, filling the recesses with different kinds of miniatures, adding little shelves in some, and using collage sheet images for others. The variety of niche shrines Alpha Stamps carries (not to mention the extra bits that work well with so many of them) means I can continue to make them for a while yet. :)


I used parts from the Moroccan Doorways April Kit and a lovely Moonshine Frame to build a small gypsy caravan. It's about 5" tall and 3.5" wide, and a cinch to make.


The spoked wheels give it more of a caravan feel. Actually, the wheels kinda make it what it is. And the sloped roof, of course. All I did was chop off the top of the House Shaped ATC Frame Set and add a scrap of cardboard along the top, like so:


Draw a curve from corner to corner on both pieces of the House Frame...


and cut them off! Well, I have other pictures showing how to cut the strip for the roof but they are giving me trouble and refuse to upload. Sigh. All I did was trace along the new curved roof onto the cardboard and extended it a little longer, then cut it out.


All of the House Shaped ATC Frame edges were painted black (who am I kidding, I used a Sharpie) and each side of the frame was covered with the gorgeous paper from the Moroccan Doorways kit. On the front and back of the caravan is the decorative crimson side of the Grand Bazaar Folklore paper. I flipped the paper over and covered the interior sides of the caravan. The Moonshine frame and new roof were painted with regular craft paint, and I went around the edges with a white gel pen to add some decoration. I did cut off the bottom of the Moonshine Frame and reconfigured it so the caravan could have "steps" and a place for two "handrails" (wood flooring scrapbook paper for the steps and the same paper curled into a fun shape for the handrails). 

After that, I simply stuffed the niche with paper from the Grand Bazaar Doorway Scrapbook paper and a few fussy cut images, then glued vellum to back of the cutouts on the Moonshine frame before sticking it over the shrine's opening. The back was done in a similar way.


Just the center section of the Triple Arch Frame was used for the back, and the lopped off bits have gone into a scrap bin. You never know when they'll be useful! I was happy to find a nice spot for the Gypsy Queen Moth Cling Stamp too. It's a great stamp.

Another niche shrine done! I have a nice collection of them now and have ideas for at least six more. Spoiler: five of them are Halloween themed!

HERE is the supply list used for the Gypsy Caravan Niche Shrine