Showing posts with label retro. Show all posts

Wednesday, December 9, 2020

Two Projects Finished: A Christmas Miracle

 It has been some time since I've glued things to things and decided to clean off the craft table and make something. Two somethings, actually. Thanks for being patient, Leslie!

The first project is very quick to finish and would be a fun gift if, like me, you've waited until the last minute to do anything holiday related and need a present for a bestie. I removed the lids from two Small Sliding Tins from Alpha Stamps and made snarky fridge magnets! Who doesn't like a little snark, right?


Okay, so maybe this gift would only be appreciated by mothers, because we all know what needs to happen for a holiday to be awesome:


And Dads?


Well, at least there's wine.


To make your own magnet gifts, first remove the lid from the Mini Slider Tin and spray paint the bottom half. This is optional. I chose to paint the inside and edge white because it was quicker than fiddling with a teensy strip of paper for the inside. Add paper inside, on the back. Glue in a fussy cut image, like yawning Dad there... I also found the Tiny Cardstock Icicles & Christmas Ornaments fit nicely. Glitter some things, add optional snarky text, then glue trim around the edge, like the Miniature Red Tinsel Garland. Stick an Iridescent Snowflake Sequin on the tin, add an Adhesive-Back Magnet Strips to the back, and done! 


While waiting for the spray painted tins to dry, I dug around in my bin of Things That Should Be Used to find a super cute resin wheelbarrow and thought, "I wonder how much stuff can be crammed in there?" 


Quite a lot, as it turns out! Gingerbread house, donuts, red & white lollipops, star cookies, a gumball machine, canisters of candy, a cookie sheet of tiny gingerbread people, even an itty bitty tree! All I really did was paint the wheelbarrow, put a bit of floral foam in the bottom, add ALL THE THINGS, then fill in with white pom poms. 


I also discovered an unfinished wooden tool box and stuffed it with goodies, too. 


After painting the wooden toolbox, I added little bits of polymer clay inside, put easter basket grass on top of that, then stuck red and white candy canes, green, red, and white candy canes, and more lollipops into the clay. The snow people are from the Christmas Cookies Large Polymer Clay Slice Mix (and are adorable!).


And there you have it! Paint. Fill. Done!


You can GO HERE to see the supplies used for the Classic Christmas Tin Magnets

And GO RIGHT HERE for the Sweet Treats for the Holidays supply list.

Now I really, really do need to finish knitting socks...what day is it?


Saturday, July 18, 2020

Saturday Morning - a Mini Mod Delight

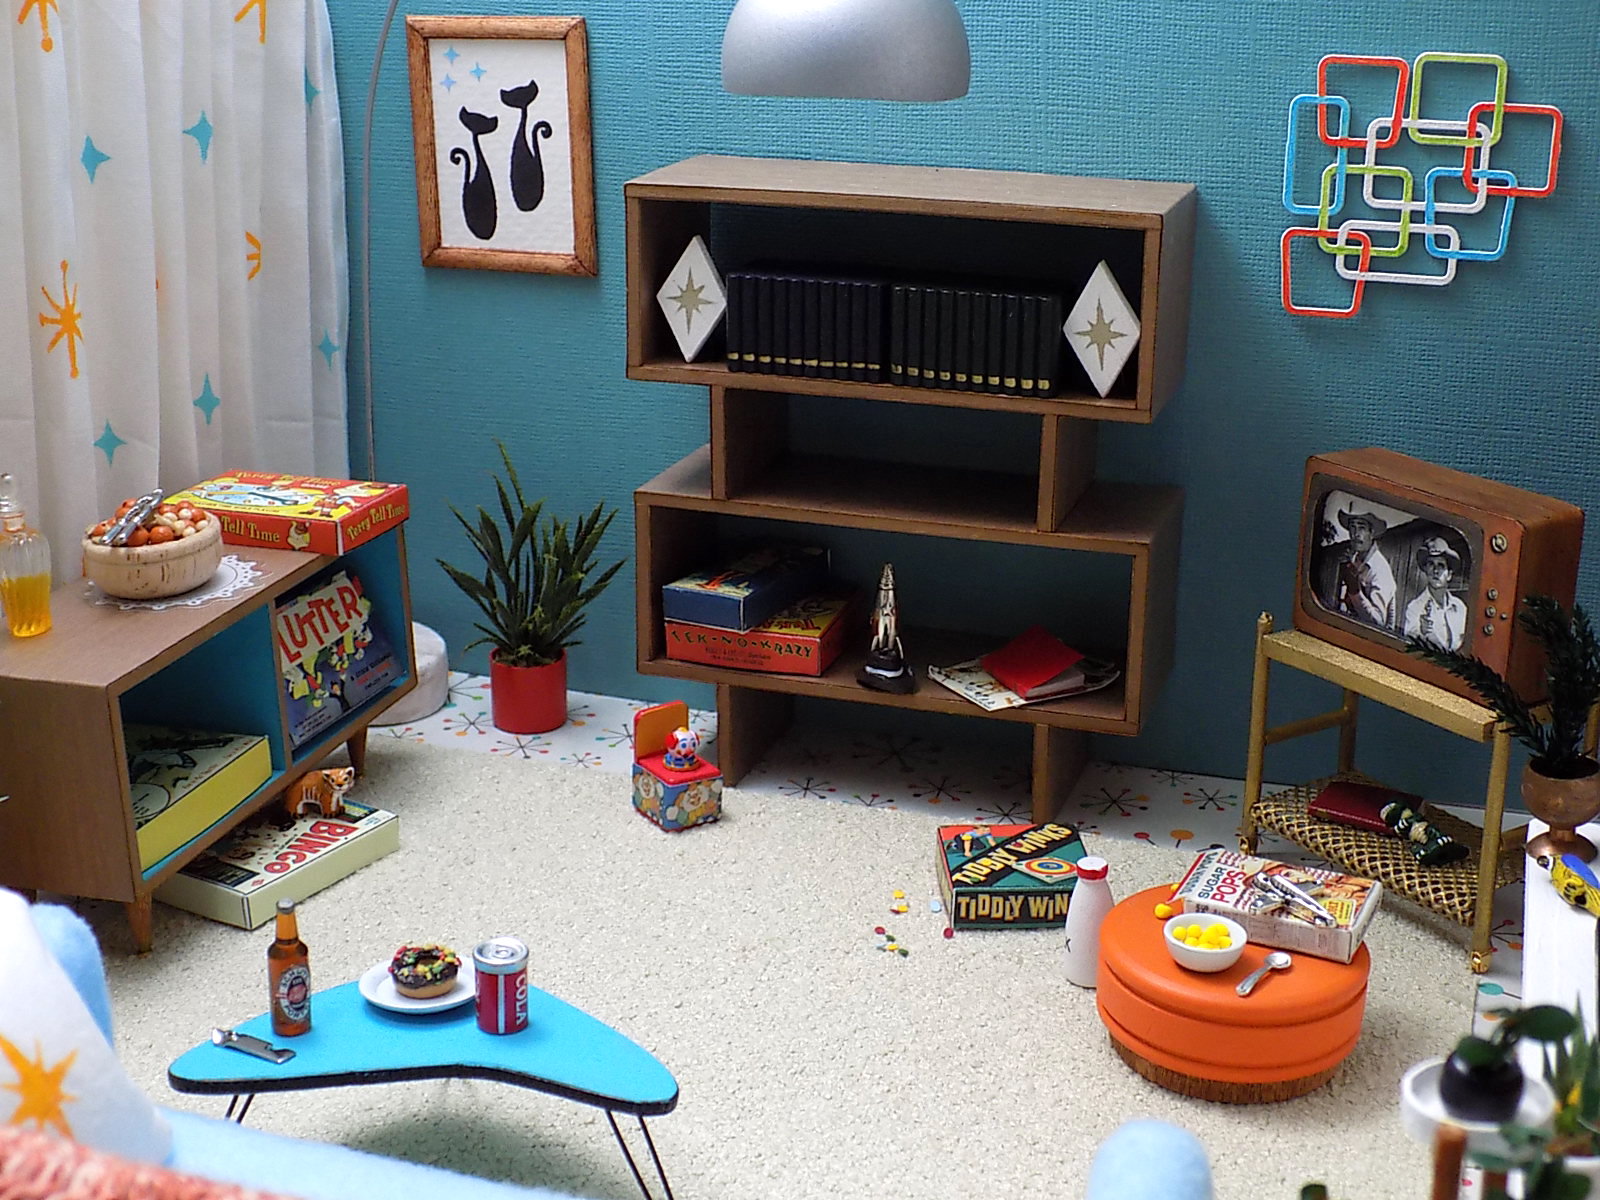
When Leslie shared with me Alpha Stamps's Retro TV Kit for June, I was happier than a kid on Saturday morning. The atomic television, vintage images on the new collage sheets, and the retro mini stencil sheets (eeee!) had me swooning. We discussed MCM, and spindly legs, and of course televisions that teetered precariously on skinny metal carts...yikes.

Well, one thing lead to another and after receiving some super rad retro coffee tables, I had somehow created an entire miniature mid-century room. Mom must be out and Dad is taking care of the kids because there is no way she'd allow cereal to be eaten on the hassock in front of the tv.


This tiny tv is so cute! I wanted to build the aforementioned precari-cart, so the legs of the tv were chopped off. I painted the front, glued a thin sheet of acetate followed by the perfect Western to the front, and then sandwiched all of the layers together. The knobs are from another collage sheet, can you believe it? Finally, I wrapped the tv in a strip of scrapbook paper. The cart is made from wooden skewers from the kitchen, a piece of needlepoint canvas, and the tiniest gold casters you've ever seen.


Originally, I had planned on a cart with two shelves but changed it up after discovering some ancient needlepoint canvas in the stash. See the itty bitty holes drilled in the bottom of the cart's legs? That's where those casters will go after painting the entire thing. 


I glued the canvas around the bottom supports and spray painted it gold, then added the casters. Nearly instant Cart of Doom!


Two of the Retro Coffee Tables were stacked for this ultra mod shelving unit. It would work equally well as a room divider, but I already had one of those (shown later and made for good reason) so opted to use it against the wall. I added starburst book ends and kid stuff, like the rocket ship, to the shelves. There are several board games and a jack-in-the-box on the floor.

Uranium Rush, a classic


The coffee table/room divider/shelving unit is a cinch to assemble. Glue the bits together, paint the all the edges, then cover with paper. I cut a long strip the width of the unit and wrapped it around.


A bone folder was used to crease the paper at the corners.


It was folded and glued around. The legs, center, and inside were covered with the same paper. Repeat!


The other Retro Coffee Table has a solid back and divider. It worked perfectly as another unit for games. I added (ahem) spindly legs to this one. They're made from wooden apple skewers and 3mm brass studs! 


The legs started out longer and angled, but you get the idea.


I painted the ends of the legs gold before gluing on the "levelers" (3mm brass studs). The shorter legs looked better.


The cat print on the wall was made with the Retro Mini Stencil Set and a few Blue Iridescent Starburst Sequins. While I was at it, I stenciled some curtains, bookends, and a pillow, too. Too bad there isn't a life-sized version of that print; it would surely be hanging on my wall! I' wouldn't mind the wall decor either. The lamp is a ping pong ball on a piece of wire from a metal whisk that has been stuck into a disk of polymer clay. I made the planter on the right from toothpicks, coffee stirrers, and paper. Above the mantel is an atomic clock made from another piece from the Tiny Retro Shape Set. Moving on!


Have I mentioned my affinity for spindly legged furniture? Probably. I used a piece from the Retro Signage Chipboard Set to use as a boomerang table and added (you guessed it) spindly wire legs. Woohoo! To make the table a little more sturdy, I traced the chip shape onto a sheet of heavyweight cardboard and glued them together. Tiny holes were drilled on the bottom and the wire legs were added. The edge was covered with a thin strip of trim.


Here's another pic of the tiny tv because I love it so. Those kids better clean up before Mom gets home, jeez. What monsters.


And finally, the room divider that was built for a very practical purpose. 

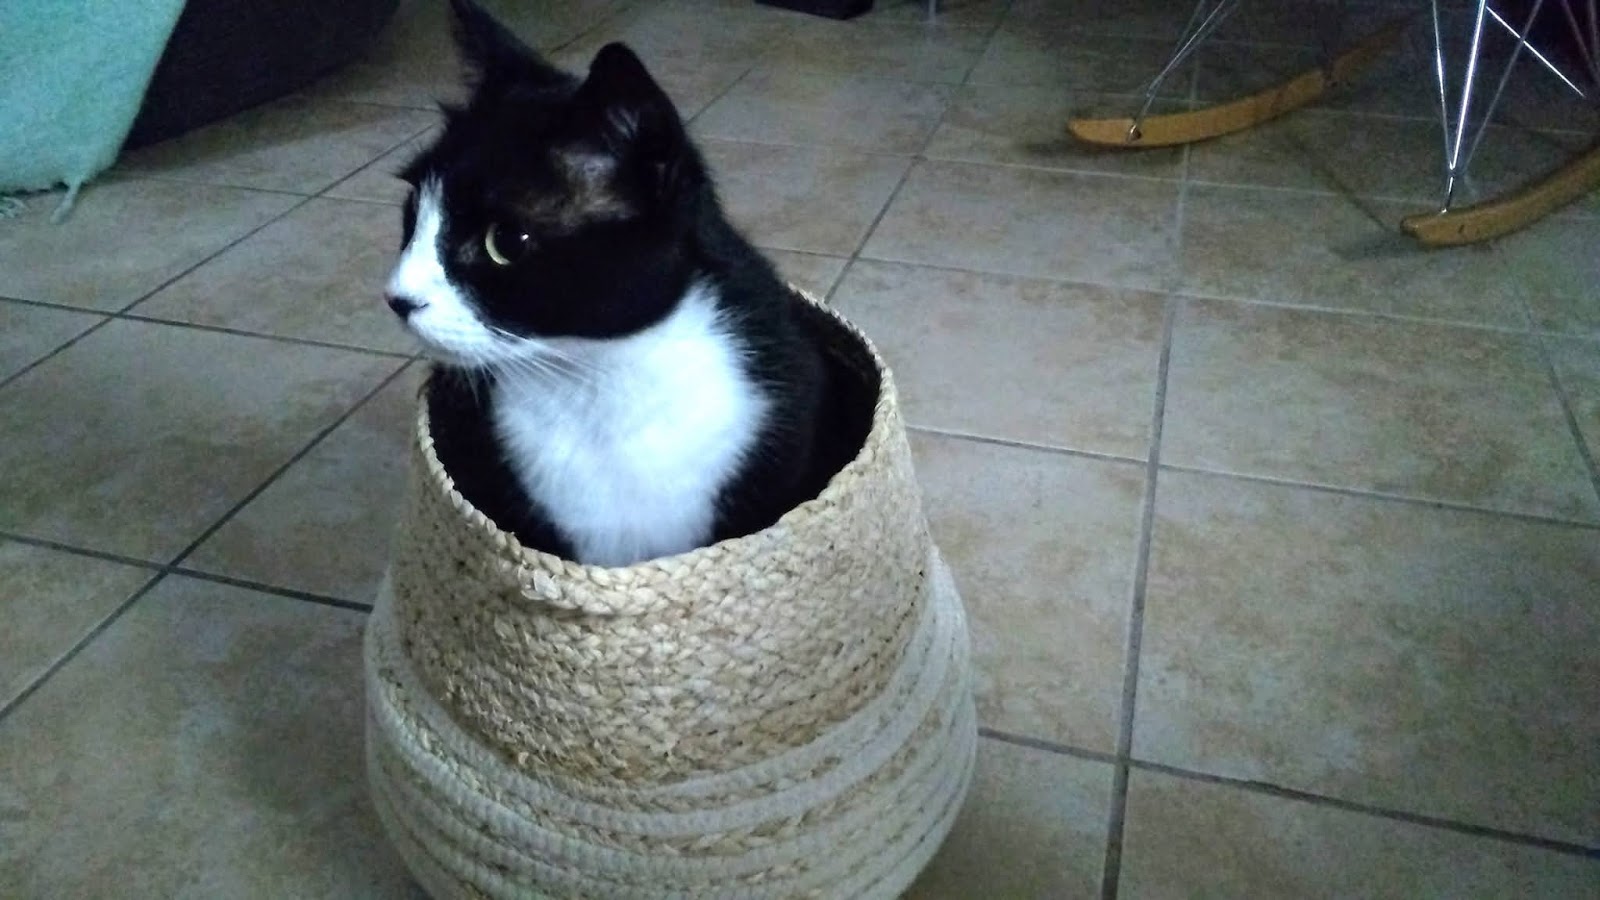
Meet Minicus Moo:


Destroyer of knitting baskets


family game night


all miniature projects


and even Christmas.

So, after two rebuilds of my mod room, the room divider (along with several other barricades) did its job and kept her from annihilating the finished project for a third time. 

Whew! I hope you enjoyed this little slice of retro and all of its glorious spindly legs. I want to go to there.

Happy Saturday! Seems like a good day to watch Blast from the Past.

A list of supplies can be found RIGHT HERE.  


Wednesday, November 15, 2017

Retro Ornaments, Yay!

My Christmas wishes were answered with this month's kit at Alpha Stamps, a kit that is chock full of mid century goodness and oodles of rosy cheeked Santas and snowmen. I'm in love with all of the vintage images like Frosty here:


I added tiny ric rac and baker's twine on the ornaments plus a few pom poms for good measure. Santa's giant red bow came out of a 1970's Christmas craft kit. He also has a glittered dingbat on his ornament.


One of my daughters chose this sweet kitty face for the last ornament and even though you can't tell, her collar is fuzzy with white flocking powder and her hat with red.


I'm off to go pull out the color wheel and all my boxes of Shiny Brite ornaments. Happy holiday crafting to you!

Supply List is Ho Ho HERE.

Tuesday, April 11, 2017

Bitty Book of Booze!

Have you seen the new Dapper Gents kit from Alpha Stamps? It includes (nearly) all of my favorite things- retro patterned paper, retro phones and t.v.s, retro men, and ATCs. Does it get any better than that?

It just so happened that I had picked up an assorted bag of miscellaneous ephemera from a favorite consignment shop and in that bag there happened to be a really cool, really retro "Professional Mixing Guide" by the Angostura-Wuppermann Corporation from 1950. That little booklet combined with the Dapper Gents kit (and those saucy gentlemen!) turned into a swell, if not slightly naughty, cocktail recipe book.


Brandy is pretty popular with the gents

I painted a Hidden Drawer Book Box- ATC Size with a color that matched the Dapper Bringing Home the Bacon Scrapbook paper and then covered the front and back with said boss paper. The spine is black cardstock that was punched with a vintage shaped mini punch and I also covered the book's "pages" with black cardstock. My retro Olympia typewriter came in handy for the message on the bottom and I was surprised to find the red ink still vibrant. Relatively.


The spine of the book slides out like a drawer, which is where the ATCs are stored.


I followed the instructions of my mentor and trimmed the chipboard ATCs then rounded the corners as she did, and boy, they look great that way! The front of the cards feature a handsome gentleman and a manly named cocktail that I cut from the "Professional Mixing Guide". Also included are a few randy ladies from the Happy Vintage Housewives collage sheet.


On the back of the card is the mixing instructions for the named cocktail.


Here's what you do to mix a perfect "Stubby Collins":

Don't forget the stir rod!


Go RIGHT HERE to see the list of supplies I used.  Cheers to you!