Saturday, October 16, 2021

Eat, Drink, and Be Scary! - A Miniature Trick-or-Treat Delight

 I'm just going to cut to the chase. The Porch & Courtyard Scene Box from Alpha Stamps is a scream!!! It's a hefty 11 1/2" long x 11 1/2" wide by 13 1/2" tall kit with a raised porch, steps, and a courtyard! Did I mention the arbor covering the porch?? Wow. I love this thing.


There's tons of possibilities with the kit, but with it being October and all, there was no way I was going to do anything but a Hallowe'en project! My trick-or-treat porch looks like any old house you might come across in a neighborhood - silly decorations, tombstones in the yard, and a spooky skeleton a kid would warily creep up to to if they wanted any candy - but this scene box could be turned into an amazing haunted house. It would also be pretty cute decked out with Christmas decorations and lights...oh my, how long until Christmas??!

Speaking of lights, I used a few adorable Tiny Halloween Luminaries and a Mini String of Fairy Lights to illuminate the steps:


The rest of the string of fairy lights are tucked behind the silhouetted images under the porch. I had made similar kinds of window silhouettes many moons ago when we went all out with decorations for the house. The life-sized versions were spooky images cut from black plastic that were glued to white fabric, then hung in the windows. The mini versions in the windows are stamped images on Heavy Translucent Vellum. The bottom silhouettes are the Black Creepy Critters Set or Translucent Vellum - Alchemy Icons - Skull, Owl & Raven that have been taped to a frame made from Heavy Translucent Vellum and strips of wood.


I wanted the silhouettes to be interchangeable, so I made a frame that fits behind the bottom porch supports. It's made from coffee stirrers with Heavy Vellum glued to the back. 


The images are attached with tiny bits of double sided tape so they're easily removed.


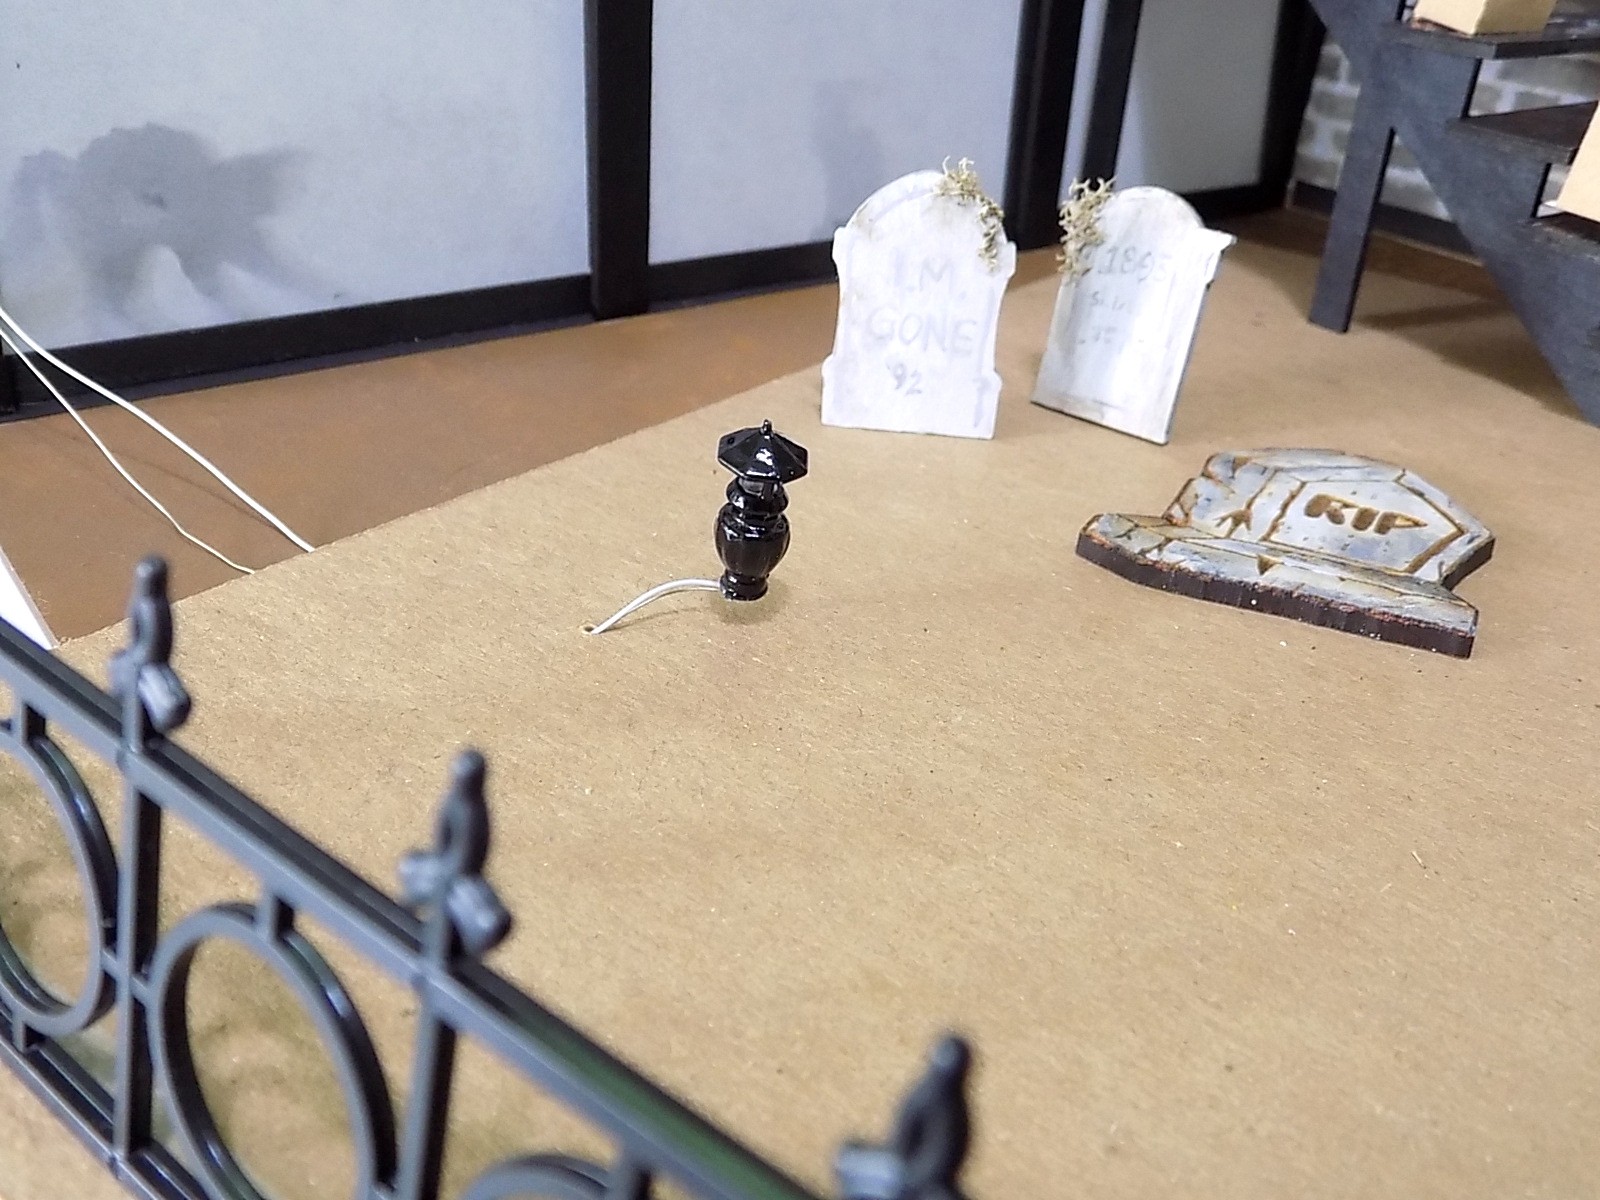
There's a Miniature Foot Path LED Light in the yard that lights up too. I cut a rectangle of cardboard the same size as the front yard so the wires for the foot light could be threaded through to the battery pack that's hidden under the porch. The cardboard makes it easy to change out the light (and there's no wire running under the project!). 


There's the battery pack under the porch with all of the lights on:


and here you can see how I bent the fairy lights to follow the steps, leaving the lights bent upward for the luminaries:


The luminaries themselves are easy peasy. Punch a tiny hole in the bottom of the luminary. Cut one tiny rectangle from heavy vellum and two from orange cellophane. Glue the vellum to the back of the luminary, followed by the two cello pieces. The extra cello really helps to hide the bulb inside. Push the bulb through the hole in the bottom of the luminary.


Another little tip; chipboard pieces make great impromptu stands:


How about a few more photos of the project?


A Little Gable Box made the perfect place to hide candy from trick-or-treaters. Do they dare reach in to grab a few?


If the kids are brave enough to get passed Johnny Rotten, there's a table of goodies waiting to be eaten! Lots of candies, cookies, cupcakes, caramel apples, and ghoulish grog to wash it all down!


Miniature Flying Bats were hung from the arbor above the porch and some thin mossy twigs were tucked in here and there.


The yard went through several iterations before I decided a very simple cemetery scene would work out just fine. The Etched RIP Tombstone - Bat, Etched RIP Tombstone - 3D Angle, and Etched Cemetery Sign are easy enough to paint and plop in a project. I also chopped off the arm of a Plastic Skeleton for one of the graves. It's a classic Hallowe'en decoration. 


Finally, one last shot of those adorable luminaries! I kinda wish there had been more steps to the porch so I could've used all six luminary designs. Another day!


I hope your Hallowe'en night is full of frightfully delightful tricks and treats!

Don't forget to GO HERE to see all the fangtastic things used in the scene!


Saturday, October 2, 2021

Practical Magic Shop

 October is here! Time to decorate the house and craft my little fingers off! I managed to sew a bunch of tiny chenille pumpkins to send to Japan before completing a witchy miniature shop for Alpha Stamps (and I also finished a box of Count Chocula. Don't judge.)

After seeing the Nightfall Lantern Kit, I waffled over what I wanted to do with it. The Nightfall Paper is beautifully rich and is both Halloween-y and not Halloween-y, which makes it quite a treat! Eventually, I decided to pick up a Simple Scene Box for my new project to create something witchy:


The Simple Scene Box is a cute 7" L x 4.5" W x 8" Tall kit with short sides around the front and space in the back to hide wiring should you choose to electrify your scene. It seemed silly not to have a light. Good thing there's Tiny Halloween Lanterns! More later. 


The Practical Magic Shoppe is a quaint little place with spell books, potions, and brooms, plus a few odds and ends to spruce up the cottage. Who could resist a winking cat??


I didn't go overboard with all.the.things, leaving the project somewhat tidy and uncluttered, mostly because the Nightfall paper is too lovely to cover up. There is a Miniature Vintage Cash Register (left unpainted!), an etched Ouija Board 3 Inch CoffinPumpkin Lollipops, and a "take an eyeball leave an eyeball" dish at the end of the counter.


See the black cauldron in the back? It used to be silver, but it was painted black some time ago and I find myself pulling it out of older projects to use again and again. That thing is great! Even though you can't tell, it is filled with Black Landscaping Coal. Oh, I should've put the Metal Grain or Feed Scoop in there! Guess it isn't too late for that.


Two of my new favorite things are the Tiny Dragon Sconce and the Tiny Halloween Lanterns - Set of 3. The Tiny Dragon Sconce actually has an ornate back piece, but mine got chopped a tad to fit on the side of the Simple Scene Box. The lantern has orange vellum and a light inside (pics below).


The 4.5 Inch Tall Wrought Iron Fence exactly fit on the back of the scene box minus the two teensy bits that are on the bottom of the fence. Those were snipped off and it fit like a dream. The only other alteration I made was the rectangle of thin balsa glued to the Shop Counter.

There is a Narrow Spider Web Flourish Border tucked behind the items on the shelf. It's conveniently the same length as the shorter of the 1:12 Shelves - Set of 2. It would be cute glued to the front edge of the shelf, too.


The assembly of the things in the project are easy, and I'm going to share a few tidbits with you. First is the construction of the Simple Scene Box.

There's 8 pieces: 


Before gluing things to things, I measured the Base and the Back (inside the tabs!!) and cut paper to fit. I wanted to use the small print roses in the Nightfall 6x6 Paper Pad for the floor and had to piece it together. Do not glue it to the base just yet!


Next, glue the Front, Bottom Left, and Bottom Right pieces to the Base. Glue strips of paper on each of the sides and front. In the photo below, you can see there is a small section on the Bottom Right that is not papered. I chose to leave that area uncovered on both the Bottom Right and Bottom Left because the Side pieces go over this section. It isn't that big of an issue and the whole thing will work out fine if it's papered over, but that's what I did. 

Next, glue the Back in place, like below. Glue paper to the Side and Top pieces before gluing to the Back. Finally, glue in the two pieces of paper for the Back and Base. Now you can decorate!


Here's the rectangle of balsa that makes up the counter. It was cut just a hair larger than the top of the Shop Counter. 


And here's the working Tiny Lantern!


There's a strip of orange cellophane glued inside the lantern, and an itty bitty LED stuffed inside.


The back of the Simple Scene Box:


which is covered with a piece of foam board, like so:


Well, that brings me to the end of my Practical Magic Mini Scene! Time to move on to something a little different and maybe get a new pair of knitted stripy socks finished, too. Happy October!

FLY OVER HERE to see the supplies used!