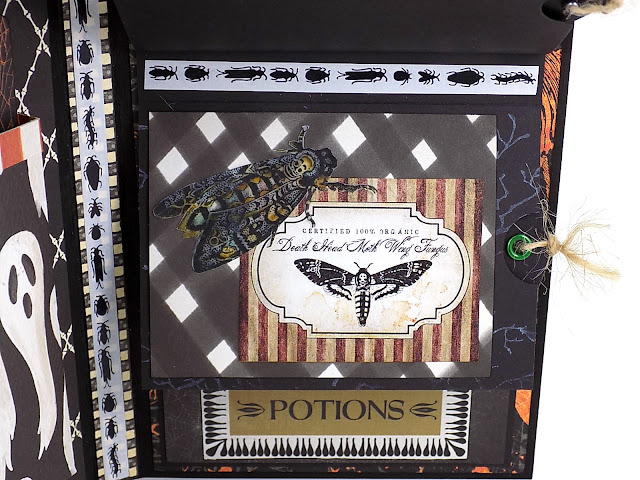
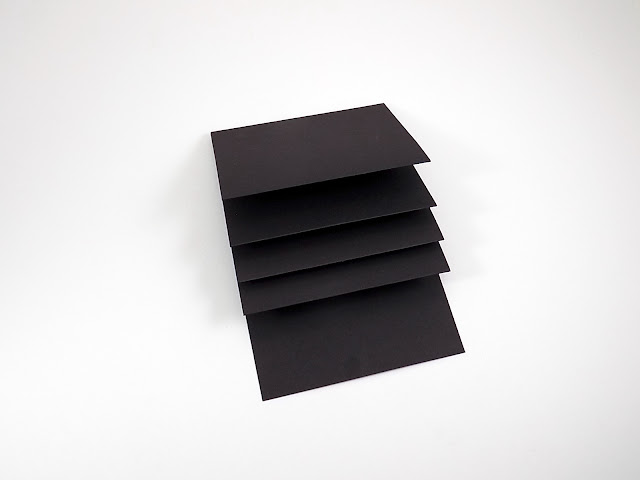
Here's a little tutorial on the waterfall pocket assembly for your folio. There is probably an easier way to make it, however, this is how my brain works, so here ya go:
1. Cut a strip measuring 12" x 3 3/4" from 12x12 black cardstock. Score at 2 3/4", 5 1/2", 6", 8 3/4", and 11 1/2".
2. Turn over the strip and add thin double-sided tape to the top and along both sides of the bottom.
3. Remove all the tape from the side with tape at the top and bottom, and fold together, lining up the top edges. I did go back and add a bit of tape to close one side of the pocket, so maybe you ought to do that during this step. :) I taped the left side of all the pockets closed and left the right side open to hold the tombstone recipe cards.
4. Cut a strip of black cardstock measuring 7 1/2" x 3 3/4". Score at 1", 3 3/4", and 6 1/2" like so:
5. Add double-sided tape to both sides of the bottom flap, fold the pocket, remove the tape backing on that flap only, and tape together.
6. Cut a 12" x 3 3/4" strip from 12x12 black cardstock. Score at 1 1/2", 4 1/4", 7", and 7 1/2".
7. Add double-sided tape to both sides of the 1/2" section. Remove the tape backing from the front and press down. Fold the pocket, remove other tape backing, and tape to top of flap, lining up the top edge with the taped edge.
Here are all of the assembled flaps/pockets!
8. Remove tape from the back of Second Flap and place on top of Third Flap, matching the top edges. Remove tape from the back of the First Flaps and fold the pocket up so its top edge matches the top edge of the Second Flap. Press in place.
Finished waterfall flaps with pockets:
Thanks for taking a peek at my spooky folio with dreadful recipes (actually, they're all pretty good!) Happy creating!
GO HERE to see all the goodies!


