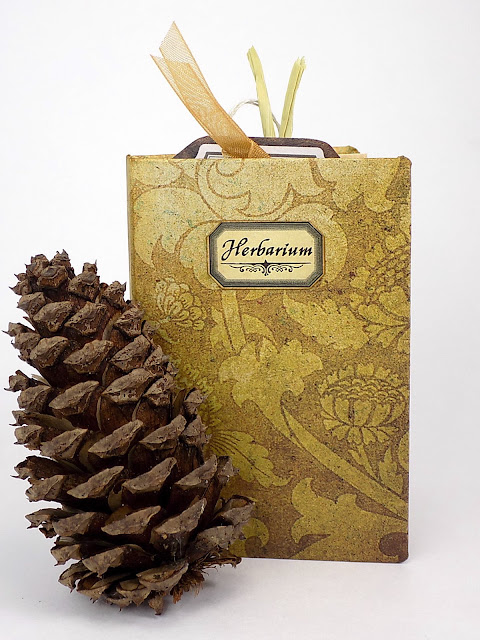
Have you seen the new Botanical Journal Kit from Alpha Stamps? It's a beauty! What better way is there to begin a new year than with a mini journal or folio chock full of nature?


I made a few simple pockets for the journal and was able to stuff them full of all sorts of things.
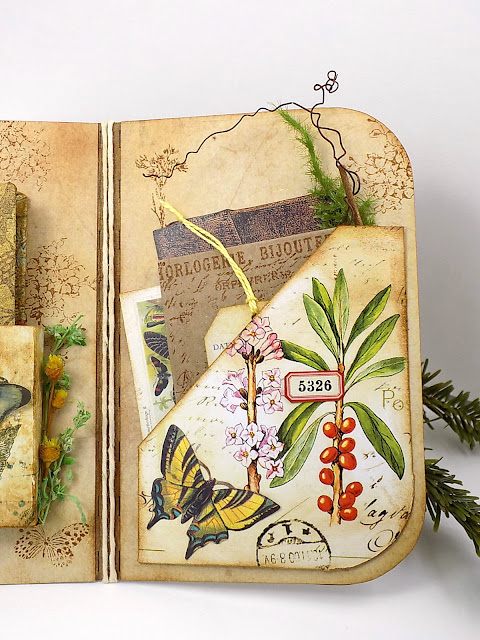

In the center is another pocket that holds a little book for drawings, pressed flowers, and for jotting down notes.


It's surprising just how much fits inside the envelopes:

And here are what the journal pockets hold:

Want to make a mini book? It's an easy thing. The book pages are made from envelopes in the kit, and the cover is cardboard. Here's a quick run-down of the assembly.
Cut 2 pieces of heavy cardboard 2 1/2" x 3 3/4" for the front and back covers. The spine is a thin strip approximately 1/4" x 3 3/4". I didn't really measure that bit.

Attach the covers and spine to a rectangle of scrapbook paper that's about 1/2" larger all around, leaving space between the pieces.
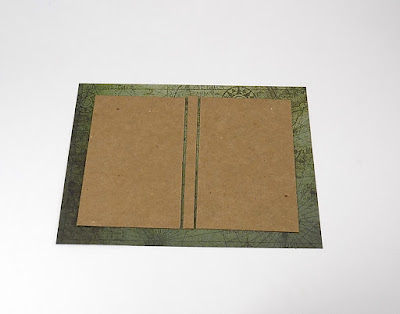
Score around all of the pieces and between the covers with a bone folder (or knitting needle) to create fold lines. Snip the corners of the paper, fold the paper around, and glue in place. Score the paper between the covers once more after it's dry.

Now make the part that holds all of the pages (whatever it's called). Cut a strip of paper 2 3/4" x 5". Score fold lines every 1/2" along the long side. Accordion fold the piece starting with a valley fold. The piece of paper on the top is the book pocket.

Attach double-sided tape on both ends and every other strip in between. Glue works, too, just don't add it to the end strips since those will be used later on to hold it in place inside the book. :)

Remove the tape backing, leaving the two end strips alone, and fold the strips together, like so. Now there are two strips and four flaps. The two strips (shown at the bottom) will be glued/taped to the book covers, and one page will be glued to each of the four flaps.

Tape or glue the first flap to the back of the first page. Ignore all of the extra folds of paper in the next two photos. I really wanted a book with more than four pages but it would've been an inch thick!

Repeat with the remaining pages.

Glue the first strip to the front cover and the last strip to the back cover. Lastly, use an appropriately sized image or piece of paper to cover the strips and exposed cardboard. Done!

Oh, I also chopped off the flaps on the kraft envelopes and punched a notch in the top. Guess I should've mentioned that earlier...


GO RIGHT HERE to see the supply list!
I love this, it turned out beautifully.
ReplyDeleteThank you! Happy New Year to you!
Delete