
I didn't stray too far from a classic version of a royal wedding carriage, or at least my version of one, and painted it white with little adornments. The bride is supposed to be the star of the show, right?

The Tiny Dot Dresden Borders worked out nicely for window trim, so that and a few fancy embellishments was all it really needed. And a bunch of roses. Oh, and tulle curtains.

And maybe two suede cushions with gold trim. Plus a coating of White Opal Liquid Pearls to give the coach a pearlescent shimmer to it. (I just painted it on over the white gesso base coat.) But that's about it. Well, I did add a door handle- a snippet of toothpick and a flat back brass stud- and sprinkled a few more of those studs here and there.

The last thing I added was a white paper lollipop stick on the back of the carriage because I wanted a place to tie golden jingle bells. That's it!

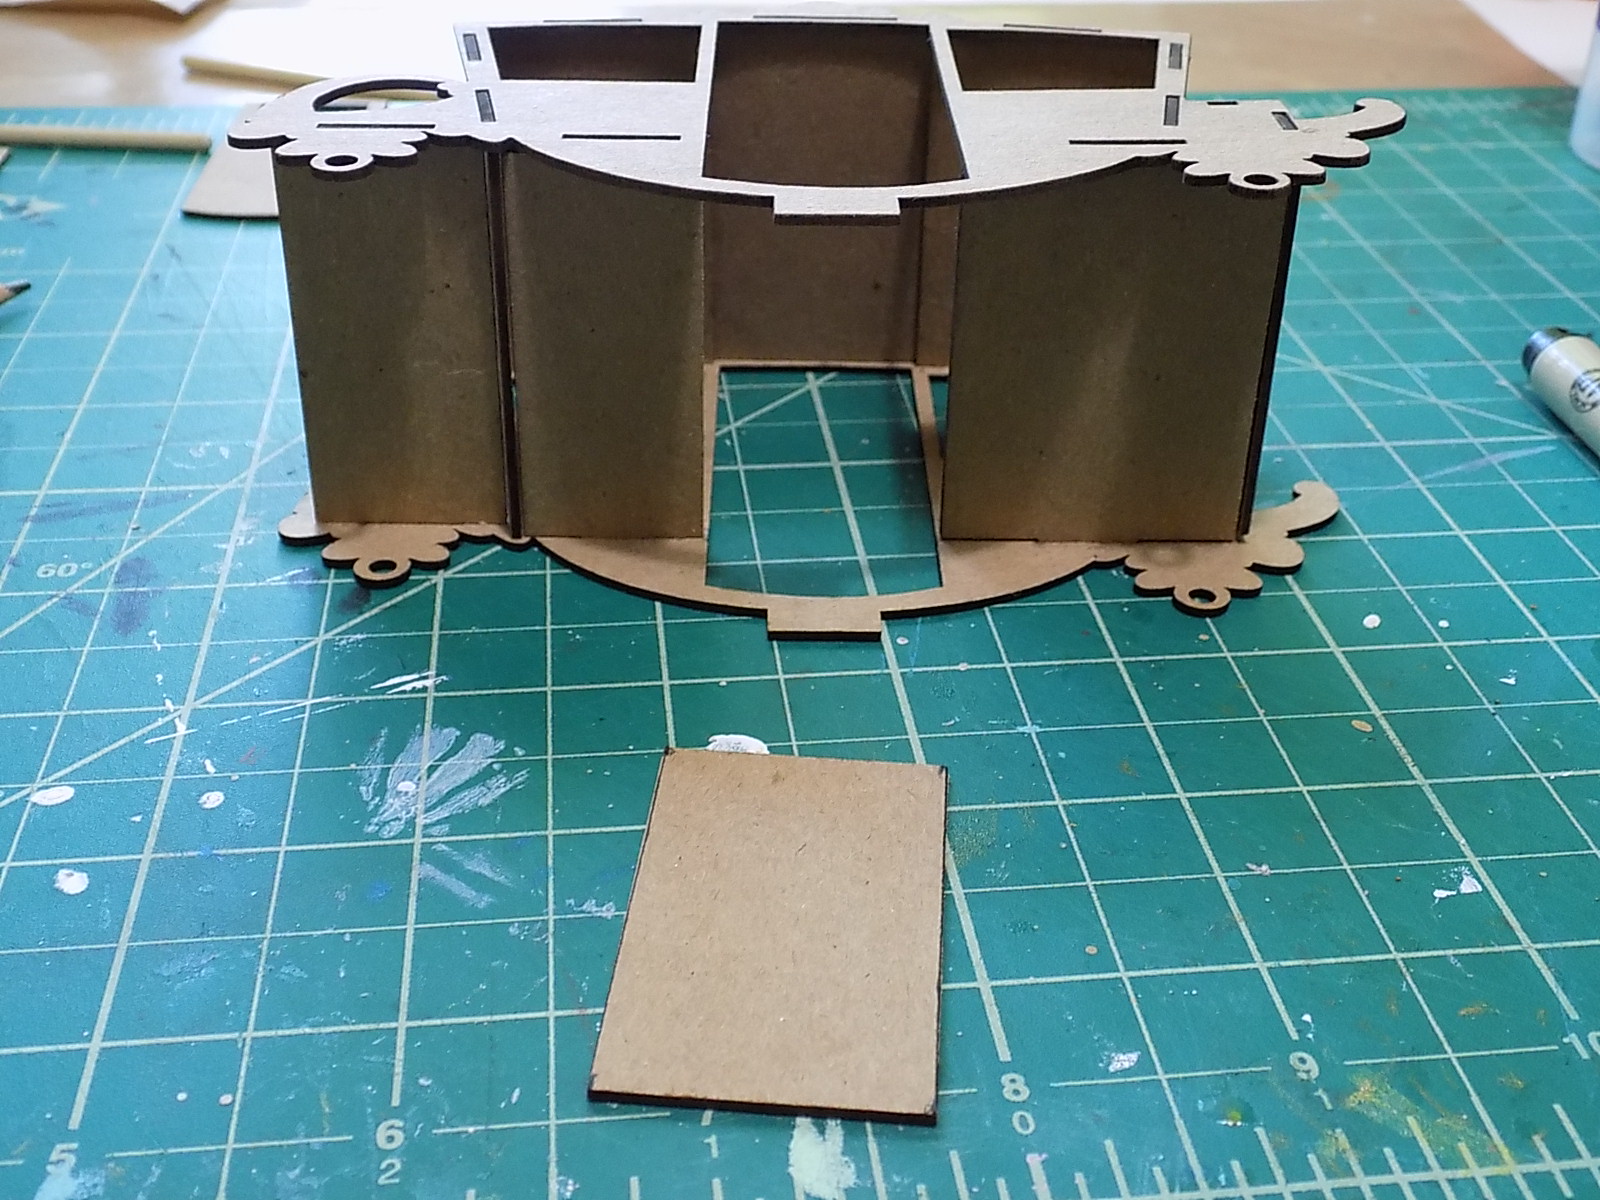
Okay, okay, I also hacked the coach up a tad, but it is an easy alteration. Here is the assembled coach from the kit, and I just gave it a different floor:

Mark floor of coach at the door opening.

This is the floor of the coach. The back of the coach is on the left and the front is on the right. Mark a line that is 22mm from the left and 37mm from the right. Cut along lines. Save that extra piece!

The two new pieces have been glued in place and the extra will be glued to the underside of the seats.
Cut two 12mm sections from the extra piece. Save that thin strip!

Glue 12mm pieces to the underside of floor and along edge of door on both sides.


Cut an 80mm x 48mm rectangle from thin cardboard, then wrap it around a coffee mug and hold it in place with a rubber band. This really should be Step 1, so by the time you get to this stage your cardboard will have a nice curve to it. Anyway!

Glue the thin strip left over from the last step on the underside of the coach, about 15mm from the right edge. The front of the coach is still on the right and the back of the coach is on the left.

Run a line of glue along the edge of the strip and also along the piece that protrudes slightly from the back.

Hold. Hold. Hold.

Then bippity, boppity, boo! A coach fit for a Princess, no Fairy Godmother needed.

HERE is a list of supplies I used
No comments:
Post a Comment