
The gingerbread man, snowman, and tree that is on the front of the tray are three of the buttons in the Christmas Miniatures button set...there's also a reindeer, mitten, and sleigh!

I managed to cram a cake, an icing spatula, metal mixing bowl (oooh, I love that bowl), spatula, a vintage mixing bowl, two jars of candies, a plate of gingerbread men, an icing bag, more cookies, AND an entire tree on that itty bitty tray. The icing spatula (the metal one on the tray) was made by trimming a strip of metal off a tealight holder, bending it to shape, then adding a polymer clay handle. I added two silver dots with a Sharpie after it was baked. The yellow spatula is simply a short length of flat toothpick with a polymer clay end; I sandwiched the toothpick between two thin sheets of clay then cut off the excess and baked it for a few minutes.

To make the icing bag, I cut out a triangle shape from plain paper and folded it just as you would with a regular sized parchment triangle if you were making an icing decorating bag. I glued the ends together, stuffed a bit of clay inside, then scrunched the end closed. To make the decorator tip, color the end with a silver Sharpie. Let's make a cake, shall we?
For the cake itself, I used clay that either I had messed up by rolling it on a not-so-clean surface or my kids had used and did the same thing. This part won't show so it doesn't matter if your clay has picked up bits of whatever or has been mixed with other clay and is a sickening grey color. Roll into a cake-like shape. Bake accordingly. Mine was 15 minutes in a 265 degree oven but yours may vary depending on your specific clay.

Once cooled, frost your cake. The frosting is white polymer clay mixed with enough translucent liquid clay to make it spreadable. It seemed to be about a 50/50 ratio.

I cut slices from a Polymer Clay Red Swirl Peppermint Cane and stuck them into the frosting along the bottom. Since I wasn't sure about the safety or flammability of baking the gingerbread button, I cut the shank off the back and pressed the button into the top of the cake, making a depression in the frosting. The button was removed and the cake was baked a second time. If you can't chop off the shank of a button you want to use, omit the first baking of the cake. That way you can press the button into the frosting and the cake, making a nice indention for the shank. Once the cake is cooled, the button will sit flat on the top of the cake.

I made a fondant version too, and it begins the same way as the first, with a cake shape from waste clay. In the fondant color, cut out a thin strip that's slightly taller than your cake, as well as a circle of fondant that's the same size as the cake.

Encircle the cake with the strip of fondant and fold the edge over onto the top of the cake. Add the fondant circle and smooth the edges. You could just forget about all that and go straight to rolling out a cake shape in the fondant color but where's the fun in that? Plus, I have lots of this-used-to-be-white clay and wanted to use it somehow, so that's what I did. Bake your cake.


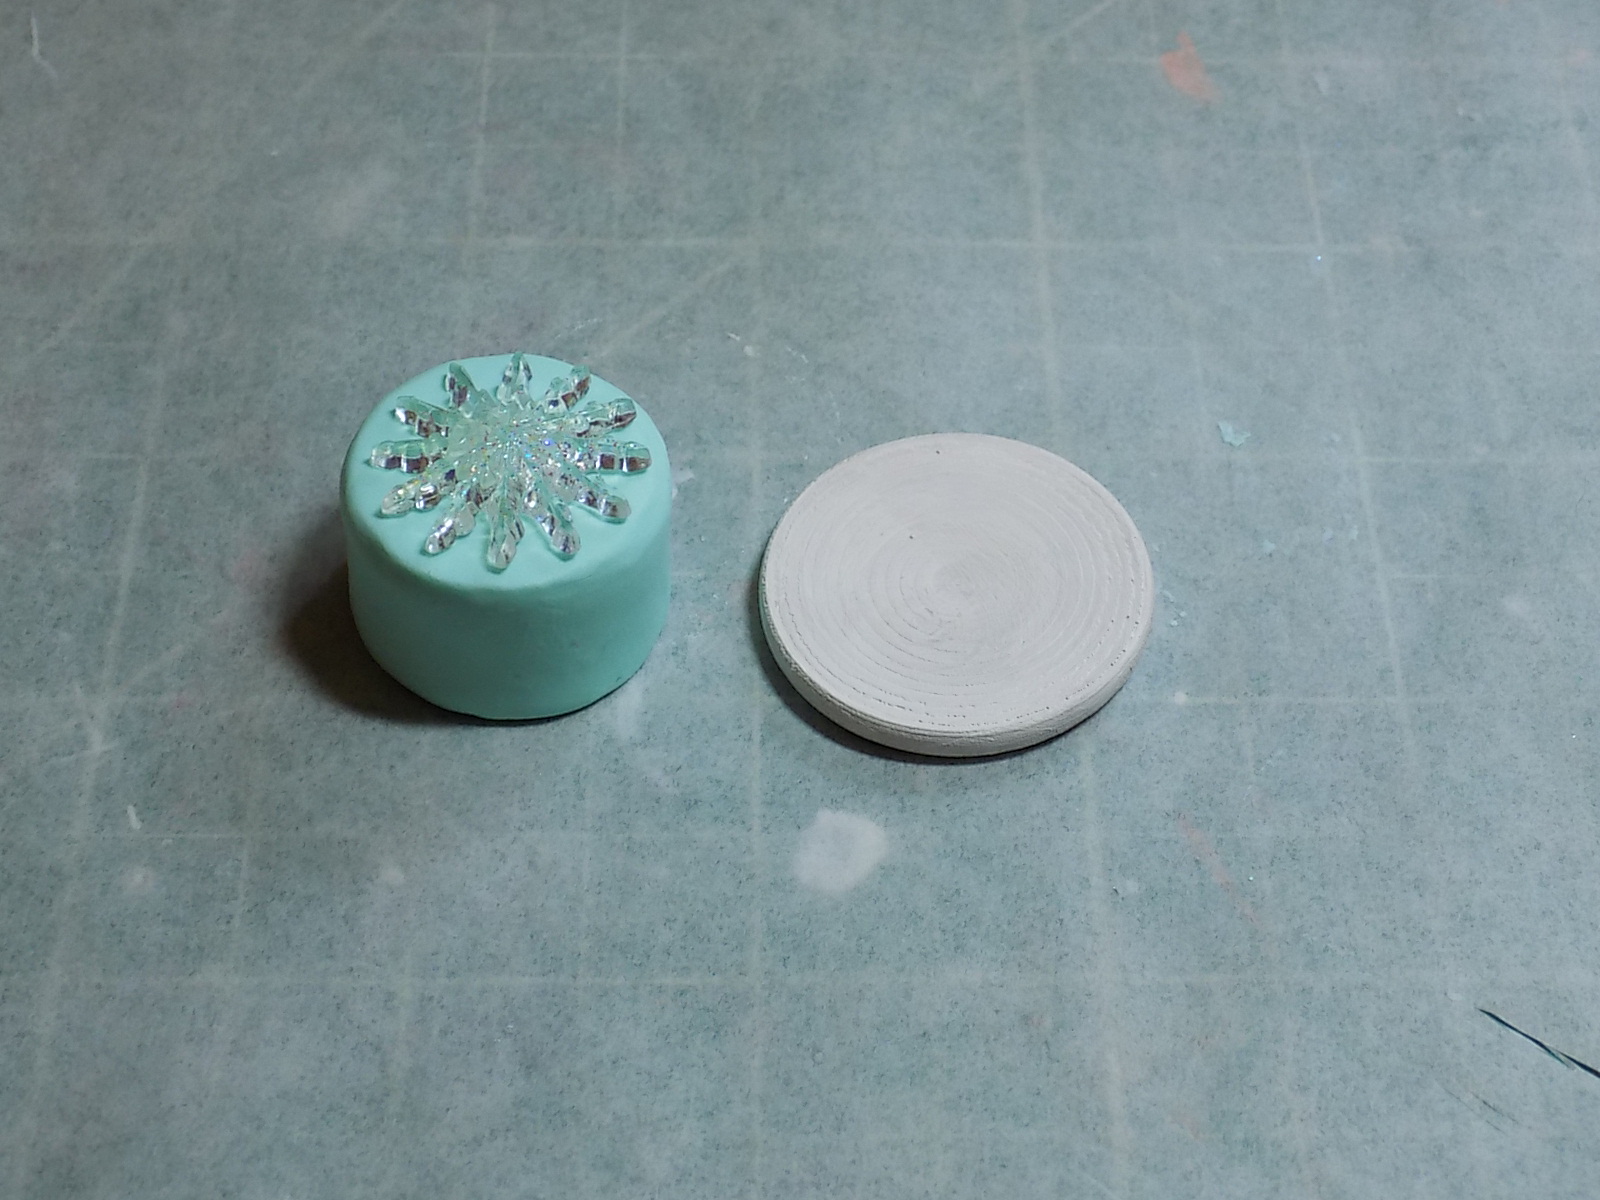
I put a Flat Back Clear Iridescent Snowflake on top, glued it to a wooden disk painted white, then added Fluffy Winter Snow along the bottom.

The first cake I made turned out too large but it's still kind of charming.

And there you have it. Happy Holidays!
Supply List can be found HERE.
No comments:
Post a Comment