I can no longer deny it. Summer is here. It's hot, humid, and buggy. Even the cat won't venture out today. That's why I am so glad to have received July's Seashore Kit from Alpha Stamps! Lots of lovely things to play around with and keep me occupied while everything outside melts.
My first project is a simple Mermaid Garden tin. I'm a huge fan of tin inserts and used one from the Altoids Inserts Vignette - Set of 3 along with several chipboard pieces, like the new Sea Scape Layered Corner. It's so pretty!


If you are new to using Altoid Tin Inserts, here are a few pointers that I hope you find useful.
1. Tin Inserts can be used on the inside of the tin (under the "lip") or on the outside.
2. Some advantages of using the insert on the outside are not having to alter the color of the lip to match your project (unless you don't mind that it's silver because that's okay too!) plus the edge of the insert creates a nice place to glue cording, ribbon, beads, sticks, or whatever around your tin. The disadvantage is you can't use the cover of the tin.
3. Placing the insert on the inside means you can leave the cover on the tin and have a beautifully framed surprise inside. If you use the insert this way, just remember to trim any paper on the inside a little shorter than you normally would to accommodate the width of the insert:

And while uploading the insert pic I found another that might be helpful. I coiled the Woven Sea Grass from the kit around the spool base of my tin. To make it easier to glue, I wrapped the woven sea grass around a dowel and taped it with blue painter's tape. It was perfectly coiled after just a few hours, no water necessary!

There are so many pieces to the kit that I found myself making another tin for my MIL. She and all of her high school girlfriends make an annual trip to a beach and spend a week together, so I thought I'd make her a little gift that represents her friendships and love for the beach.


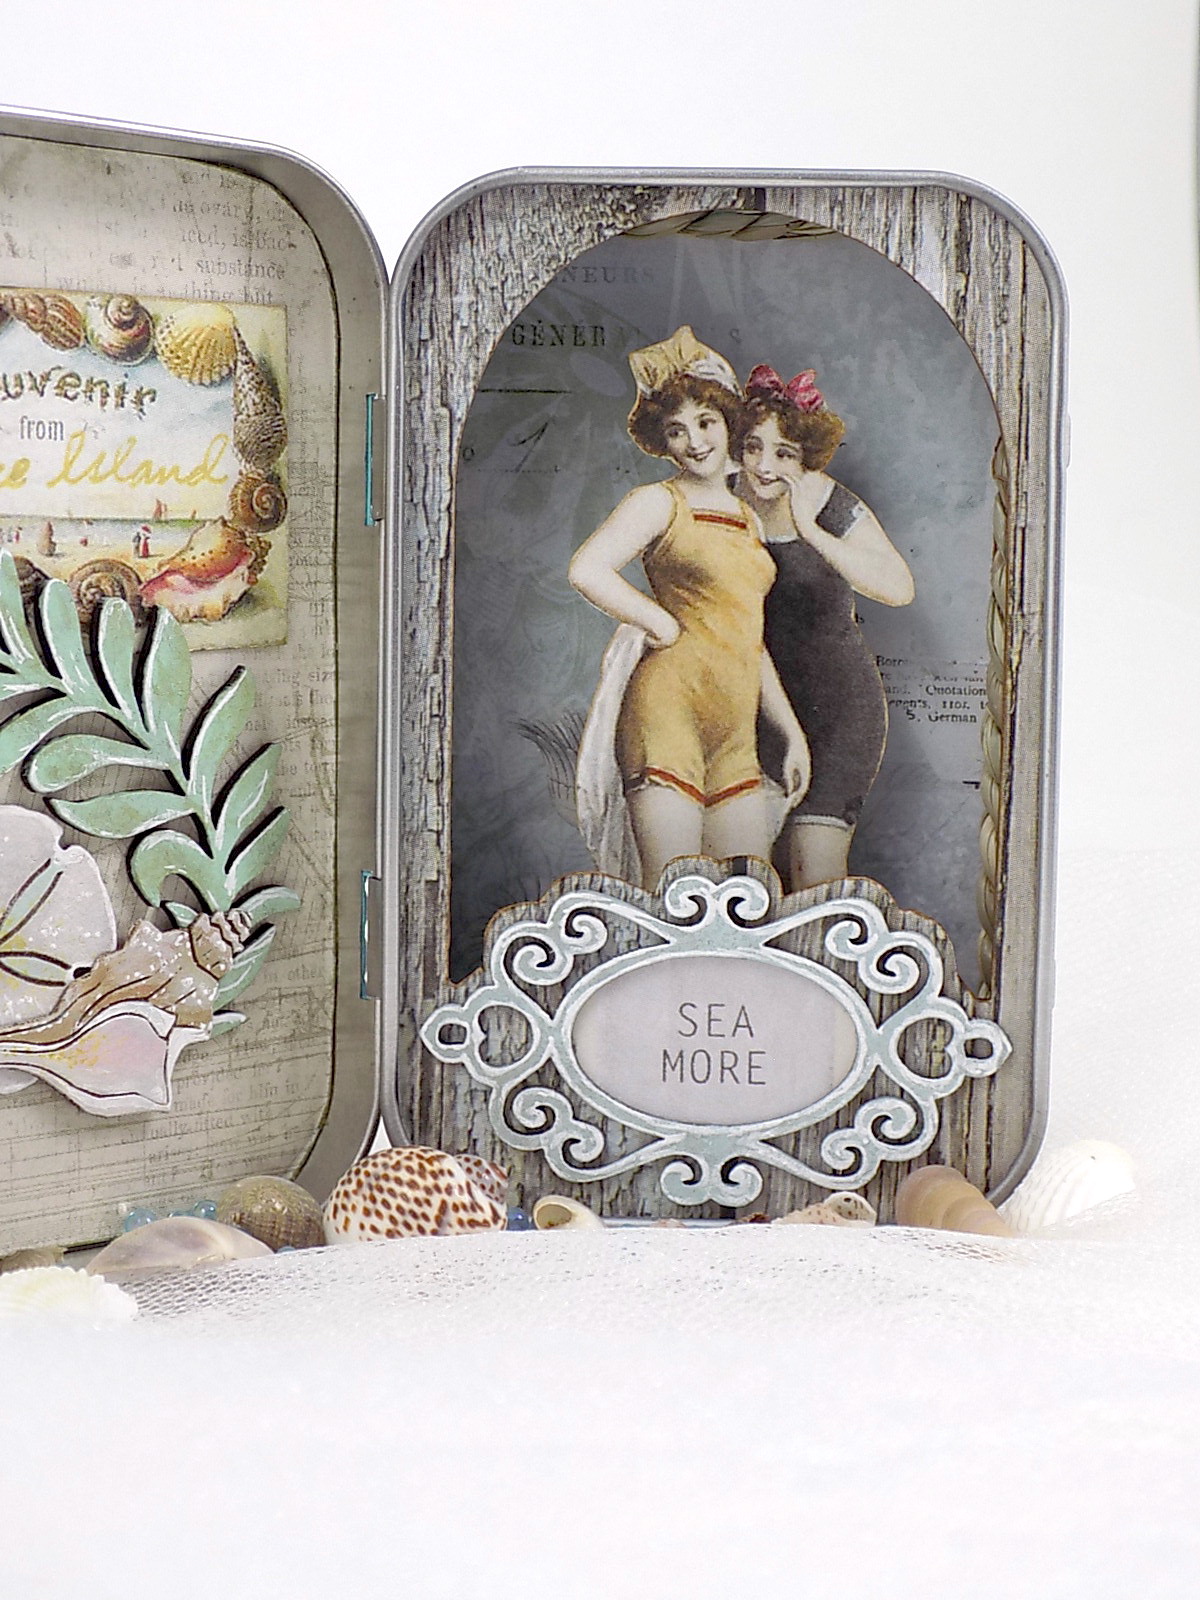

Using filigree in projects isn't something I normally do, or do too often, but I think the layered effect looked nice on the front of the tin.
The assembly of the tin went something like this:
1. Cover the front, back, sides, and inside with paper, making sure to leave that tiny gap on the inside for the tin insert.
2. Add Woven Sea Grass inside tin. Arrange bits until you're satisfied.
3. Paint the back of the tin insert and glue paper to the front. Cut out the paper from the center of the insert and then around the edges.

4. Add pop-dots to the back of the collage image and place inside tin. Paint all chipboard pieces and glue in place.

5. Arrange a few pieces of filigree to your liking before gluing them together with Glossy Accents. Let dry, then paint with a few thin layers of acrylic paint. I started with a darker aqua color and added lighter colors for each additional layer. Finally, accent the piece with a white gel pen.


You can go HERE to see the supply list for the Mermaid Garden tin and HERE to see the goodies used in the Beach Babes project.
Stay cool, have fun, and make art!
I love all things mermaid and ocean. I feel an affinity with the seashore and love making things. Thanks for the great ideas!
ReplyDeleteYou're very welcome! Thanks for stopping by, and happy crafting to you!
Delete