Friday, November 26, 2021

Holiday Cheer Miniature Room Box

 The weather outside isn't frightful, but I have chosen to stay inside to create a mini holiday scene. It's also Black Friday, so there is no way I'm leaving my house. I wore yoga pants all day and had noodles delivered from six blocks away. It was great. 

My newest project is a cheery miniature gift wrapping scene with rolls of paper, ribbon, scissors, and gifts!


There's a 1:12 Wardrobe - Shelves, an Unfinished Wooden Trestle Table, and a White Wall Shelf with Hooks inside the 7x7 Corner Room Box, plus a bunch of new boxes in all sorts of sizes - Tiny Rectangular Gift Boxes, Mini Bakery Boxes with Windows, and Chunky Gift Boxes. Boxes for days!


There's a few Mini Gift Wrap Boxes next to the wardrobe along with a Shiny Bright box of ornaments. I love that the gift wrap boxes are both white and tan. So easy to stamp or paint! The gift wrap rolls are bits of paper wound around a skinny dowel.


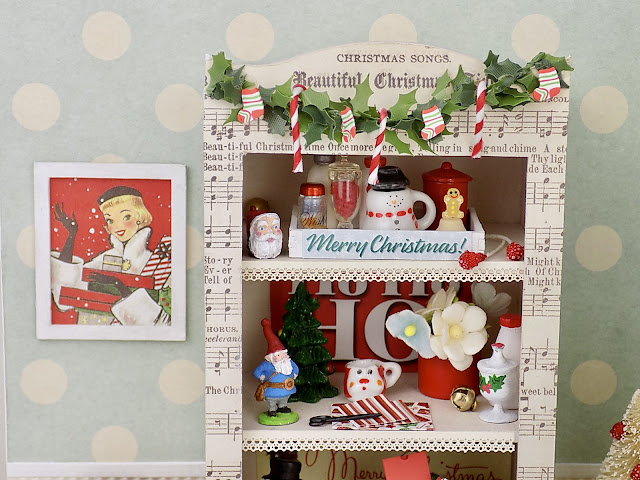
Look at this pretty wardrobe! I covered it with paper from the cheery Merry & Bright Custom 12x12 Paper Set. The door has been left off to show the bits and bobs inside. 


I've hung a festive garland along the top, used the lid to a 1-5/8 Inch Suitcase as a tray, and then proceeded to fill the shelves with teensy cute things like the Ceramic Snowman Tea Set.


The bottom shelf has an ornament box and a few white gift boxes waiting to be filled and wrapped. 


My favorite part of the project is the Mini Train Locomotive with Train Cars (it's The Gingerbread Express). The larger Mini Recipe Box makes a perfect card holder.


Creating this little room box was a delight even though I had to reassemble it after Tim the Enchanter knocked the entire thing over while I was taking pictures. He wonders why I don't use glue like a normal person. Then again, he probably wonders about a lot of things...


Happy holidays to you! And don't forget to GO HERE for the supplies from Alpha Stamps that were used in the Holiday Cheer room box!


Wednesday, November 17, 2021

Petite Paper Village Ornaments

 Here's a quick and easy project you can finish while also managing the holiday hustle. It involves simple cutting, folding, and gluing. That's it! The best part is you can make as many parts as you want and they can be hung on a tree, used as gift tags, or, for those adventurous crafters, cut out a bunch for an Advent calendar. So, what in the North Pole am I talking about? 

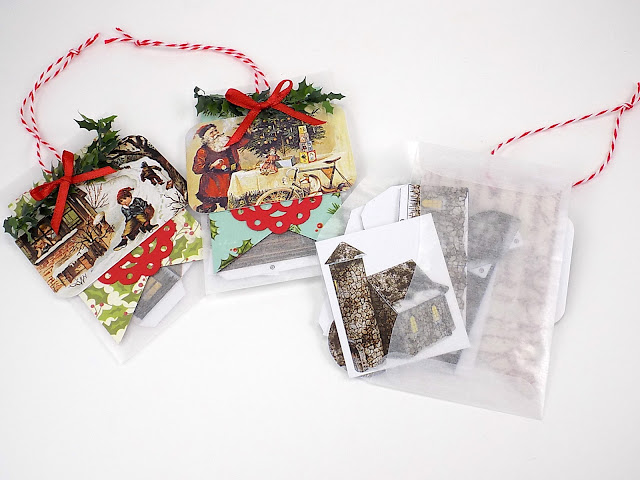
Tiny glassine envelopes with a surprise inside! 
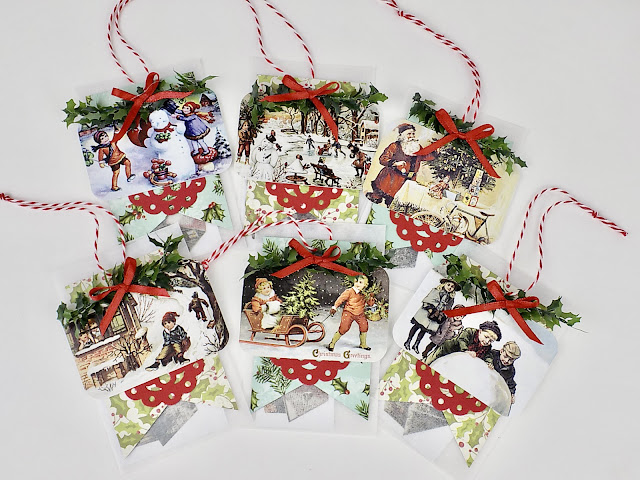


See? Super easy! The ornament is nothing more than an envelope with a tag-shaped rectangle of scrapbook paper adhered to the front, followed by a red punched doily, then a holiday collage sheet image. There's a sprig of holly garland and a tiny red ribbon hot-glued on the top. I punched a little hole in the scrapbook tag before sticking it to the envelope so a length of baker's twine could be strung through. I had six finished in two shakes of a reindeer's tail.


Now for the fun part: what to put inside the envelope? I'm a sucker for paper toys of all kinds, I just love them. When Leslie asked if I would like a Miniature Paper Model Christmas Village, my reply was SEND THEM ALL! followed by a shocked cat emoji. She's probably used to that by now.


The tiny village would be especially festive surrounded by artificial snow and fairy lights. One ornament could be removed each evening, the building assembled, then placed in the snow. There are also people, animals, trees, and fences included on the model sheets, which are plenty of additions for a countdown calendar. 


Oh my, so cute!!


Oh my, so small!


I think I want to cut out all of the villagers and kitties now...hope you enjoyed the petite paper village ornaments!

Supplies Used: