Wednesday, April 6, 2022

The Unexpected Guest

Life has been a bit crazy lately, but I managed a little art project for Alpha Stamps using the pretty Woodland Window Box Kit for April. I've been ready to make art for awhile now but found the days ending before my To Do list was completed. This kit made it possible to squeeze in some creativity which is exactly what I had been missing for so many weeks! 


I really love the new facade with an inset niche - it adds extra space around the opening of the Even Smaller Paper Theatre Box for decorating and the Window with Flower Box is icing on the cake! The finished project is small enough that, when not mounted to a platform base like my example, can be hung on a wall or displayed on an easel. How cute would that be?


I decided to glue a bunch of bushy plants and mushrooms to mine, so went with the 5x2 Platform Base. An arch of twigs were also glued to the base and, as a bonus, I got to use more of the scrummy Woodland 6x6 Paper Pad. It's beautiful paper. 


The back is fairly simple with more greenery. The window from the Decorative Windows Set 1:12 holds a surprise:


Ooooh, a light!


The Even Smaller Paper Theatre Boxes are 3/4" deep, so the wireless Single LED Light I used worked out nicely. It gave the lanterns on the collage image a warm light to shine on Snow White. 

Here's a simple walk-thru if you want to add a light to your Woodland Window Box Kit:

1. Fold your Even Smaller Paper Theatre Box together. Trace around the window from the Decorative Windows Set 1:12. I used the curved window only and not the frame. 

2. Cut inside the traced line along the bottom and around the curved top, approx. 1/16". Use a bone folder to score the box on the traced line on the uncut side for the hinge. Make a tiny cut from the curved cut to the scored line. Having that extra bit will allow the window to open properly.


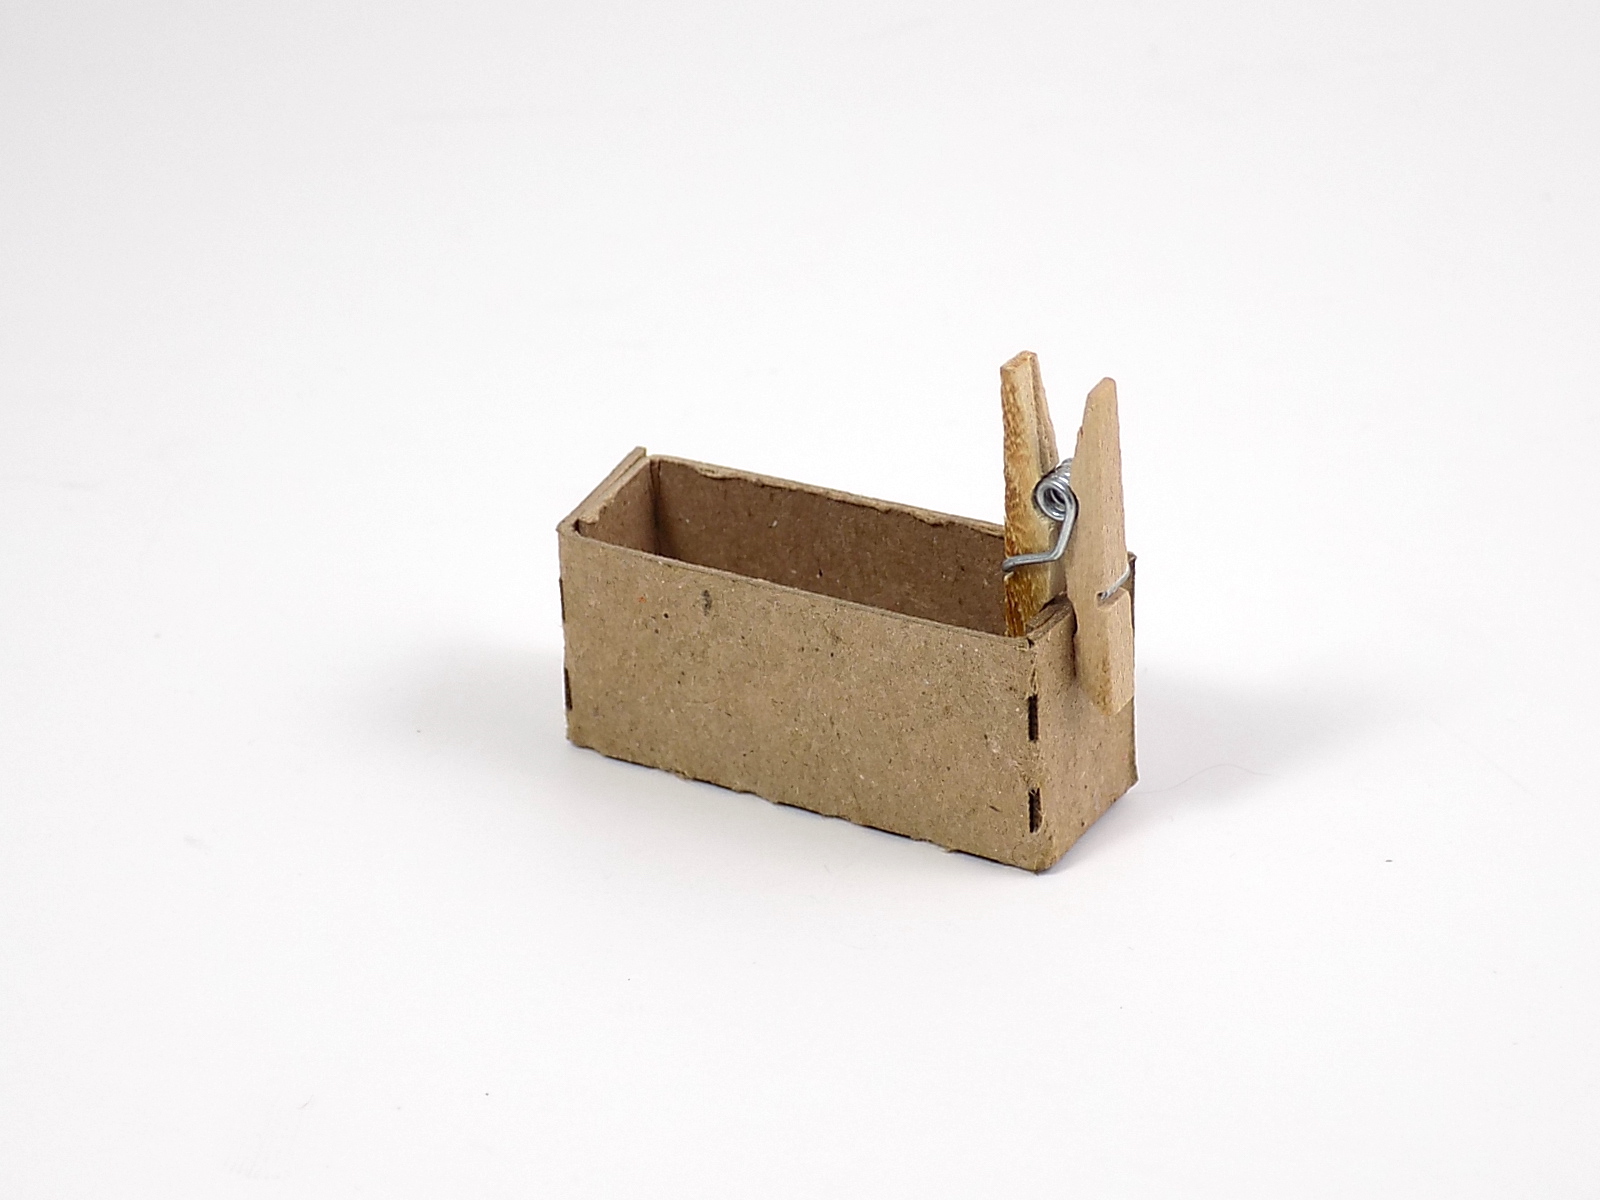
3. Either fold your own, or cut a matchbox in sections like so, then glue them together so it is a solid box with no top. This will hold the Single LED Light.


4. Glue the Facade on the Even Smaller Paper Theatre Box, making sure the wider section of the facade is on the bottom. You can see the tabs of the facade just touch the cut marks for the window and the top tab is folded inward. I snipped off the point of that tab before gluing it in place. If you plan on papering your kit, remember to trace the Facade and the niche opening before gluing.


5. Cut a strip of paper to cover the inside edges of the niche. My strip is 7/8" wide x 12" long. Use double sided tape or glue.

6. To support the collage image inside the niche, add adhesive dots or foam to the corners. Glue in the box that holds the LED light. The foam dots should be the same height or a little taller.

Here is the inside of the niche showing the top of the LED box. I added a strip of cardboard in the center to keep the LED upright with its bulb extending beyond the box. The light shines through the cardstock collage image, illuminating the lanterns. I love it when things work out so perfectly.


Add your collage image to the foam dots then decorate! Yay!


Want to see all the fab goodies I used? Go right HERE!

Happy creating!

Monday, January 17, 2022

A Different Kind of Miniature

Some quick pics of 1:6 scale Re-Ment and MegaHouse miniatures for any enthusiasts out there.


You can go to my Etsy shop to see more cute sets!

Saturday, January 15, 2022

Alice is in the House

 I was straightening up my craft area recently when I came across all of the lovely Alice Through the Looking Glass paper pads from Alpha Stamps. How could I have forgotten about them? They're so pretty! The discovery of the paper pads lead to digging around in the chipboard drawer, pulling out little shadowboxes and houses, then shuffling through the miniatures for a teapot, and heaving the 2" thick hanging file full of Alice collage sheets onto the table. So much for cleaning...

The results? Cute little interchangeable shadowboxes with all of the Alice paper!


The boxes and houses were covered with paper from the 6x6, 8x8, and Backgrounds 8x8 pads. I was careful about which sections to use because I thought of eleven more projects to make while flipping through the pads. Hmm, maybe I need more paper.


The accessories inside the shadowboxes are mostly chipboard pieces, like the chair from the Tiny Chipboard Alice Props, and bronze charms:


The table on the right is really a Tiny Metal Bird Bath. The top was removed and a disk of chipboard was put in its place. The teal tray came from the White Plastic Mini Serving Dish Set. I sanded it a bit and painted it with craft paint. There's more chipboard pieces and bronze charms here and there, plus a wee mouse! Both the Grass & Mushroom Border - 6 Inch and 3D Chipboard Tree - 3 Inch were chopped to fit. 


The houses and boxes aren't attached so they can be rearranged or live separately. My daughter had claimed the larger shadowbox with Cheshire Cat, but she changed her mind when I mentioned that one also had her and her twin in it. Guess I get to keep all of them to enjoy (and the paper does look better when it is used vs left untouched on a shelf, unless you are the cat that had been sleeping on it).


"i will knock that over later"

All of the goodies are HERE!

Now go get crafty!!


Saturday, January 8, 2022

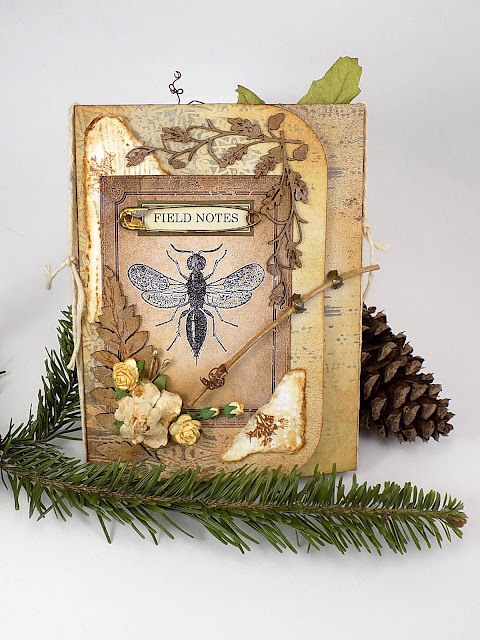
Field Notes Mini Folio

 Have you seen the new Botanical Journal Kit from Alpha Stamps? It's a beauty! What better way is there to begin a new year than with a mini journal or folio chock full of nature? 


The kit has oodles of botanical images to add to the journal as well as three different styles of envelopes for holding all of the lovelies you decide to tuck inside. 


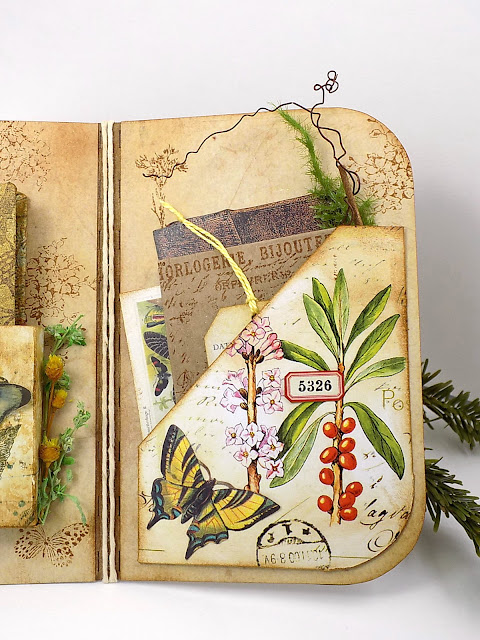
I made a few simple pockets for the journal and was able to stuff them full of all sorts of things.


In the center is another pocket that holds a little book for drawings, pressed flowers, and for jotting down notes. 


It's surprising just how much fits inside the envelopes:


And here are what the journal pockets hold:


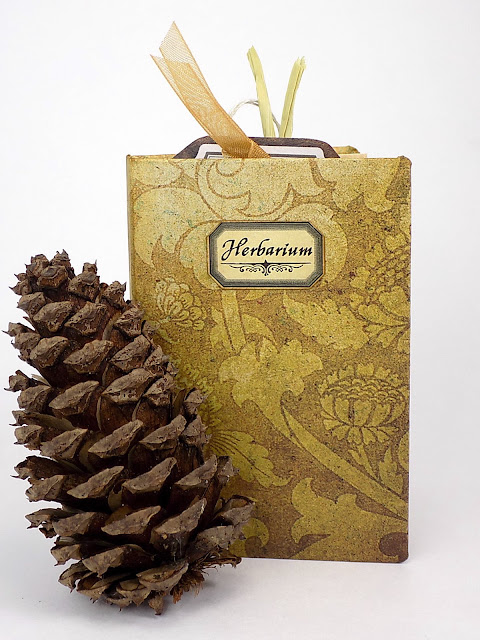
Want to make a mini book? It's an easy thing. The book pages are made from envelopes in the kit, and the cover is cardboard. Here's a quick run-down of the assembly.

Cut 2 pieces of heavy cardboard 2 1/2" x 3 3/4" for the front and back covers. The spine is a thin strip approximately 1/4" x 3 3/4". I didn't really measure that bit.


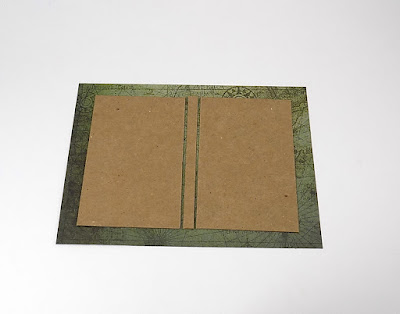
Attach the covers and spine to a rectangle of scrapbook paper that's about 1/2" larger all around, leaving space between the pieces.


Score around all of the pieces and between the covers with a bone folder (or knitting needle) to create fold lines. Snip the corners of the paper, fold the paper around, and glue in place. Score the paper between the covers once more after it's dry.


Now make the part that holds all of the pages (whatever it's called). Cut a strip of paper 2 3/4" x 5". Score fold lines every 1/2" along the long side. Accordion fold the piece starting with a valley fold. The piece of paper on the top is the book pocket.


Attach double-sided tape on both ends and every other strip in between. Glue works, too, just don't add it to the end strips since those will be used later on to hold it in place inside the book. :)


Remove the tape backing, leaving the two end strips alone, and fold the strips together, like so. Now there are two strips and four flaps. The two strips (shown at the bottom) will be glued/taped to the book covers, and one page will be glued to each of the four flaps.


Tape or glue the first flap to the back of the first page. Ignore all of the extra folds of paper in the next two photos. I really wanted a book with more than four pages but it would've been an inch thick!


Repeat with the remaining pages.


Glue the first strip to the front cover and the last strip to the back cover. Lastly, use an appropriately sized image or piece of paper to cover the strips and exposed cardboard. Done!


Oh, I also chopped off the flaps on the kraft envelopes and punched a notch in the top. Guess I should've mentioned that earlier...


Thanks for taking a peek at my first project of 2022. Hope your new year is a creative one!

GO RIGHT HERE to see the supply list!